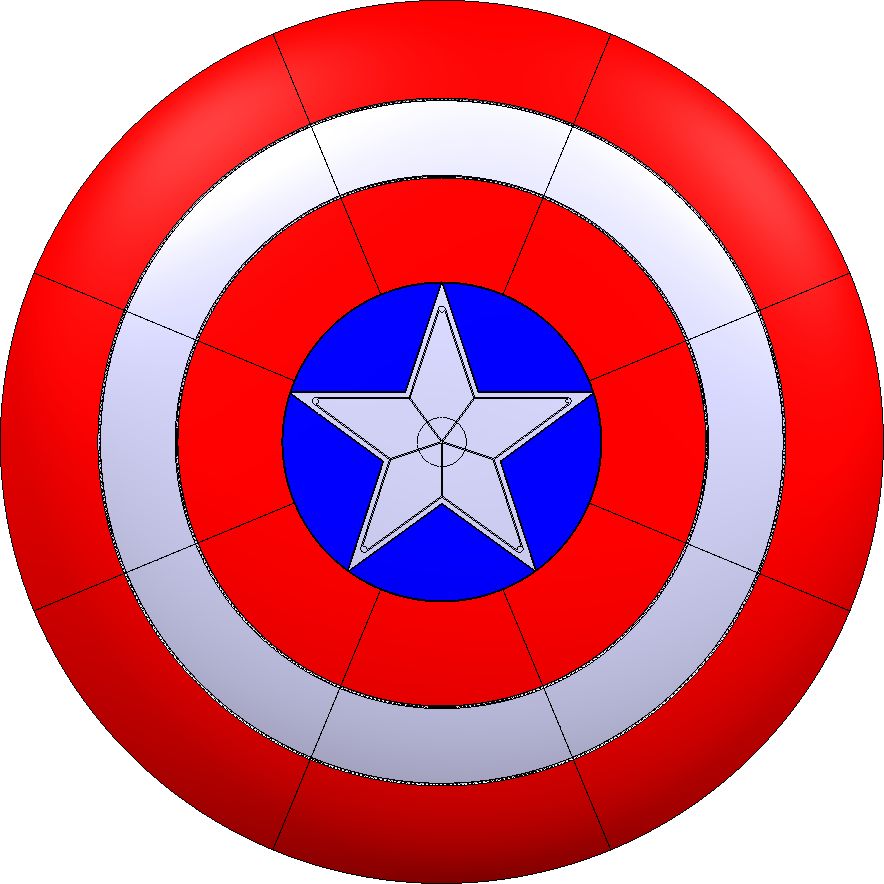
Captain America Shield
prusaprinters
<p><strong>UPDATE V005</strong></p> <ul> <li>Uploaded the template for the wrapping foil as a DXF. Any place that does vehicle marking should be able to work with this to plot the foil for you. Make sure they understand you want a ring and the star, or you might get a negative (I sent the green picture along to make it clear - the DXF only contains lines, so it's hard to tell).</li> </ul> <ul> <li>Added mounting holes: I used two old leather belts to make the arm holder, and wished I had added mounting holes for this, so I did. The holes are 3mm and should work with a 4mm flathead wood screw. Use some washers to have better support against the leather.</li> </ul> <ul> <li>You need to print these parts: Center x1, "smooth" x6, "mountingholes" x2. See the rear view picture for assembly reference. You can use whatever mounting holes fit your arm length. You can of course simply print 8x "mountingholes" but it will take longer (more contours).</li> </ul> <ul> <li><p>Added some position markers to help assembly when you're looking at the inside, so the mounting holes will line up.<br/> <strong>UPDATE V004</strong></p> <p>I finally got around to assembling my own printed version, and I learned a lot... again.<br/> V004 reflects these learnings.</p> </li> <li><p>Top surface required a lot of sanding and filling, because the relatively flat curve means the layering becomes really bad at 0.2mm height settings. Therefore, printing the segments oriented vertically is now my recommended method for printing. Since the flat bottom surface isn't required for that, I removed it, and the inside of the shield is now also curved (center piece is still flat for easy printing).</p> </li> </ul> <ul> <li>Interlocks from segment to center removed, as it proved next to impossible to assemble and the orientation of the center relative to the segments does not really matter</li> </ul> <ul> <li>Interlocks between segments: went from 4 to 3, gave them a bit more wiggle room (fit was too tight), also some chamfers for easier assembly</li> </ul> <ul> <li>15° angle between segments and center piece, allowing you to assemble the outer segments first and then drop the center piece in afterwards, with a firm fix for position</li> </ul> <ul> <li>0.1mm gap between segments to allow some space for glue (I used a dual compound glue for higher strength, but any cyanacrylate glue will work for PLA)</li> </ul> <ul> <li><p>Segmentation and relief structures are now pretty shallow (0.3 mm). I ended up using car wrapping foil for the shiny middle ring and the star in brushed stainless steel optic, and having a flat surface is better for that use case. Can highly recommend this approach - getting the metal look is almost impossible with paint otherwise. I paid 20 Euros to have it plotted, and application was very easy.<br/> This also makes the painting process pretty simple: Paint the whole shield red, apply masking tape, paint the inner circle blue, apply foil, done.<br/> <strong>UPDATE V003</strong></p> <p>Some reddit users pointed out that the design did not fully match the original appearance. I did some checking in the Marvel fandom and they were right. My bad for reverse engineering somebody else's design. Version V003 should match <a href="https://vignette.wikia.nocookie.net/marvelcinematicuniverse/images/3/36/Captain_America_Shield.png/revision/latest/scale-to-width-down/1000?cb=20160324205933">this picture</a> pretty well.</p> </li> <li><p>The tips of the star should be touching the inner circle (mine was too small)</p> </li> </ul> <ul> <li><p>The top surface is segmented, but they are all the same height (mine had a 0.5mm offset)<br/> <strong>UPDATE V002</strong> The 45° segment had two issues when I printed this:</p> <ol> <li>Due to the scaling, my 0.4mm supports became 0.32 mm supports which resulted in them being eliminated in Slic3r unless you checked "recognize thin walls" option.<br/> Made them 0.5 mm in the unscaled model, now comes out with 0.4mm and should be recognized by your slicer software.</li> </ol> </li> </ul> <ol> <li><p>Integrated supports were oriented wrong, resulting in them not being much use.<br/> Changed the orientation by 90° in V002.<br/> Not a cosplayer but my son wanted to be Captain America for a costume party and aside from crappy looking tiny replicas and 200$ cosplay shields, there wasn't anything that I really liked. So, 3D print to the rescue.</p> <p>I found a printable full-size Captain America shield on here <a href="https://www.thingiverse.com/thing:963588">(Link to thing)</a>, but it said "work in progress", so I designed my own. I was especially unhappy with the way the parts were split (21 pieces), and that there were no interlocks / guides to fit the pieces together. Even if you intend to glue parts anyway, it is nice to have some guides for more precision.</p> <p>The design is split into a center piece and 8 45 degree segments. All pieces have a flat surface underneath that makes them easily printable. There are some supports included in the segment model that you will have to remove afterwards.<br/> I had to scale the original shield down to 80% to make the pieces printable on a Prusa i3 MK3 bed (barely fits). If you have a larger size printer, you can print at 125% scale to get the original size shield.<br/> The model does not include handles. Cap's shield has leather handles, and that's the way to go if you intend to be able to wear it on your back like he does. A solid handle that your lower arm would fit into would stick out too far making it uncomfortable.</p> </li> </ol> <h3>Print instructions</h3><h3>Category: Props Print Settings</h3> <p><strong>Printer:</strong> Prusa i3 MK3</p> <p><strong>Rafts:</strong> No</p> <p><strong>Supports:</strong> No</p> <p><strong>Resolution:</strong> 0.2 mm</p> <p><strong>Infill:</strong> 10% Cubic</p> <h3><strong>Filament:</strong> Prusa PLA silver Post-Printing</h3> <p>You will need to do some sanding and primer coat if you want a shiny smooth metal look. The curved surface of the shield will have visible print contours, that is pretty much unavoidable.</p> <p>I suggest the following for a really professional look:</p> <ul> <li>Sand the individual pieces (wet sand with 800 grit at the end)</li> </ul> <ul> <li>Glue together</li> </ul> <ul> <li>Plastic Primer coat x 2, wet sand in between</li> </ul> <ul> <li>Apply red and blue metallic coat</li> </ul> <ul> <li><p>Apply clear coat</p> <h3>How I Designed This</h3> <p>Designed in SolidWorks 2017. Shield shape from original thing (see above). Split into segments plus center piece, interlocks added, then flattened the rear side of the individual pieces for easier printing. Scaled down to 80% after realizing the pieces were too big for my printer.</p> </li> </ul>
With this file you will be able to print Captain America Shield with your 3D printer. Click on the button and save the file on your computer to work, edit or customize your design. You can also find more 3D designs for printers on Captain America Shield.