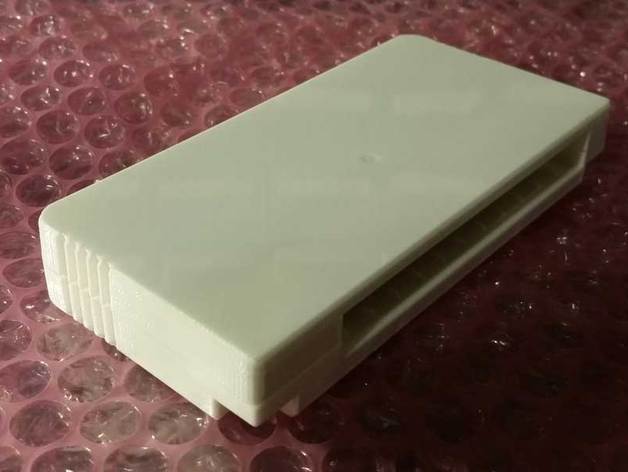
Capcom CPS3 Arcade Security Cartridge Housing and Battery Replacment Jig
thingiverse
This replacement cartridge housing is designed specifically for Security carts used on Capcom System 3 (aka CPSIII) arcade hardware. There are essentially three configurations of the files here, each serving a unique purpose. The standard front and back housing are designed to be used with reproduction security cartridges or modified "Super Bios" cartridges that don't have a battery. The reproduction cartridges typically don't come with a housing, so hopefully this 3D printed housing will serve as a useful alternative to stealing one from an original cartridge. The back housing with a "Battery window" includes a cut out designed to accommodate the large battery that sticks out the back of an original, un-modified security cart. The window is elongated to the left to accommodate a larger replacement battery that may use the larger footprint solder points. This also allows you to easily see the production month/year of the battery for determining when a replacement might be needed. The "battery replacement jig" variants of these parts are designed to help facilitate a live (powered) battery swap, by providing stabilization to the cartridge PCB and reducing the risk of power loss during a battery replacement which could kill the cartridge. Please note that you should test the stability your printed jig provides before attempting a battery swap, as not all 3D printers will provide consistent results. As such, I assume no responsibility if a jig printed using these files does not hold the cartridge tight enough to prevent power loss during battery replacement. Use this at your own discretion. Print Settings This design supports: * Yes * Resolution: 0.2mm * Notes: + Walls are designed for a 0.40 or smaller nozzle. + I used 0.2mm layer height and 20% infill percentage, but it doesn't matter much as it's nearly all thin-walled structure. You MUST use supports on the "back" half parts as the cutouts for the screws will need to be supported. The "front" half parts have two small clips with a few mm of overhang; generating supports here is recommended. If you print without supports here, you may need to trim some drooping material and you may end up with the assembled cart housings not holding completely tight at the top. Post-Printing The parameter of the front and back halves are designed to interlock together. If there is any over-extrusion in these areas, it may cause problems with the two halves mating. So if your printer doesn't produce completely clean prints, you may need to clean up any over-extrusion on this "lip" with a razor. The two screw holes are designed to be used with screws similar to the original cart security screws. You can use a philips head for ease of use or a stylish cap-head for a nice look, as long as they are dimensionally similar. You'll want a thread-forming screw with a ~3mm diameter 8mm thread length and a ~5mm head diameter. Machine screws will work too but may be a bit tight. How I Designed This These 3D printed cart housing halves are NOT designed to be exact replicas of the original cart halves. Instead, they're designed to have similar envelope dimensions, enough such that one of the 3D printed car halves can be used with one of the original cart halves if need be. They will also fit within the CPS3 metal cage housing and cartridge clamps. Overall, when compared to the original cartridge housing, this design is setup to be more amicable for 3D printing with fewer overhangs and reinforced walls and screw posts.
With this file you will be able to print Capcom CPS3 Arcade Security Cartridge Housing and Battery Replacment Jig with your 3D printer. Click on the button and save the file on your computer to work, edit or customize your design. You can also find more 3D designs for printers on Capcom CPS3 Arcade Security Cartridge Housing and Battery Replacment Jig.
