Canon Grip
thingiverse
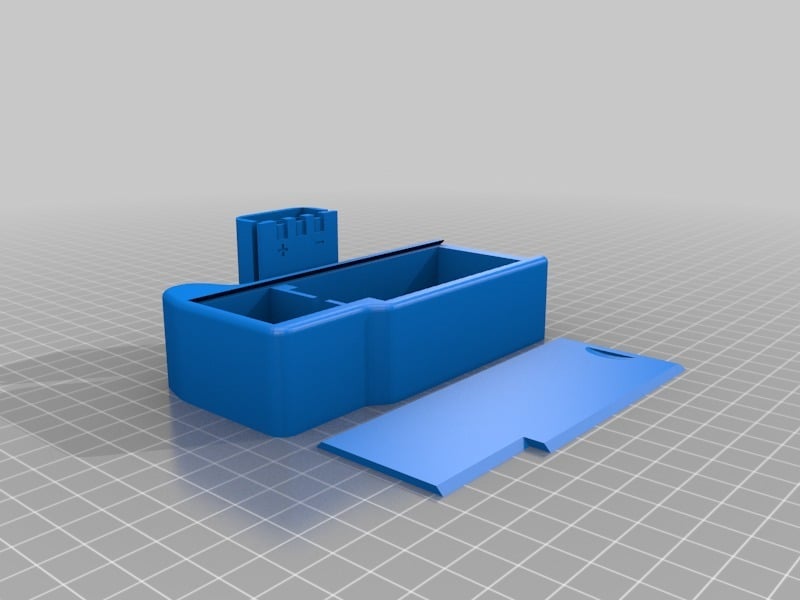
How to Build a Custom Grip for Your Canon 400D Camera. To create this unique grip, you'll need some specialized hardware: * CA or Epoxy glue * Two rechargeable 18650 batteries * A container to hold the batteries * Any old AA or AAA battery to make electrical contacts * Male and female connectors * A small nail (1/10" or 2.5 mm diameter) that fits into a tiny hole at the bottom of your camera body * A 1/4" screw; if you can't find an inch-thread screw, try using one from a cheap selfie stick Here's how to build it: 1. Print out the custom parts (see PIC002.JPG). 2. Use sandpaper to fine-tune Part 1 and Part 2. 3. Cut off the excess length from your screw and nail (PIC003.JPG), then glue them together with Parts 3 and 4 (PIC004.JPG). Let it dry completely. 4. Remove the battery box cap from your camera body (PIC005.JPG). 5. Attach Part 1 to the body, positioning Part 4 with its nail into the small hole at the bottom. Secure Part 4 using a few drops of glue (PIC006.JPG). 6. Remove Part 1 and insert Part 5 into the battery cap compartment (PIC007.JPG). Apply a couple of drops of glue. 7. Reattach Part 1, letting the glue dry completely. 8. Carefully remove Part 1 again, then attach Parts 4 and 5 from beneath (PIC008.JPG). 9. Create electrical contacts by shaping old AA or AAA batteries into small pieces and soldering them to a female connector (PIC009.JPG). Make sure they're about 4 mm wide. 10. Glue the contacts to Part 6. Verify the polarity – red is positive, black is negative – before attaching Part 7 to Part 6 (PIC010.JPG). 11. Solder the male connector onto your battery container and insert two fully charged 18650 batteries (PIC011.JPG). Double-check the polarity. 12. Connect your battery container to the battery stub. Verify that the voltage reads around 8 volts, with correct polarity (PIC012.JPG). Disconnect them for now. 13. Assemble your grip by placing the battery stub into the camera body and securing it (PIC013.JPG). Next, load batteries into the container and connect it to the battery stub (PIC014.JPG). 14. Turn on your camera – since you've checked the polarity six times, everything should work perfectly (PIC015.JPG)! Close the grip cap.
With this file you will be able to print Canon Grip with your 3D printer. Click on the button and save the file on your computer to work, edit or customize your design. You can also find more 3D designs for printers on Canon Grip.
