candy corn earrings (and pendant)
prusaprinters
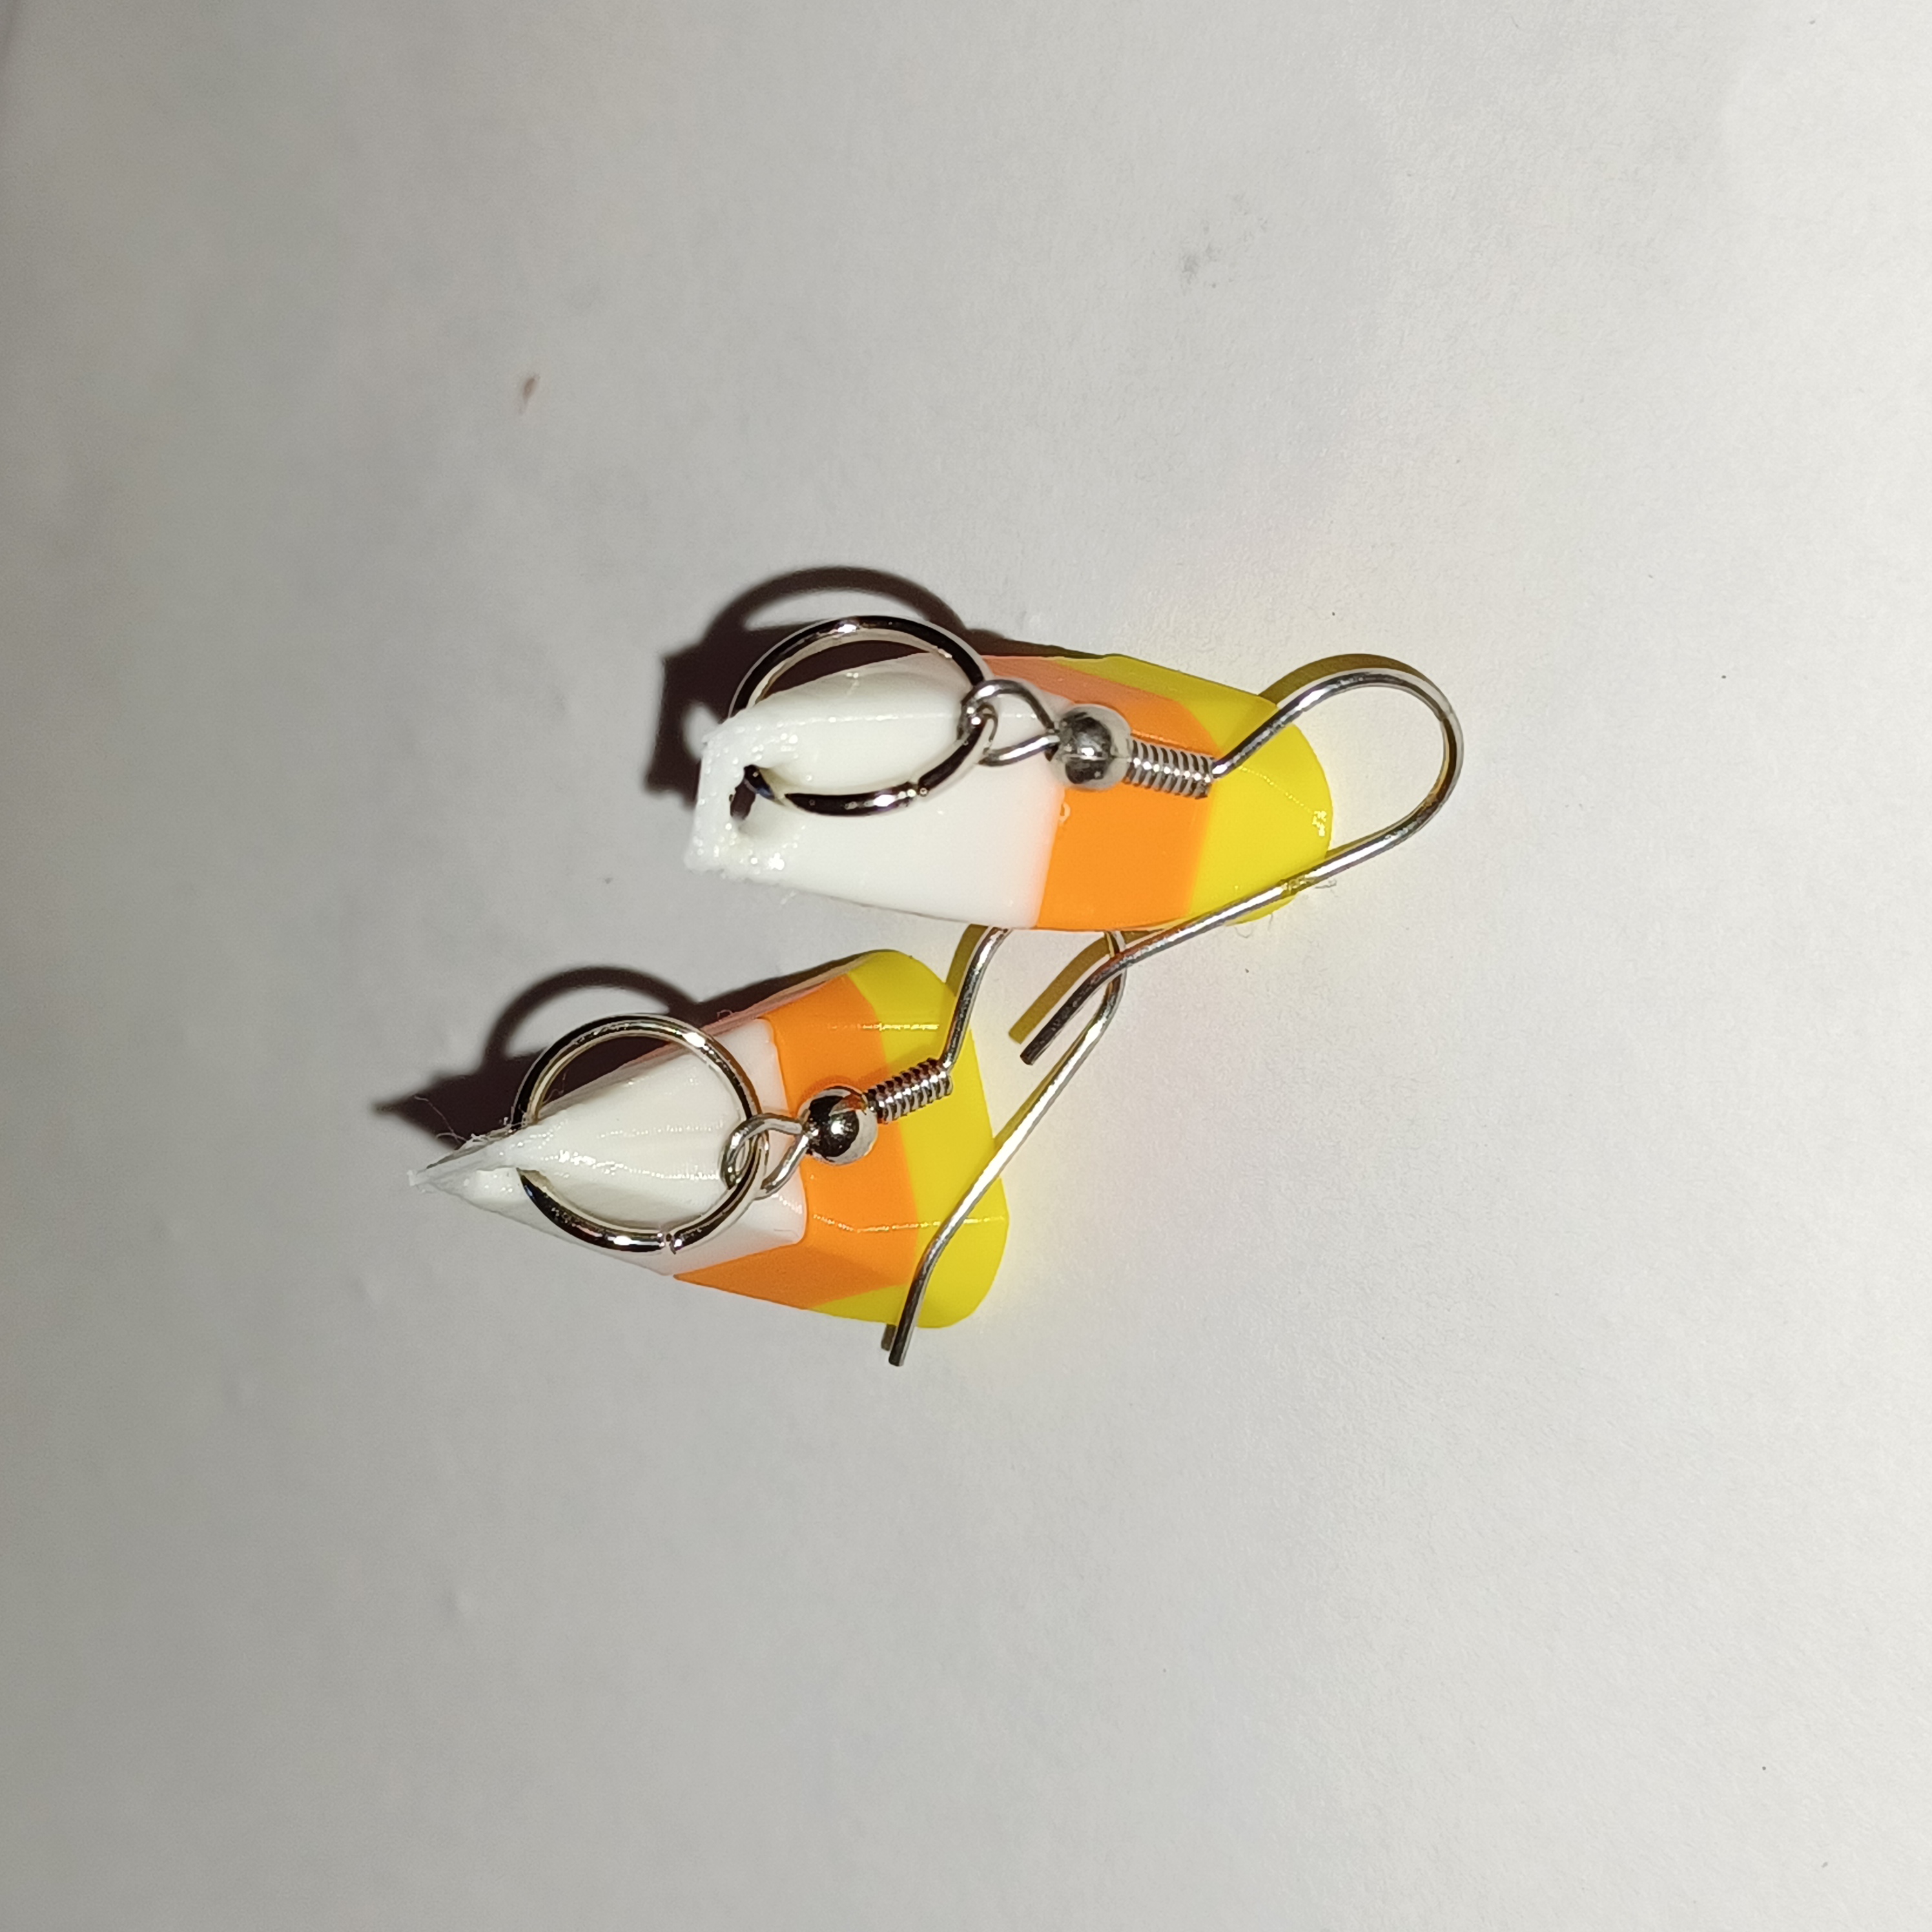
<p>I recommend that you include a pause in your slicer code--if you can and know how. I do not know how. With that said…</p><p>I noticed that the slicer said that the print should take 28 minutes. I set my timer for ⅓ of that. If you are making several pair of earrings, you can put them all on the build plate at once or do them one pair at a time. I recommend that you do them in pairs so that the color change is at the same place on both earrings if you have to manually pause them.</p><p>While I was waiting for the yellow to print, I prepared the orange. When the first layer is as thick as you want, pause the print and load the second layer. Since the nozzle cools down during a pause, be sure to pull the yellow out as soon as you can. Replace it with the orange.</p><p>Once the orange is printing, prepare the white which will finish the print. Reset the timer if you are using one. Pull out the orange filament once you pause the print for the second time. Replace it with the white. You no longer have to babysit the print since the white filament will be used to finish the print.</p><p> </p><p>After printing, use a jump ring and an earring wire to finish each earring.</p><p> </p><p>To make a pendant, scale the model larger in your slicer. Again, take notice of the estimated print time so that you can swap out the colors.</p><p> </p><p>Of course, you can change up the colors if you prefer one of the newer flavors of candy corn, but I tend to prefer the classic original.</p>
With this file you will be able to print candy corn earrings (and pendant) with your 3D printer. Click on the button and save the file on your computer to work, edit or customize your design. You can also find more 3D designs for printers on candy corn earrings (and pendant).