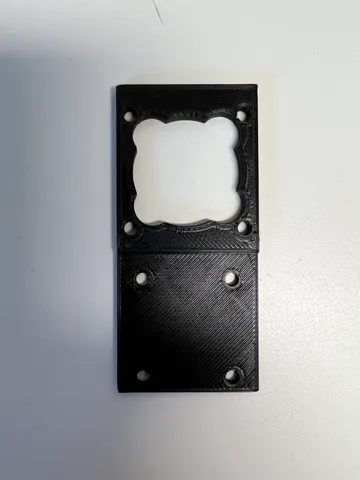
Camera Mount For The Raise3D E2 3D-printer
prusaprinters
The Raise3D E2 printer has a legendary sh$#&" camera. So, inspired by the Raise3D-forums I tested a solution with a new camera that uses the same connector as the old one. So its really easy to connect, and there is no need for software tinkering. All you have to do is to remove the old, attach the mount and mount and connect the new camera.1. Remove the plastic cover covering the motherboard.2. Cut the plastic strip holding the cable harness. Be careful not cutting any of the cables.3. Find the cable for the camera, and re-strip the rest of the harness where it was orignially.4. Carefully detach the cable connected to the old camera.5. Install the printed plastic mount (this file)6. Use some thin machine bolts to mount the camera. Be careful not tightening the bolts to much. It's just to hold the camera in place.7. Put the plastic cover back on.8. The camera has focus adjustment, så twist the lens to make your image sharp.Disclaimer: I take no responsibility if this mod makes your E2 blow up, attack your neighbour or steal your girlfriend.Camera found on eBay: https://www.ebay.com/itm/254774137570
With this file you will be able to print Camera Mount For The Raise3D E2 3D-printer with your 3D printer. Click on the button and save the file on your computer to work, edit or customize your design. You can also find more 3D designs for printers on Camera Mount For The Raise3D E2 3D-printer.
