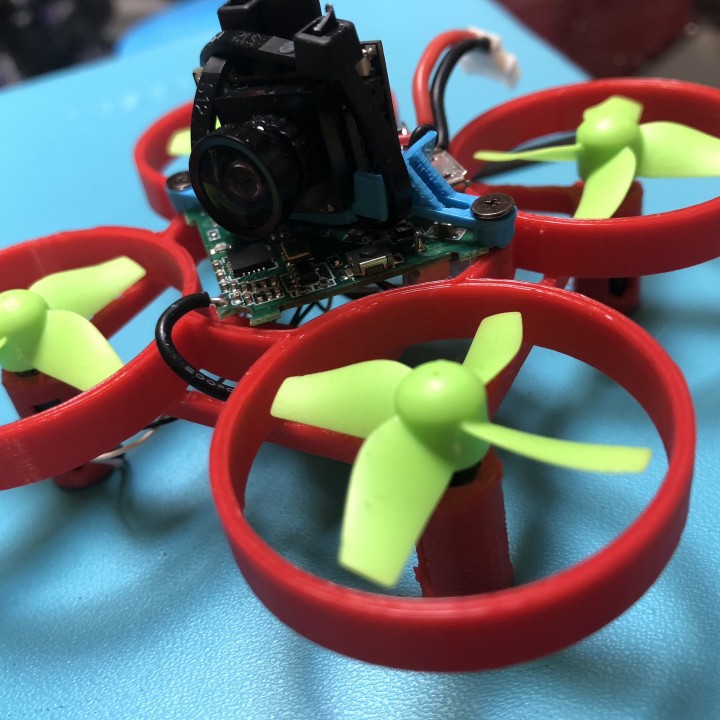
Camera Mount
myminifactory
Mounting a camera on your basic drone quadcopter is a straightforward process that requires just a few simple tools and some basic know-how. The first step is to choose a mounting point, which can be either the frame of the quadcopter or one of its arms. Make sure it's sturdy enough to hold the weight of the camera and any additional accessories. Next, select a compatible camera and secure it firmly to the chosen mounting point using screws or clips provided with the mount. Ensure that the camera is level and securely fastened to prevent any damage during flight. Now that your camera is mounted, you need to connect it to your quadcopter's flight controller. This usually involves plugging in a USB cable and configuring the settings on the controller's software. Make sure to follow the manufacturer's instructions for specific steps. Finally, test your setup by flying your quadcopter over a safe area, checking that the camera is working correctly and capturing high-quality footage. With these simple steps, you can enjoy taking breathtaking aerial photos and videos with your basic drone quadcopter.
With this file you will be able to print Camera Mount with your 3D printer. Click on the button and save the file on your computer to work, edit or customize your design. You can also find more 3D designs for printers on Camera Mount.
