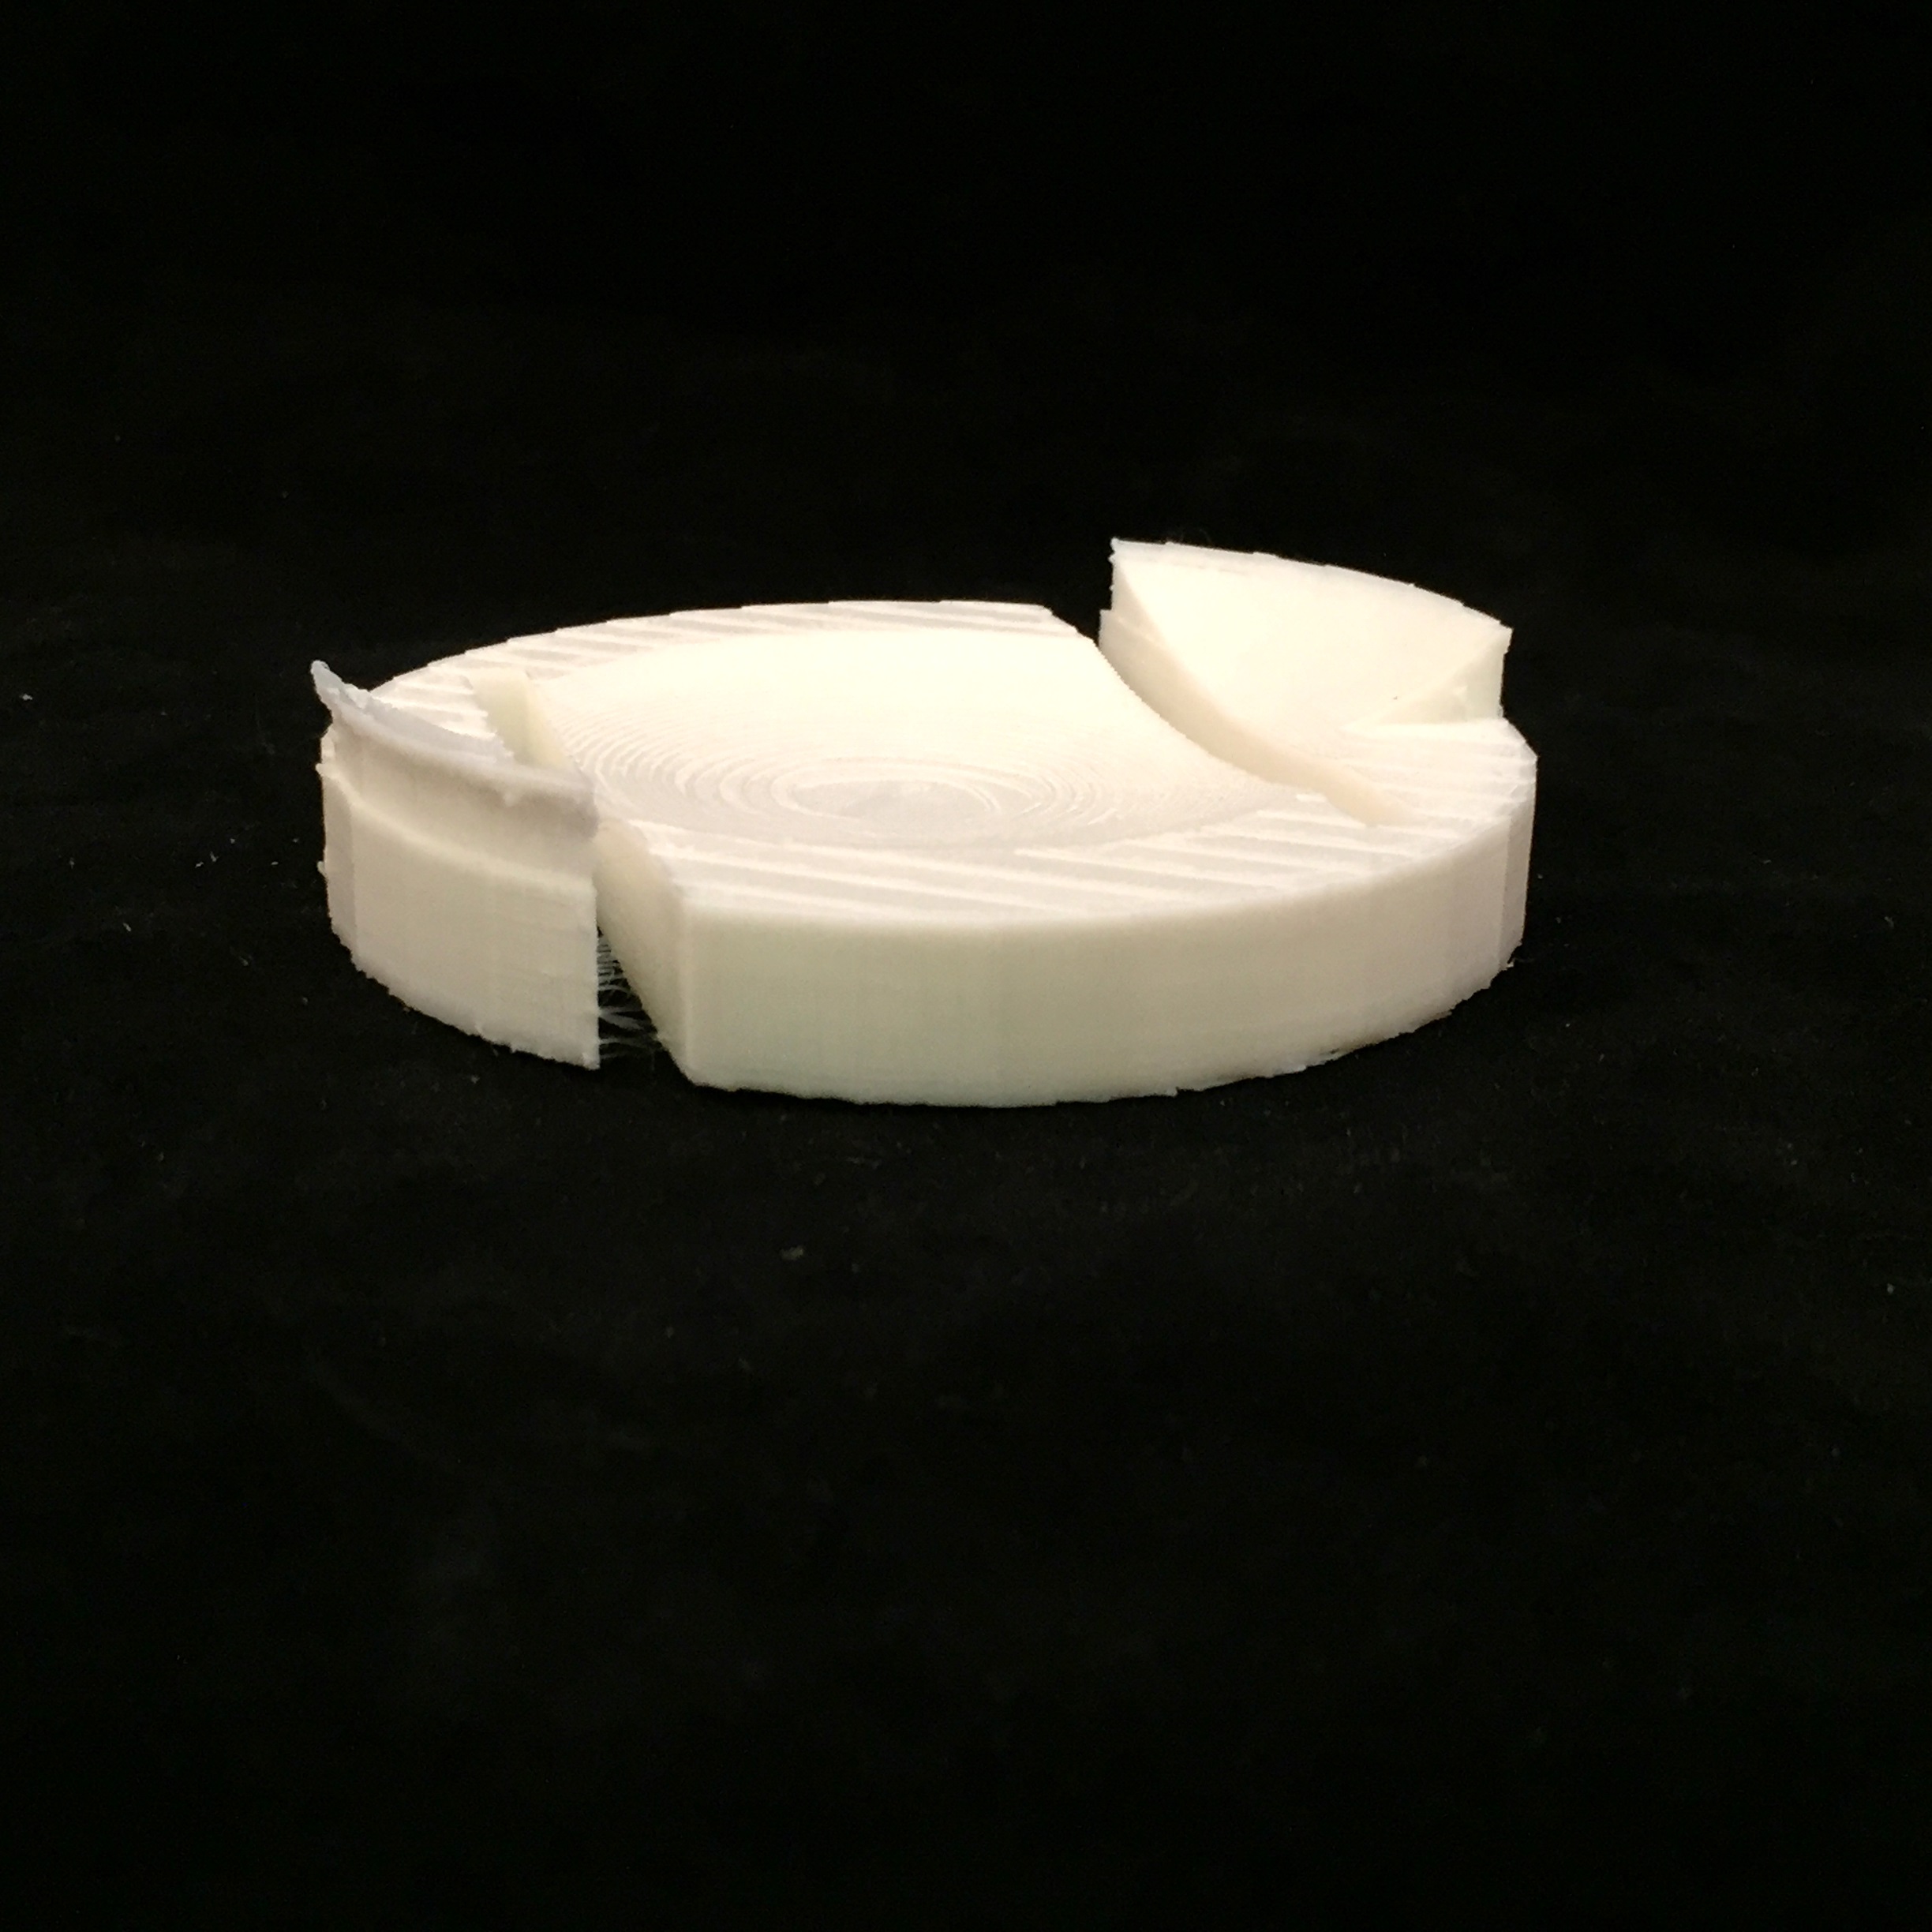
camera cap
myminifactory
A Camera Cap I Crafted with Precision in Tinkercad: A Step-by-Step Design Tutorial Check out my latest project, a functional camera cap designed from scratch using the incredible tools of Tinkercad! I'm excited to share this beginner-friendly guide on how to create your own custom cap, perfect for protecting your precious lens. Whether you're a seasoned maker or just starting out, this tutorial is tailored to help you bring your design vision to life. **Step 1: Setting Up Your Workspace** Before we dive into the nitty-gritty of designing our camera cap, let's get our workspace organized. Open up Tinkercad and create a new project by clicking on the "New Project" button. Give it a name that reflects your design – in this case, I've named mine "Camera Cap." **Step 2: Designing the Base** Now that we have our project set up, let's start with the base of our camera cap. We'll need to create a circular shape that will serve as the foundation for our design. To do this, click on the "Circle" tool in the toolbar and draw a circle with a diameter of about 1 inch (2.5 cm). Don't worry too much about precision at this stage – we can always adjust it later. **Step 3: Adding Depth** Next, let's add some depth to our design by creating a small hole for the lens. To do this, click on the "Hole" tool in the toolbar and draw a circle with a diameter of about 0.5 inches (1.25 cm). Place it directly above the center of our base circle. **Step 4: Creating the Cap's Exterior** Now that we have the base and hole in place, let's focus on creating the cap's exterior. We'll need to add some features to make it functional and visually appealing. Click on the "Extrude" tool in the toolbar and draw a rectangular shape around our base circle. This will give us the main body of our camera cap. **Step 5: Adding a Lip** To complete our design, let's add a lip around the edge of our cap. This will help it stay securely on your lens. Click on the "Extrude" tool again and draw a thin rectangle that follows the curve of our base circle. Make sure to align it perfectly with the main body. **Step 6: Final Touches** We're almost done! Now, let's add some final touches to our design. Click on the "Invert" tool in the toolbar and fill in any gaps or holes in our cap. This will ensure that it's watertight and ready for use. **Step 7: Exporting Your Design** The final step is to export your design as an STL file, which can be used with a 3D printer. To do this, click on the "Export" button in the top-right corner of Tinkercad and select "STL." Choose a location to save your file and give it a name that reflects your design. And that's it! With these simple steps, you've created your very own camera cap using Tinkercad. Whether you're protecting your lens or just looking for a fun project to work on, this tutorial has shown you how to bring your design vision to life. So go ahead and get creative – the possibilities are endless in the world of 3D printing!
With this file you will be able to print camera cap with your 3D printer. Click on the button and save the file on your computer to work, edit or customize your design. You can also find more 3D designs for printers on camera cap.
