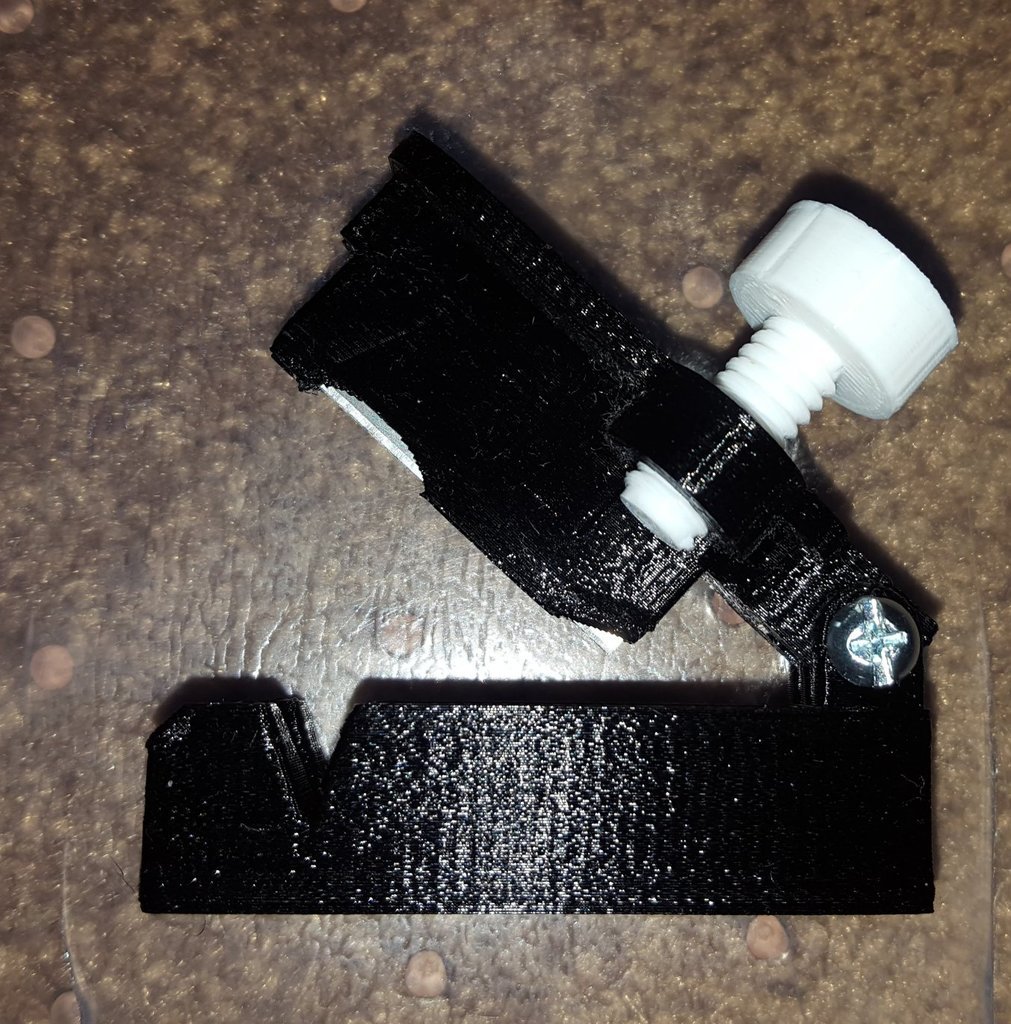
Cable Slitter R2
thingiverse
I remixed my cable slitter again, and I mean it this time. Last time was a mistake, so I made some changes. Now only half of the razor blade is exposed under a protective cover, making it slightly safer to handle. The bottom section had to be adjusted to accommodate the longer guard, which means R1 and R2 are not interchangeable. I've printed many R1s using different filaments, but some screws get stuck due to binding in the threads. To fix this, I sanded the threads, deepened the grooves, and applied mineral oil. I reduced the size of the screw by 10% and 20% in the x and y axes while keeping the z axis unchanged, so the threads will still match. This should work with most filaments and printer setups. There's a small slot that tends to fuse together during printing (it happens on my printers too), which needs to be cut apart using a razor blade. The slot is located on the opposite side of the screw, 5mm above the base, in front. It serves as a locking tab for the blade and can be seen in Thingiview. Use an 8-32X3/4 bolt for the hinge, and wrap a rubber band around it to create an automatic tensioner that keeps everything closed and safe. This way, you won't get cut when searching through your toolbox later. So far, I've only printed this design using PETG with settings of 235 Nozzle, 70 bed temperature, 0.2 layer height, and 50% infill.
With this file you will be able to print Cable Slitter R2 with your 3D printer. Click on the button and save the file on your computer to work, edit or customize your design. You can also find more 3D designs for printers on Cable Slitter R2.
