cable manager
prusaprinters
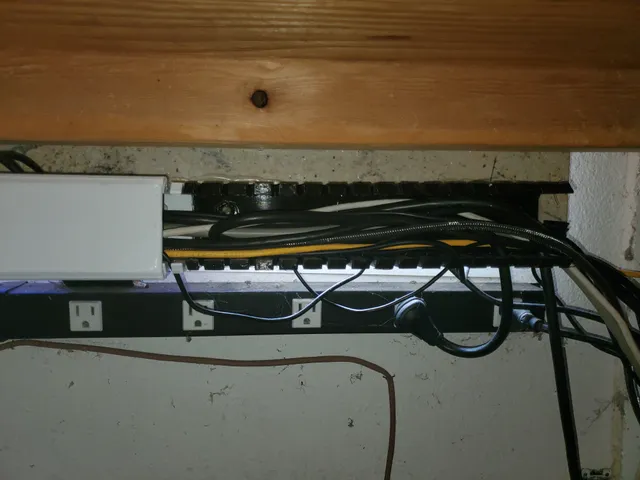
The track is intended for 3 parts. two are glued together making the base. The reason they are glued together and not just printed from the base is so the weak part of the part (the fingers sticking up are not weaker because of print layers. To strengthen the glue joint it can be glued and screwed. it is designed for M3 x 25mmLong socket head cap screws. could use 20-45mm long. You could choose to just glue or screw together.No support is needed to print. I found it best to print with a wide brim. The Tips of the fingers have a small area touching the bed, this make them easy to come off the bed. If the brim is wide enough (6 works for me) it connects them, and much less likely to detach. for my use I glue the base to the bottom of my granite desk. it has holes to screw it in place. You don't need to use all the mounting holes in the base. The Hole spacing is not big enough to fit mounting to multiple standard stud spacing. If I get requests I will reduce the length for a smaller printer. These are sized for a 300mm printer. Just let me know what size you have.It could be printed with the side fingers coming out of the bed. That is not a good plan because the layers are where you want to flex. Making it easy to break. Better to glue the bottom as I did. The two side pieces are the same, just reversed. If you are printing several, they are the same part. No need to identify.
With this file you will be able to print cable manager with your 3D printer. Click on the button and save the file on your computer to work, edit or customize your design. You can also find more 3D designs for printers on cable manager.