Cable Cover / Integrated Rail for PrusaBox by PrinterBox
prusaprinters
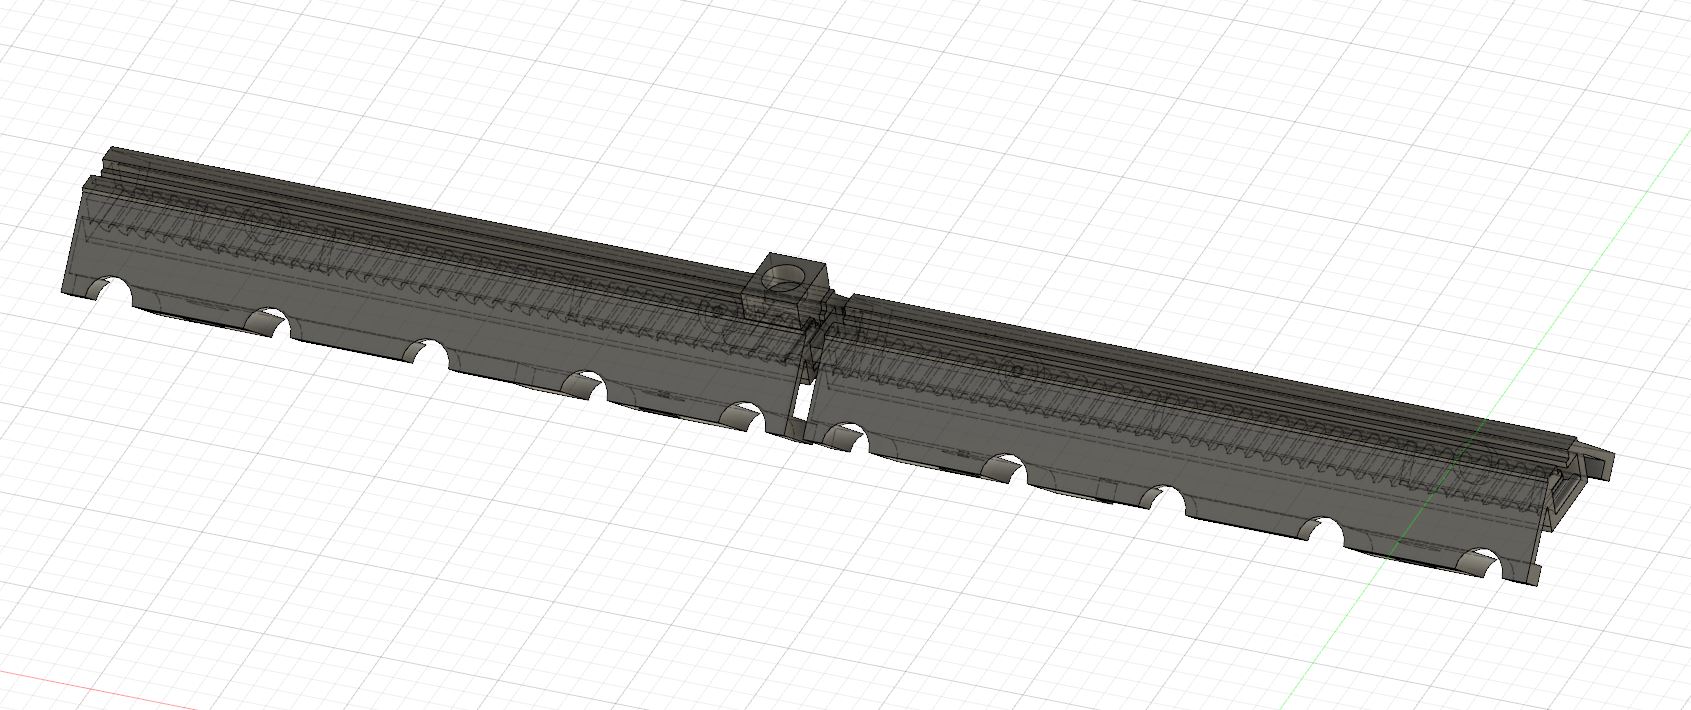
<p>Cable cover with integrated rail and magnets of course. Now you can mount whatever you want and you can change the vertical position in a blink of an eye. </p><figure class="media"><oembed url="https://www.youtube.com/watch?v=4432_6oFKIY"></oembed></figure><p><br><br><br><img src="https://media.printables.com/media/prints/224478/rich_content/cb247733-76f4-4fca-b80a-dacade4d6814/whatsapp-image-2022-06-12-at-164002.jpeg#%7B%22uuid%22%3A%2240c002e8-9635-494b-bfd1-d35f2d9d0e90%22%2C%22w%22%3A1500%2C%22h%22%3A2000%7D"></p><p><br><img class="image_resized" style="width:88.9%;" src="https://media.printables.com/media/prints/224478/rich_content/890953e2-2ed7-4f18-9bc2-82f74847bfcb/whatsapp-image-2022-06-11-at-232334.jpeg#%7B%22uuid%22%3A%22f1182f42-d683-4c0f-83c5-5a08e6bf30a5%22%2C%22w%22%3A1200%2C%22h%22%3A1600%7D"><br><br><strong>Instructions</strong></p><ul><li>Print with supports (<strong>Important! Take a look at .gcode</strong>). I recommend using the “Intelligent mode” of prusa slicer.</li><li>Print as many gliders and holders you need<br><br><img src="https://media.printables.com/media/prints/224478/rich_content/ccba8fd6-2e83-4112-be82-cdfd8865f97e/rail4.jpg#%7B%22uuid%22%3A%229a32fd6a-c588-4e75-8cad-7016848096b2%22%2C%22w%22%3A876%2C%22h%22%3A870%7D"><br> </li><li>Remove the old rail</li><li>If you have the frame for the thermometer installed (<a href="https://help.printer-box.com/3d-printer-enclosure-thermometer/">https://help.printer-box.com/3d-printer-enclosure-thermometer/</a>), remove the clamp.<br><br><img src="https://media.printables.com/media/prints/224478/rich_content/3c4672d2-824b-4445-b55c-8a40d378888a/rail5.jpg#%7B%22uuid%22%3A%2293e5dd55-0b6a-47b9-82a0-ab4a8294cc23%22%2C%22w%22%3A857%2C%22h%22%3A512%7D"></li></ul><p> </p><ul><li>Install the magnet holder (you'll need a longer screw: M3 x 20).<br><br><img class="image_resized" style="width:90.77%;" src="https://media.printables.com/media/prints/224478/rich_content/c502a1d7-057d-4a33-a903-081c35991a2b/rail6.jpg#%7B%22uuid%22%3A%22f7872459-10c3-474f-8764-22ede9714161%22%2C%22w%22%3A563%2C%22h%22%3A521%7D"></li></ul><figure class="image image_resized" style="width:88.7%;"><img src="https://media.printables.com/media/prints/224478/rich_content/07fdb595-59b6-4a47-9820-b8326a7ed0c8/whatsapp-image-2022-06-11-at-232333.jpeg#%7B%22uuid%22%3A%224ea2b57d-2b0b-4db0-9a6f-9e6900ea3833%22%2C%22w%22%3A1200%2C%22h%22%3A1600%7D"></figure><p> </p><ul><li>Make sure the magnet poles of the holder and the glider are installed correctly, + and - must be facing each other.<br><br> </li></ul><p><strong>For owners of the Logitech C270 camera:</strong><br><strong> </strong></p><ul><li>If you use a Logitech C270, download and print the magnetic holder I've designed:<br><br><a href="https://www.printables.com/de/model/125937-magnetic-camera-holder-for-logitech-c270">https://www.printables.com/de/model/125937-magnetic-camera-holder-for-logitech-c270</a><br><br><img src="https://media.printables.com/media/prints/125937/images/1211586_b5b1d2ee-5680-44e6-af98-f0c34f1e5260/thumbs/cover/640x480/jpeg/whatsapp-image-2022-01-28-at-235815.webp"><br> </li><li>You will only have to print the marked part:<br><br><br><img src="https://media.printables.com/media/prints/224478/rich_content/40e4f424-7d28-4923-9914-3c8ca395023f/rail7.jpg#%7B%22uuid%22%3A%22be119f70-2e5d-4dbf-807e-d90986d6b41a%22%2C%22w%22%3A731%2C%22h%22%3A777%7D"></li></ul><p> </p><p><strong>For owners of the Logitech C920 camera:</strong></p><ul><li>Download mount: <a href="https://www.thingiverse.com/thing:3013280/files">https://www.thingiverse.com/thing:3013280/files</a></li><li>Download my C920 magnet holder ("C920_Magnet_Mount.stl")<br><br><img src="https://media.printables.com/media/prints/224478/rich_content/5adaefdb-a11f-4fa3-877e-fcd946996a6f/c920-magnet-mount.jpg#%7B%22uuid%22%3A%22607fe3d2-d1fc-43cd-aa97-e34960cdfc70%22%2C%22w%22%3A1175%2C%22h%22%3A848%7D"><br><br> </li><li><strong>Note: </strong>This is a quick & dirty design that has not been tested and was created only on the basis of the .stl source on thingverse (simply because I don't own a c920 ). I am not sure wether the magnet will be strong enough to hold this heavy camera (but I guess this should do, as long as you use neodym magnets).</li></ul><p><strong>For all other cameras</strong></p><ul><li>If you have a different camera installed, you probably have to design your own magnet holder.</li></ul><p> </p><p><strong>Installation</strong></p><ul><li>Mount all magnets. Use superglue to fix them, if necessary.</li><li>Insert the glider into the rail. You will notice a small angle downwards. But this is intentional. Otherwise it would not be possible to provide enough space to move the glider along the rail. This also makes it a bit shaky when you slide/move it. Remember: The system is not meant to be rock solid, but functional and clean looking. </li><li>To move the glider, simply pull it, change the position and push it back in. </li></ul><p> </p><p><strong>You need:</strong></p><p>8 8 x 3 magnets for the cover<br>1 8 x 3 magnet for the glider<br>1 8 x 3 magnet for the holder <br>1 8 x 3 magnet for the Logitech c270 holder<br>1 8 x 4 or 8 x 3 magnet for the Logitech c920 holder<br>1 M3 x 20 screw for the thermometer holder</p><p> </p><p><strong>Note</strong></p><p>Check out my magnetic probe holder, that will perfectly fit to this print. </p><p><a href="https://www.printables.com/de/model/125317-magnetic-holder-for-temperature-sensors-probes">https://www.printables.com/de/model/125317-magnetic-holder-for-temperature-sensors-probes</a></p><p><img src="https://media.printables.com/media/prints/125317/images/1244691_60f82830-c3fc-48db-b58f-608921b8c95b/thumbs/cover/640x480/jpg/sensor.webp"><br><br><img src="https://media.printables.com/media/prints/224478/rich_content/fa7bc8c0-23d4-493e-bb08-980b55ad60c3/whatsapp-image-2022-06-12-at-175833.jpeg#%7B%22uuid%22%3A%22472e0ebd-729e-4a65-b775-5f95d80449db%22%2C%22w%22%3A1500%2C%22h%22%3A2000%7D"></p><p> </p><p> </p><p> </p>
With this file you will be able to print Cable Cover / Integrated Rail for PrusaBox by PrinterBox with your 3D printer. Click on the button and save the file on your computer to work, edit or customize your design. You can also find more 3D designs for printers on Cable Cover / Integrated Rail for PrusaBox by PrinterBox.