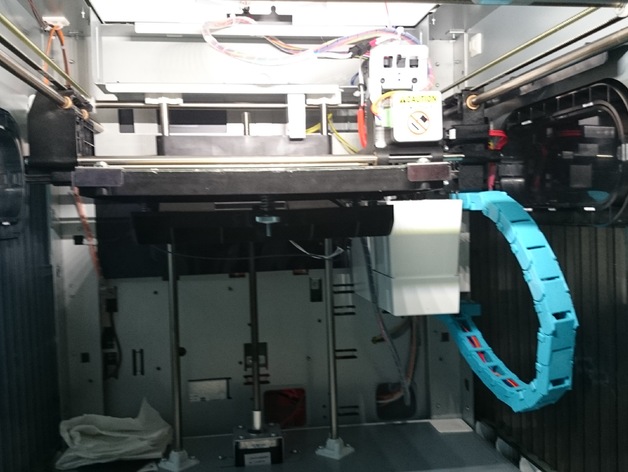
Cable Chain for Da Vinci 1.0
thingiverse
Cable Chain for X axis Edit 10/03/14 : Enhanced Stability Addition - Anti-Bending Feature Included Instructions After using the Da Vinci 1.0 printer, I observed that the motor-wire connecting mechanism on the X axis began to flex and eventually showed signs of strain. I speculate that if this continues unchecked, it could ultimately lead to a wire break. Adapting the Cable Chain Model Designed for Ultimaker, I crafted a compatible solution for the Da Vinci 1.0 printer. Upon completion of printing, you must remove the right panel from your printer, disassemble the clean box (by removing two screws), disconnect both sensor and motor plugs, carefully slice through serflex where it's attached to three components (note: be mindful not to cut any wires). Before installation, verify that cables are properly aligned. Caution: Any actions you take following these steps are done at your own risk. Printing Recommendation: Optimal resolution achieved with a 0.2 mm setting Installation Instructions: Secure two serflex units for attachment to the lowermost component Attach all six lower link pieces, making sure they remain stable and won't shift during assembly
With this file you will be able to print Cable Chain for Da Vinci 1.0 with your 3D printer. Click on the button and save the file on your computer to work, edit or customize your design. You can also find more 3D designs for printers on Cable Chain for Da Vinci 1.0.
