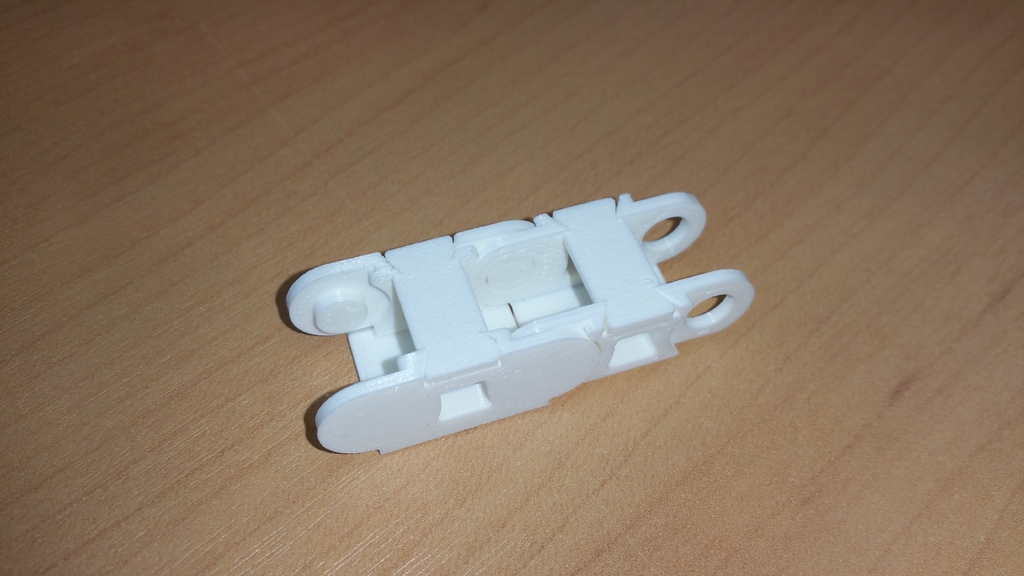
Cable chain for CNC and printer, printed flat
thingiverse
The secret to creating an inner way for cables lies in mastering a specific technique involving chain elements. To start, you will need a cable that measures 10 x 10 mm in size. When it comes to the axes distance, make sure it is set at exactly 20 mm. The angle of the chain element should be precisely ±45°. This precise measurement is crucial for achieving the desired print quality. I was initially dissatisfied with the print quality of regular cable chains I had tried. So, I decided to take matters into my own hands and create one from scratch. One of the key benefits of this technique is that it allows for an absolutely flat printing experience. This is particularly important when working with delicate components like cables. When using a slicer, be sure to print the "clip fermeture" upside down. This may seem counterintuitive, but trust me, it makes all the difference in the final product. To assemble the cable chain, begin by folding the "interieur" along the predefined edges around your cable. Next, add a clip and then attach another layer on top. Fold the "exterieur" into place, securing everything with clips as you go. The result is a seamless connection between parts, leaving virtually no room for error or imperfections. The outcome is a high-quality feeling that is hard to beat.
With this file you will be able to print Cable chain for CNC and printer, printed flat with your 3D printer. Click on the button and save the file on your computer to work, edit or customize your design. You can also find more 3D designs for printers on Cable chain for CNC and printer, printed flat.
