Cabelcuff, Cabel tightener / cable Clip
prusaprinters
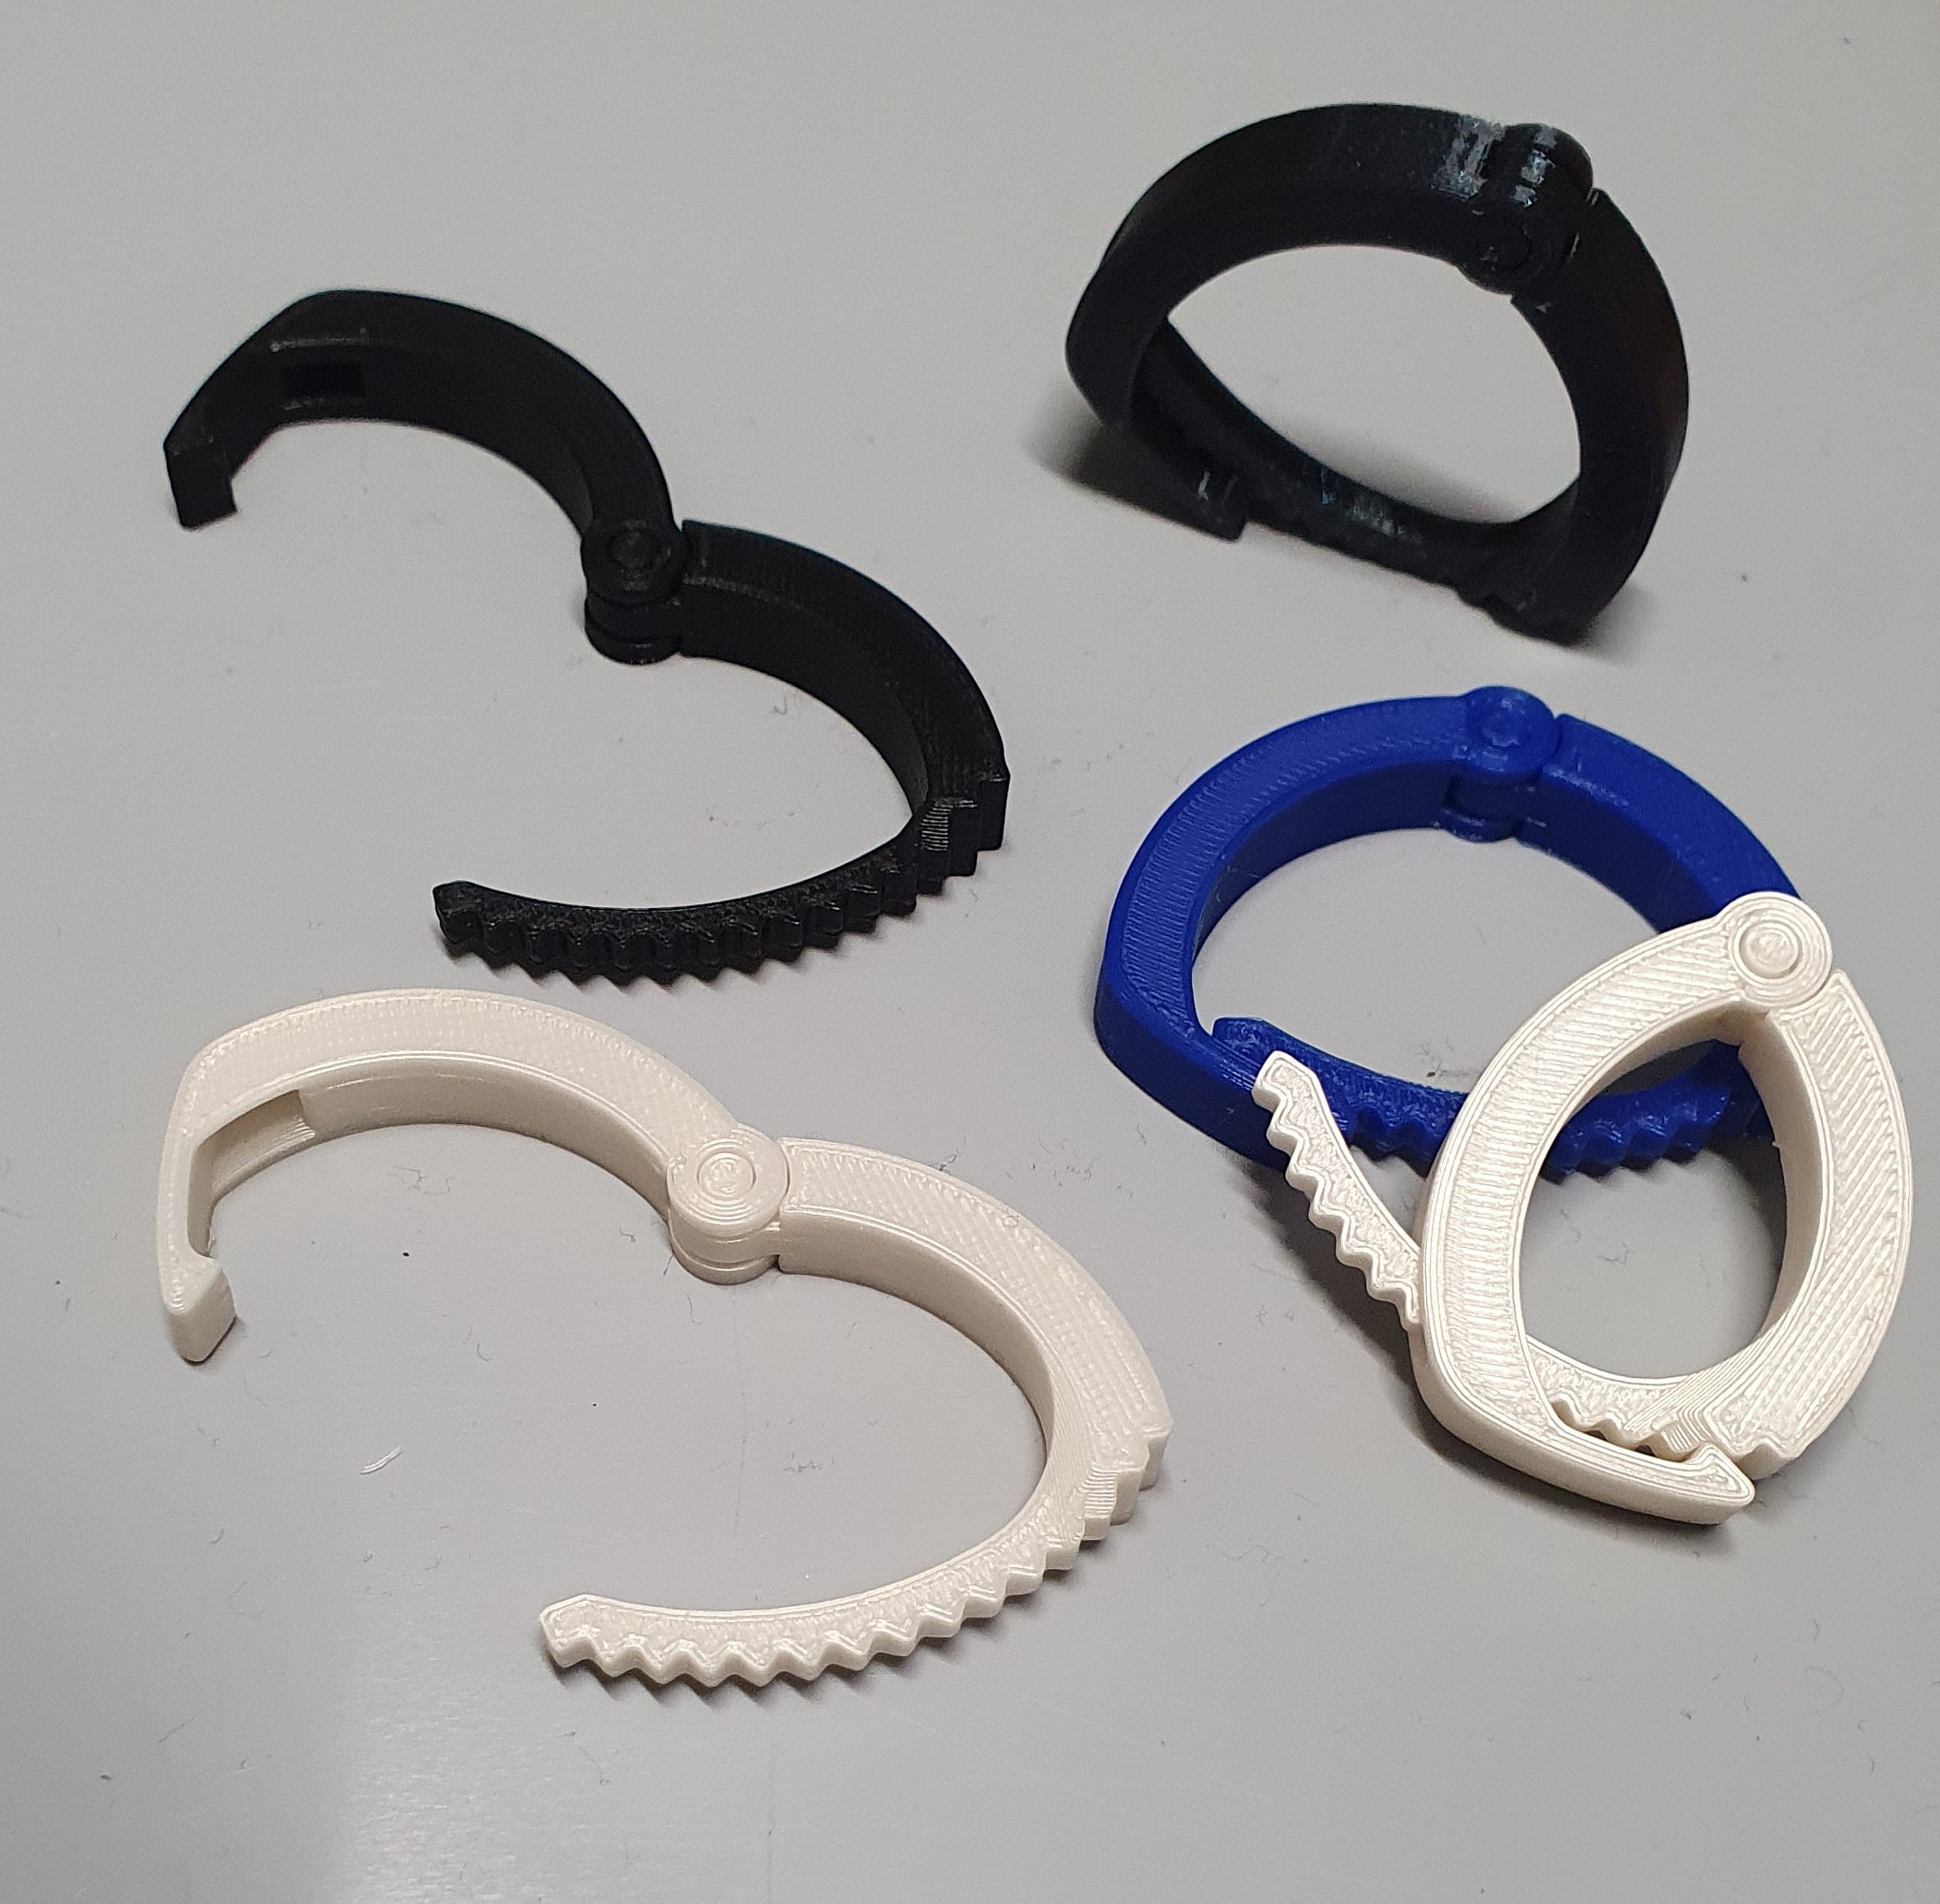
<p>As the name in the Title might suggest, this is the Cabelcuff its a cable organizer/tidier to doing the same job, that a zip tie or a wire wrapped around your cable bundle would do, but quicker, reusable, 3d printed and with a really satisfiyng clicky mechanism, that works kind of similar to a Handcuff (Thats where the name comes from). It was inspired and therefore designed for the prusa cable contest.</p><p> </p><p>But enough of that introduction nonsense, lets get printing! </p><p>First of all select yourself a file, i got .3mf .stl and three different Gcodes. The ones that say “Rescale” or “70%” in theire name are rescaled and modified versions of my main model. The normal bigger ones are great for power cords (the one saying “3x” has three normal ones next to each other on the printbed.), long cables and just bigger stuff in general. If you however have something like a usb-cable or just a thin not so thick or short one, you might wanna use the saml rescaled version instead. </p><p>I have printed many big and a few small ones with said Gcodes, and the settings are dialed down fearly well, if you for some reason want to slice it yourself however, pick a 3mf or stl file and maybe change following settings:</p><ul><li>support: Sadly this modell is not printable witout supportsl, but dont worry, its only one very simple support structure, that weighs less than 0.4g just make sure, your slicer does not try to support the print-in-place hinge.</li><li>Temperature: Ive printed the model over a dozen times now and i can ensure you, that it likes to be printed a little colder than usual (atleast for PLA, sadly i dont have PETG on hand right now in order to test it), so put it to something like 205°C </li><li>Flowrate: Especially if your hinge is stuck (which did not happen to me since the second itteration) you should dial down the flow to 95%</li></ul><p>I also recommend following settings: </p><ul><li>0.2mm for the Full scale model and 0.15 for the 70%rescale.</li><li>A anti support drawing on the Hinge (the sixt setting in the sidebar in prusa slicer, and then scribble over the hinge while pressing the right mousebutton):</li></ul><p> <img class="image-style-align-right image_resized" style="width:71.29%;" src="https://media.prusaprinters.org/media/prints/125354/rich_content/b22daffb-6c18-4fa8-8cd3-9cd16c8ec21c/anti-support-prslicer.png#%7B%22uuid%22%3A%22aceeb9f3-89b3-44c4-befa-05094cc21cf8%22%2C%22w%22%3A1319%2C%22h%22%3A444%7D"></p><p> <img class="image_resized" style="width:13.76%;" src="https://media.prusaprinters.org/media/prints/125354/rich_content/341418f9-5fa5-4218-999d-d3ea896009ce/anti-support-option.png#%7B%22uuid%22%3A%22130ada87-0237-45cd-87fd-55a85503e4c9%22%2C%22w%22%3A68%2C%22h%22%3A69%7D"></p><p> </p><p> </p><ul><li>Something between 5 and 100% infill in a pattern of your choice (i used gyroid and the 3d hexagons but it doesent really matter).</li><li>And the last ones not really a “setting” but you might want to losen up your first layer z hight, so you dont get a squishy elephants foot clogging up your lower hinge.</li></ul><p> </p><p>Great! So you have printed your first Cablecuff and have taken it of the printbed, now just make sure you have removed the support without leaving any debris on the gear like teeth. Then carefully bend the hinge, as it surely is stuck at first, it should click once without breaking and then be movable with little resistance. Now this is the point where you will see if you got the settings right, with most fillament, speeds and even temperatures it worked perfect the first time, but it can happen, that you break off the lower bolt, with it being stuck to its counterpart. In that case, dont worry, it probably just fused within the first few layers. But as there also is an upper bolt, your Cabelcuff will work perfectly fine (Happened to me 3 out of probably more than 20 prints, mostly when using weird pla, never with prusament). Another thing that might break is the complete lower hinge, in that case not your bolt but probably the layer between the lower and the middle hinge segment fused. This did not happen to me since itteration 2 and should not happen to you (Hopefully). But if it does, a solution might be to lower the material flow and temperature.</p><p> </p><p>ATTENTION:</p><p>THE 70% SCALE IS NO LONGER BETA, AND WORKS FINE BY NOW.<br><br>If you have recommendations, ideas, questions or problems, leave a comment or reach out to me otherwise, i will be happy to help, or be helped.</p><p>With that said, i wish you all happy printing,</p><p>ya fellow David is out for today, good night!</p>
With this file you will be able to print Cabelcuff, Cabel tightener / cable Clip with your 3D printer. Click on the button and save the file on your computer to work, edit or customize your design. You can also find more 3D designs for printers on Cabelcuff, Cabel tightener / cable Clip.