Cabelbox /cable enclosure
prusaprinters
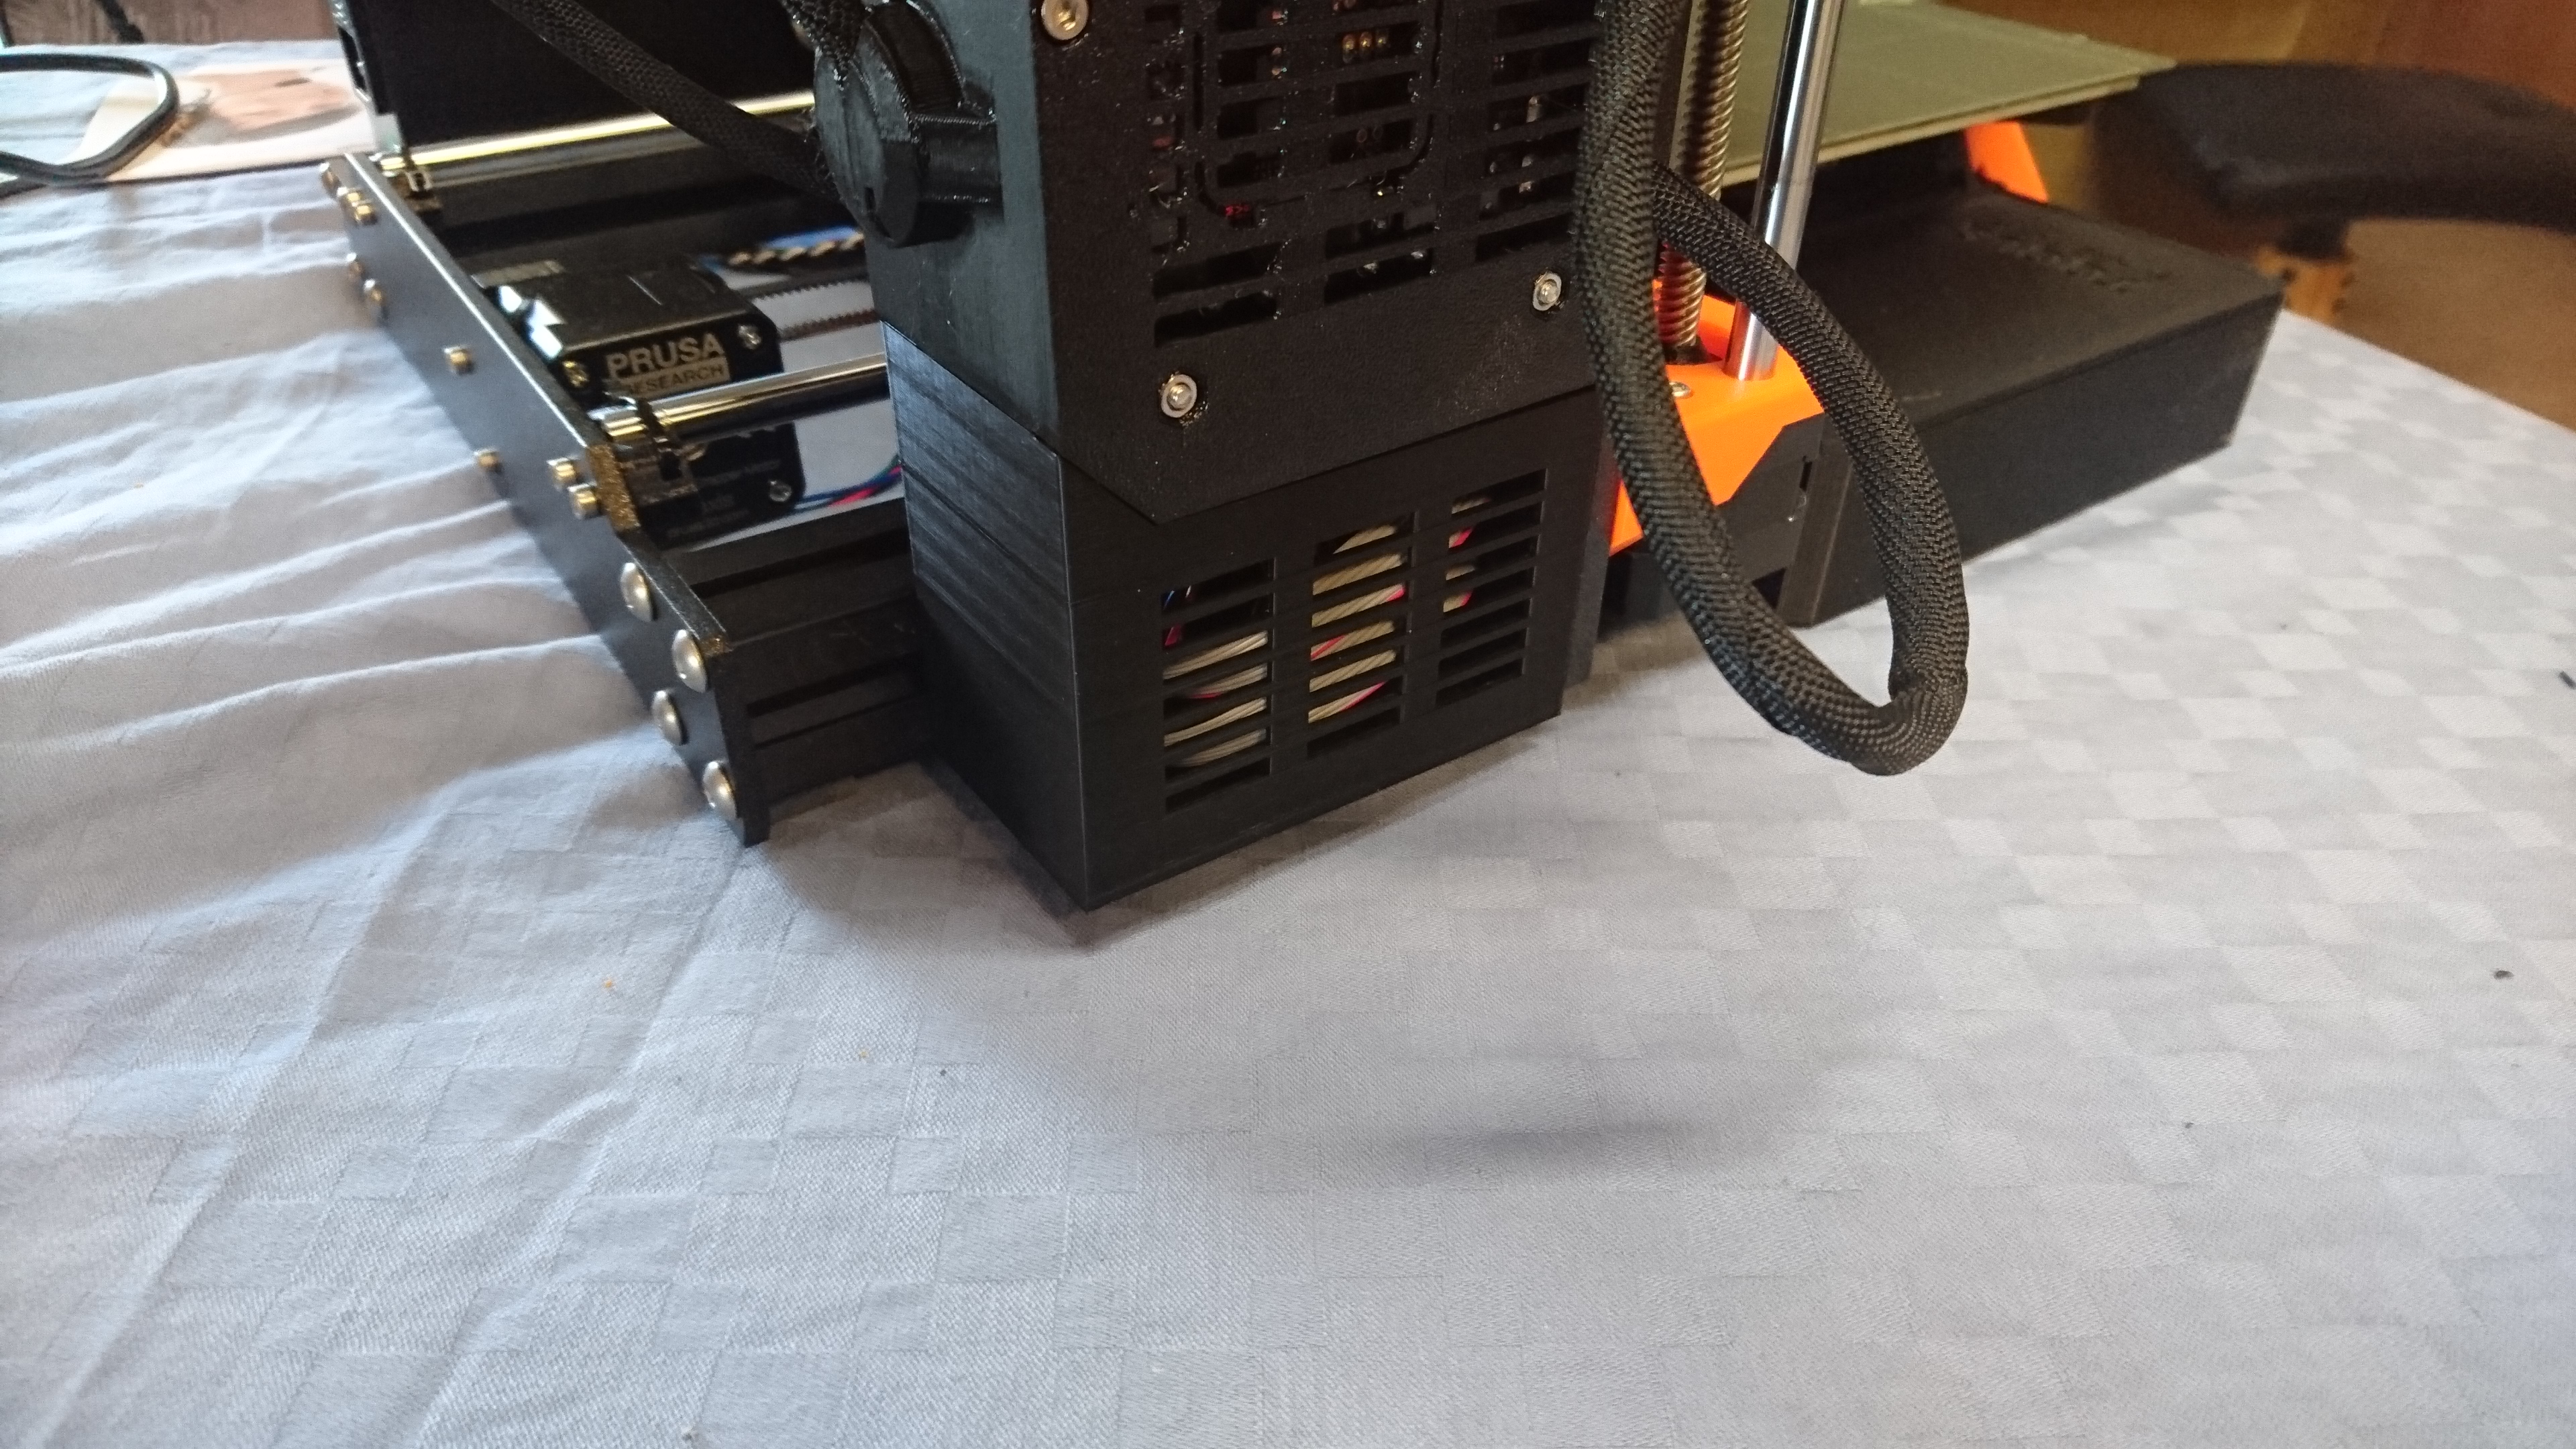
<p>Box to cover/contain the cabels under Einsy base and door.</p> <h3>Print instructions</h3><p>First i will state the print is not perfect to use right away. With app. 12 hours printing experience i have much to learn.</p> <p>Add supports in the square section of the cabelbox or redesign it with an angle. Without supports it will have hard times printing this corner. I did make the box open at one side for plug and play. Otherwise i have to unplug all the cables/wires and guide them into the box and replug the cables/wires to the board.</p> <p>I have designed some plastic screws for fixing the cable box. I have used inspiration from this forum, so the general fixing method is not invented by me. The method is generally used with nut and a skrew.</p> <p>Printer:<br/> Prusa i3 mk3s</p> <p>Print settings:<br/> 0,20 mm (Quality)<br/> 15% infill</p> <p>Filament:<br/> I used Prusament PLA black. What i have for now for training purpose.</p> <p>I think optimal will be PETG. This will make the look equal to the rest of machine. BLACK PLA is more grey/pale compared to the PETG on the machine.</p> <p>Mounting the parts on the machine:<br/> When all the parts are ready, i did following steps.</p> <ol> <li><p>Make sure the unbraco fit inside the screws without large tolerance. If there are to much tolerance you will twist the hole.</p> </li> <li><p>Insert the screws inside the back extrusion with the flat side pointing out. The long side should be horisontal (unlocked).</p> </li> <li><p>Take the cabelbox and align the slotted hole on the screws. There should be plenty of room for the screws inside the slotted holes for adjustment up and down. Make sure the squared things on the cablebox top are resting on the Einsy-base. Be careful not to hit the print. When it is done, Slide the cablebox to the right until it hit the main frame of the printer. Do not squeeze the cables. If they are proper fixed according to the manual, is should not be any problems.<br/> Note: The screws can be bit tricky to align. They will twist.</p> </li> <li><p>Use some light to make the inside of the box more visible. Place the printer on a place, where it is possible to place light from the bottom. Use the unbraco tool from outside and insert it to the screws. Move the left screw to the far left and the right screw to the far right. Move the cabelbox upwards and make it fit the geometry of the Einsy door and base. Tighten the screws when it fit properly. Turn the screw until you feel tension and the cabelbox is fixed. The screws are designed to compensate for tolerance in print and extrusion profile. So do not panic if it you can’t turn them 90°. My screws are turned app. 45°. The screws can maximum turn 90°. The design prevents them for turning anymore.</p> </li> </ol> <p>Trouble shooting when the screws can’t fix the cable box properly.</p> <ol> <li>Check thickness of the cable box. Should be 2mm.</li> <li>Check thickness of the extrusion. Should be somewhere between 2.00 -2,2mm</li> <li>The screw is designed with 4mm at minimum and 4,5 mm at maximum. The difference ensure proper tighten screws.</li> <li>If anything is okay to above 3 steps, but the cablebox is still lose, you have to redesign the screw. Change the clearance from 4mm to 3.8mm. The 3,8mm was my first print of the screw. They were very tight on my machine. I could only turn the screws app. 25-30°.</li> </ol>
With this file you will be able to print Cabelbox /cable enclosure with your 3D printer. Click on the button and save the file on your computer to work, edit or customize your design. You can also find more 3D designs for printers on Cabelbox /cable enclosure.