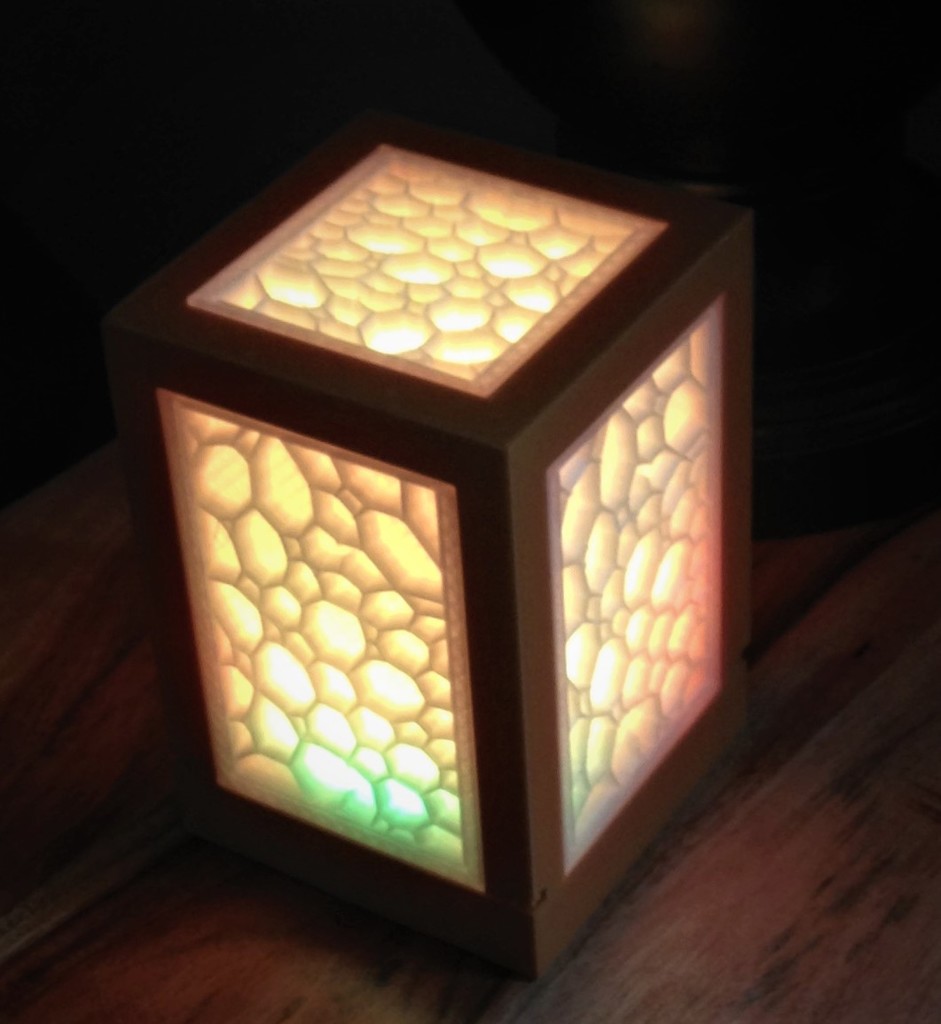
Busy Light / Voronoi desk lamp
thingiverse
My wife really wanted a busy light! So, here it is... Switches: I headed over to Jameco electronics (https://www.jameco.com/z/R13-73C-R-02-R-Rocker-Switch-Double-Pole-Single-Throw-10-Amp-On-Off-Red-Illuminated_316153.html) and picked up some quality switches. Electrical connector: I also ordered an electrical connector from amazon (https://www.amazon.com/OliYin-Connector-Housing-Battery-Multicopter/dp/B071RTB3RG/ref=pd_day0_hl_23_2/147-6680368-1041962?_encoding=UTF8&pd_rd_i=B071RTB3RG&pd_rd_r=24f7d88b-6232-11e9-851c-1df216413549&pd_rd_w=0Ucmr&pd_rd_wg=lq2i0&pf_rd_p=ad07871c-e646-4161-82c7-5ed0d4c85b07&pf_rd_r=P9ZXQ3FHEYWRJ8B0VMCE&psc=1&refRID=P9ZXQ3FHEYWRJ8B0VMCE) to fit all the components together. LED: I selected a bright LED from (https://www.amazon.com/gp/product/B019MN995C/ref=ppx_yo_dt_b_asin_title_o02_s00?ie=UTF8&psc=1) that will illuminate the busy light. Fished out the LED PCBs from inside the case. Then, I hot-glued them to the base of the light. The hot glue also acts as a strain relief, keeping everything securely in place. I plugged it all in using a 12V 2A generic power adapter and voila! My wife's busy light is now fully functional.
With this file you will be able to print Busy Light / Voronoi desk lamp with your 3D printer. Click on the button and save the file on your computer to work, edit or customize your design. You can also find more 3D designs for printers on Busy Light / Voronoi desk lamp.
