Business Card Shooter (Crossbow Style)
prusaprinters
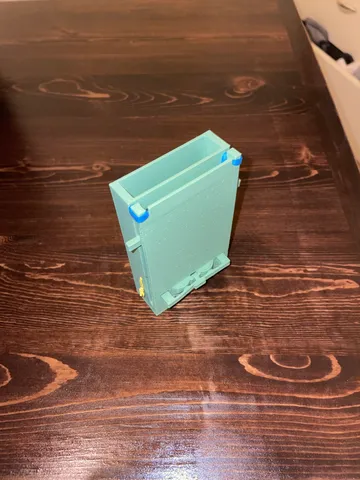
This shooter requires 2 (and extras if they break) rubber bands. The main rubber band goes through the two holes in the Shooter piece and then around the two notches at the top of the body. The second rubber band will need to be split in half and goes through the 4 holes in the body in the card storage area. Once this is through all the holes tie it together and make sure it is a little bit stretched. Slip the card depressor underneath the second rubber band in the card storage area. The cards will slide underneath it and keep the bottom card in contact with the shooter piece. The trigger needs to be bent a little to slide in the weird protrusion on the main body (see picture). Use the two outside parts to slide the shooter back past where the trigger clicks, then push the middle trigger part down to fire the card. Hope you enjoy! Some sanding may be necessary. The parts have 0.5mm (0.02in) of clearance between each other
With this file you will be able to print Business Card Shooter (Crossbow Style) with your 3D printer. Click on the button and save the file on your computer to work, edit or customize your design. You can also find more 3D designs for printers on Business Card Shooter (Crossbow Style).