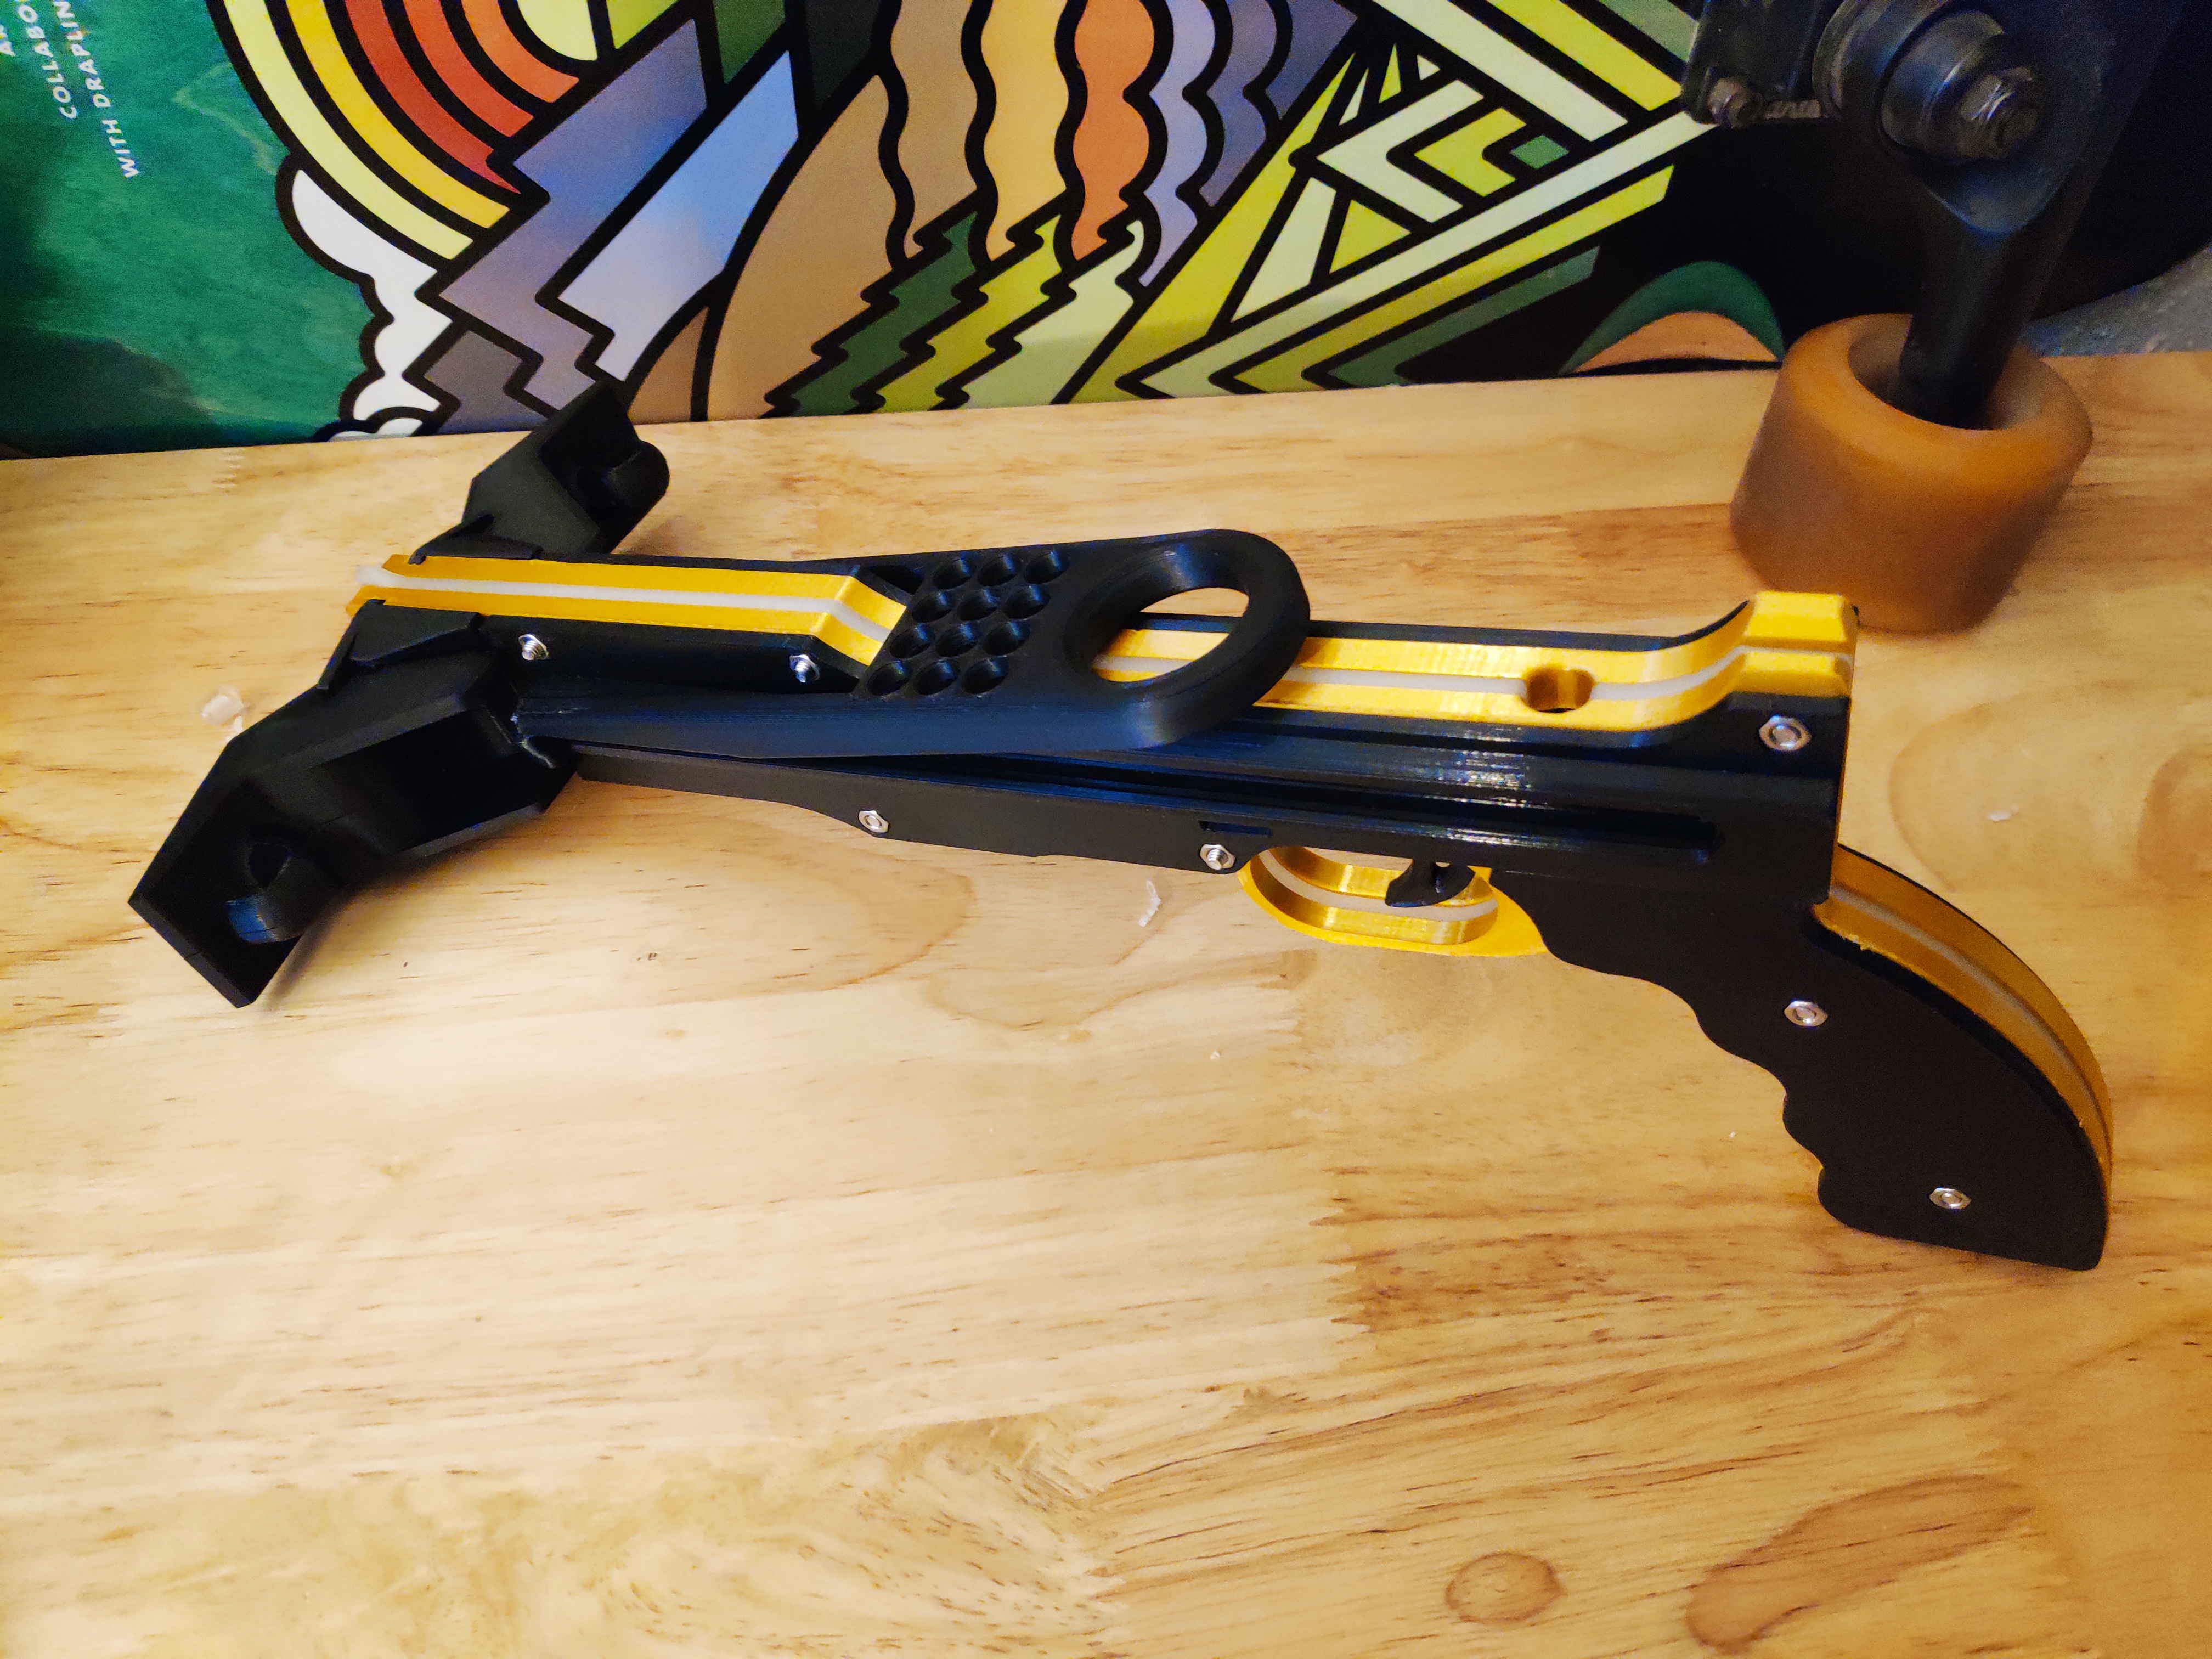
Bullet Shooting Crossbow
prusaprinters
<h3>Overview</h3><p>This Crossbow is a remix of the awesome model of <a href="https://thangs.com/Arkoudaki/Hand-Crossbow-3Dprint-19179">Arkoudaki Crossbow</a> that can be found on Thangs </p><p><img src="https://media.prusaprinters.org/media/prints/94798/rich_content/06fb5278-be7e-4a9d-91ff-59af853eb233/build-7-completed.png#%7B%22uuid%22%3A%2255ab46fb-d297-4ead-ab5b-a740e634db1b%22%2C%22w%22%3A1092%2C%22h%22%3A1035%7D"></p><p>A lot of modifications went into this for easier building and printing. Took me around 30h of work. </p><ul><li>Replaced plastic pins with <strong>seven</strong> M3x20mm button head screws and nuts</li><li>Increased width of outside black parts to fit 20mm screws and not 18mm screws (less common)</li><li>Added 45degree chamfer on Guide Right & Left & Tensionner for easier printing</li><li>Split Base part (Front) for easier printing with less support (still needs support for elastic hooks)</li><li>Slight adjustments on Base, Lockfront to have a little more play to build it</li><li>more I've forgot</li></ul><p>All of this was possible thanks to Arkoudaki releasing CAD files. It would not have been possible without this. Have a look at the awesome models <a href="https://thangs.com/Arkoudaki/">they have done</a>.</p><p> </p><p><strong>This Prop throws plastic bullet that can harm if incorrectly manipulated. Files available on this website are provided "as is" without warranty of any kind, either express or implied. Use at your own risk.</strong></p><p> </p><h3>Printing</h3><p>Can be done with a Bed with at least 160mm*160mm. The biggest piece is 210mm*20mm. So if positioned diagonally it should fit.</p><p>There's full parts (bed at least 250*210) and split parts (bed at least 160*160mm). Use the ones that fits your workflow. </p><p><strong>Beware,</strong> if you print have elephant foot you will need to trim them before building. </p><p>Parts can be printed in PLA with 3-4 walls and 20% infill.</p><p> </p><figure class="image"><img src="https://media.prusaprinters.org/media/prints/94798/rich_content/601b4c74-9651-4031-98ff-ce8e7503a1ee/build-plate.png#%7B%22uuid%22%3A%221a6f7e25-df32-4ceb-a23b-e8a27a4e90bb%22%2C%22w%22%3A1472%2C%22h%22%3A918%7D"></figure><p> </p><p>You will need:</p><ul><li>7 M3x20mm and M3 nut (slim, the ones that comes in M3 nut boxes)</li><li>Elastic 2-3mm for Tent</li><li>A little spring (One from a ball pen cut to a correct length)</li></ul><p> </p><h3>Building Steps</h3><p>Use Screws in the slots and stack those parts in this order:</p><ul><li>End plate handle right</li><li>Guide right</li><li>Mechanism (Right Full) or (Right Back and Right Bottom Split)</li><li>Line of Sight Top </li><li>Line of Sight Bottom - Full or Front and Back Split</li></ul><p>Add the firing mechanism parts like in the picture. </p><ul><li>Spring Bracket with Ball Pen Spring</li><li>Trigger</li><li>Disc</li><li>Safety Lock</li></ul><p>I've used a ball pen spring that I've cut at an approximate size. A bit longer than the spring has room for: To have a little tension at rest for the Spring Bracket to come back in place.</p><figure class="image"><img src="https://media.prusaprinters.org/media/prints/94798/rich_content/07249fc0-e28a-4f81-9dbc-879d8408a573/build-1.png#%7B%22uuid%22%3A%22f08a60b5-4cfc-45b6-b745-56213effba3a%22%2C%22w%22%3A2005%2C%22h%22%3A1009%7D"></figure><p> </p><p>Then finish to cover and tighten the screws</p><ul><li>Mechanism left Part Full or Split parts</li><li>End plate handle left</li><li>Guide left</li></ul><figure class="image"><img src="https://media.prusaprinters.org/media/prints/94798/rich_content/e02a41ee-b481-4129-bf8a-6d34ca65c509/build-3.png#%7B%22uuid%22%3A%225006a6d7-4d03-4cad-9f2f-2c6e78358f63%22%2C%22w%22%3A1888%2C%22h%22%3A972%7D"></figure><p> </p><p> </p><p>Next, the front base: put some glue in the holes where the pins go (I've used gel one that takes a bit more time to set). Snap the two parts together, and then put a book on it and some weight for the glue to dry.</p><figure class="image"><img src="https://media.prusaprinters.org/media/prints/94798/rich_content/beef653e-85a4-4047-a0df-5237703240ad/build-4.png#%7B%22uuid%22%3A%22fe038b47-cfe9-432d-8b59-fe6cd5d28165%22%2C%22w%22%3A1752%2C%22h%22%3A1145%7D"></figure><p> </p><p>Slide the Base (Front) into the crossbow. If you have an elephant foot, you will need to trim it before with an Exacto knife.</p><figure class="image"><img src="https://media.prusaprinters.org/media/prints/94798/rich_content/aad81741-9b55-4371-af18-9ae3f325f363/build-5.png#%7B%22uuid%22%3A%222c322af3-3ed0-49a7-b8f2-d10afd8cd1c9%22%2C%22w%22%3A1165%2C%22h%22%3A794%7D"></figure><p> </p><p>Slide in the “blockers”, I had a little trouble with it and had to set them in place “gently” with a hammer and a little wood piece (to avoid scratching). I've increased tolerances in the model since then.</p><figure class="image"><img src="https://media.prusaprinters.org/media/prints/94798/rich_content/0e913c1b-e65f-4ea4-8727-1b96a30182ec/build-6.png#%7B%22uuid%22%3A%22ba87c2f6-fa0b-45f3-8412-19664134fc48%22%2C%22w%22%3A1307%2C%22h%22%3A1150%7D"></figure><p> </p><p>Now pass an elastic, some knots and you are good to hunt some vampires ;)</p><p> </p><p>Have fun</p>
With this file you will be able to print Bullet Shooting Crossbow with your 3D printer. Click on the button and save the file on your computer to work, edit or customize your design. You can also find more 3D designs for printers on Bullet Shooting Crossbow.