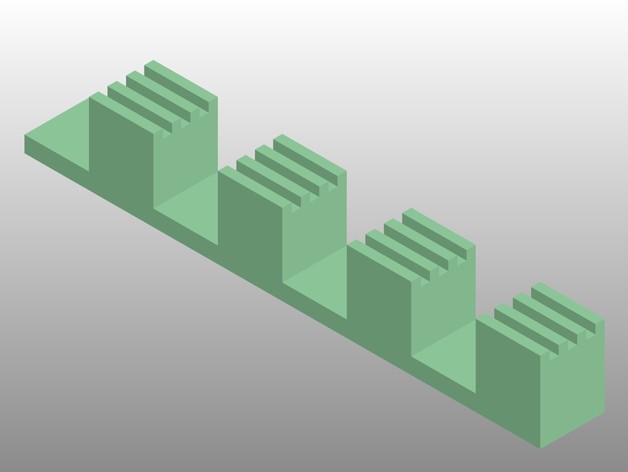
Building Jig for 4x4x4 RGB LED cube
thingiverse
I built a tool to create a 4x4x4 cube made up of RGB LEDs because it was something that needed to get done. A modified Printrbot simple Maker model 1405 was used for the build. Notches are placed at the top of each LED holder for easy routing of the R, G, and B leads; the anode is aligned straight upwards. Building this project is feasible with any version of a Printrbot simple Maker 1405. Now that you have completed the base, there will be three holes drilled all the way through. Next, place the three RGB leads into these holes as far as they will go and position the anode on the outside end. Fold the LED down at a ninety-degree angle. Tighten the LED up till the top edge is aligned with the surface of the base plate. Then bend the LEDs back upwards until they are straight. Your result should match what's in the images. At this point, there is an included 16-hole soldering jig which can be used once you have finished all sixteen columns to assist you in the final stage of assembly; simply arrange the columns into a complete 4x4 pattern. If desired, additional instructions will also include how to use the rest of this JIG after part two is released.
With this file you will be able to print Building Jig for 4x4x4 RGB LED cube with your 3D printer. Click on the button and save the file on your computer to work, edit or customize your design. You can also find more 3D designs for printers on Building Jig for 4x4x4 RGB LED cube.
