Bug B Gone
thingiverse
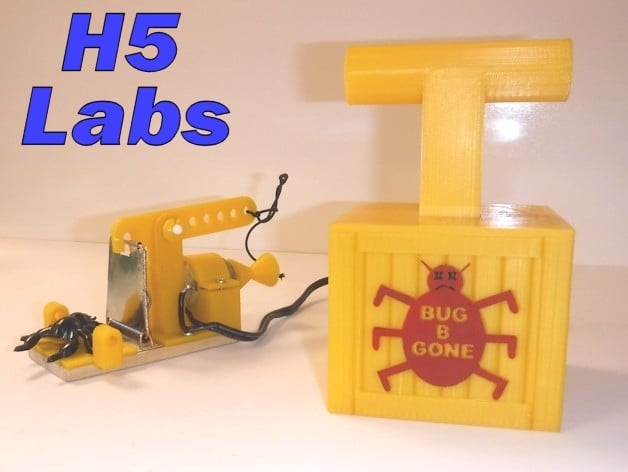
The Bug Buster is a fun project that teaches kids about simple electrical and mechanical concepts in an exciting way. This powered bug swatter uses a mouse trap as its primary source of speed and energy. To get started, place bait on the Bug Buster sensor plate and wait for a critter to come along. Once the pest is in place, hit the Bug Buster plunger to activate the motor, which pulls the armature freeing the swatter to smash the target with ease. For this project, I created a new version of the H5 Labs’ detonator switch top -http://www.thingiverse.com/thing:1409972. The handle, base, and battery clip are all the same; only the switch top is new. You can use any momentary switch you like, but if you're building an automated Cyber Bug Buster version, a manual switch won't be needed at all. Provisions are included in the parts to create a Cyber Bug Buster version that operates autonomously. An infra-red LED and diode can be installed in the sensor plate to create a barrier beam that activates the motor when broken, automatically swatting the pest. Complete information on parts and construction is provided in the attached "Bug Buster Instructions_V1.pdf" file. Print Settings Printer Brand: MakerGear Printer: M2 Rafts: No Supports: No Resolution: 0.300mm layers Infill: varies - reference pdf file
With this file you will be able to print Bug B Gone with your 3D printer. Click on the button and save the file on your computer to work, edit or customize your design. You can also find more 3D designs for printers on Bug B Gone.
