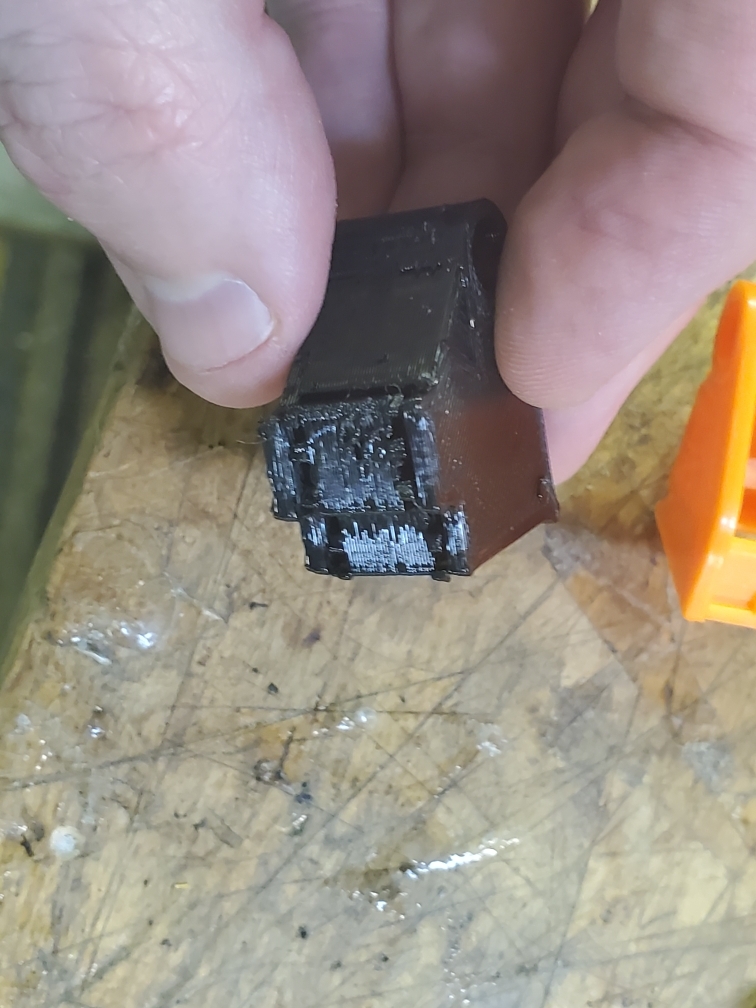
Bug-A-Salt 3.0 Trigger Sear
thingiverse
I recommend scaling it down by half in Cura to get the desired dimensions. The design originated from Tinkercad, and a gentle sanding process may be necessary to achieve a smooth finish. To assemble the parts, you'll need SUPER GLUE, as PLA is not strong enough for this application. However, printing with PTEG or other materials like ABS, Nylon, or polycarbonate would yield better results and potentially last longer. If you print it in something else and notice its durability, please share your experience. To remove the supports, use needle-nose pliers or similar tools to twist them out in one piece. Apply a small amount of SUPER GLUE to secure the trigger interface in place. Additionally, apply glue to the sear catch face to prevent breakage, as it tends to wear down quickly. Unfortunately, no disassembly video for the 3.0 model is available yet, so I've included pictures to assist with the process. During my inspection, I found that the original sear had a design flaw, causing it to fail in holding the bolt or release lever in place. Upon opening the Bug-A-Salt 3.0, I noticed that the back of the pivot rod hole was severely cracked along its length.
With this file you will be able to print Bug-A-Salt 3.0 Trigger Sear with your 3D printer. Click on the button and save the file on your computer to work, edit or customize your design. You can also find more 3D designs for printers on Bug-A-Salt 3.0 Trigger Sear.
