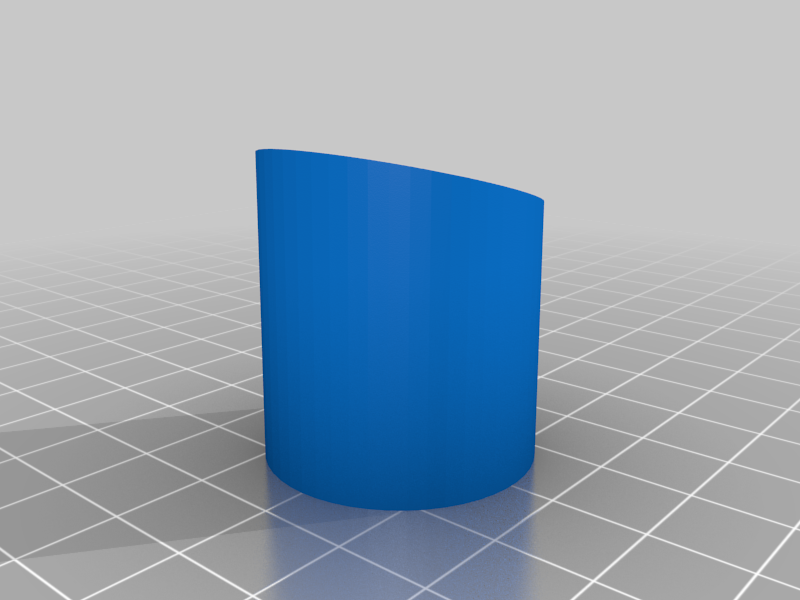
Budget DIY Light Arch
thingiverse
Quick and Dirty Light Arch for Model Painting and Other Artistic Pursuits. To create this setup, you'll need: 4 meters of LED light strip - I used this one: https://www.amazon.co.uk/gp/product/B084KK2LW3/ref=ppx_yo_dt_b_asin_title_o01_s00?ie=UTF8&psc=1 2 x 2-meter sections of 15mm Mini Trunking. Although only the cover is needed, I couldn't find it for sale separately - this one will do: https://www.screwfix.com/p/tower-mini-trunking-16mm-x-16mm-x-2m/26052?_requestid=751593 Some soldering skills are required, and if you want to store the setup easily, an electrical connector of your choice is necessary. I used JST crimps because they were readily available. To assemble the light arch, simply attach the feet to your desk or work surface and insert the trunking covers. Easy! The total cost for this project came out to be £17.01. While brighter LEDs might have been worth extra, these provide a consistent flood of light over my workspace - excuse the mess! There's an issue with the model file near the top of the screw shaft that I couldn't remove without messing up the entire design using Sketchup. However, it prints fine with a small amount of stray filament that can be easily removed with a fingernail.
With this file you will be able to print Budget DIY Light Arch with your 3D printer. Click on the button and save the file on your computer to work, edit or customize your design. You can also find more 3D designs for printers on Budget DIY Light Arch.
