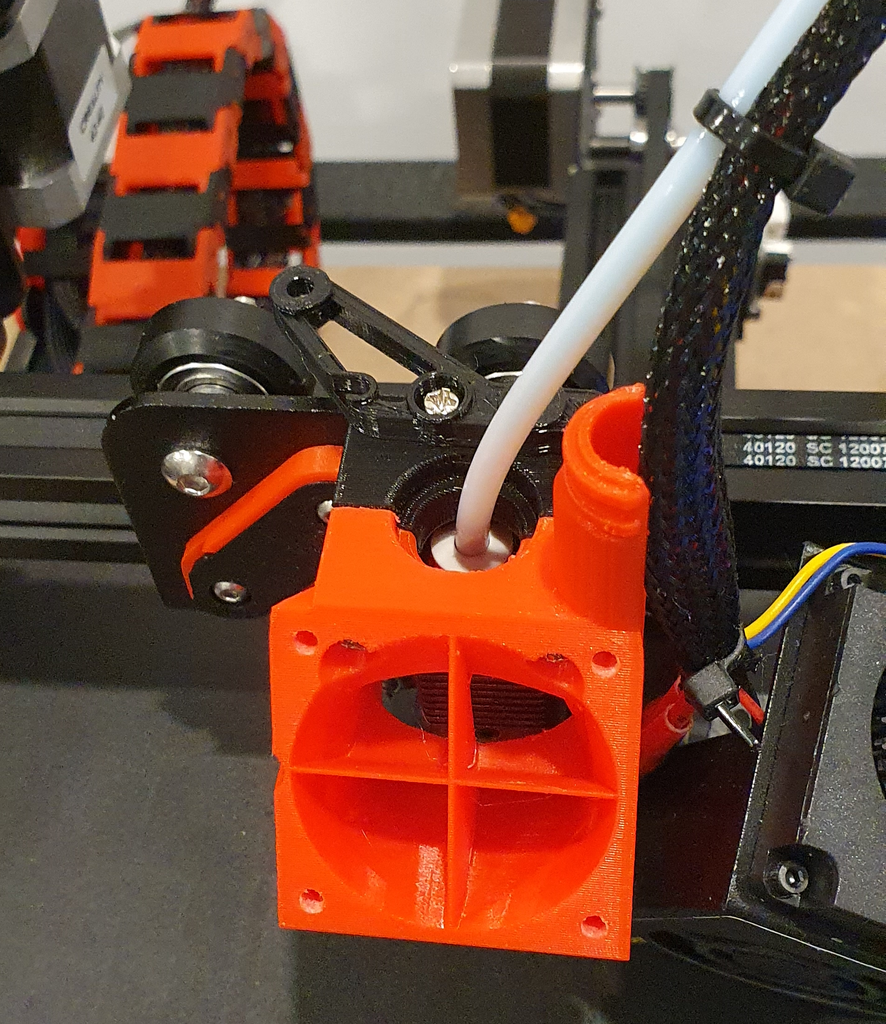
Buck Converter Mount for Hero Me
thingiverse
This design enables effortless installation of an LM2596 Buck converter onto a PCB attached to a Hero Me Gen3. The layout accommodates any PCB featuring 15x30mm spaced mounting holes, making it versatile for various applications. Key modifications were made to the Creality Ender 5/Ender 3 mount; if you wish to adapt this for another mount, note that the center-to-center distance between the mounting holes is precisely 10.625 mm. Assembly involves securing the Hero Me to the base of the mount using M3x(15-30)mm bolts. Next, insert a 6mm bolt into the recessed hole and a 10mm bolt into the raised hole. To ensure accurate tightening, use the 10mm bolt as a guide for the 6mm bolt's tightening process. Then, remove the 10mm bolt to make way for the boost converter. Finally, insert and securely fasten both 10mm bolts. Required components include: 1x M3x6mm bolt 2x M3x10mm bolts 1x M3 Nut 2x M3x(15-30)mm bolts (for attaching the PCB to the Hero Me)
With this file you will be able to print Buck Converter Mount for Hero Me with your 3D printer. Click on the button and save the file on your computer to work, edit or customize your design. You can also find more 3D designs for printers on Buck Converter Mount for Hero Me.
