Buck Converter (LM2596) Enclosure
prusaprinters
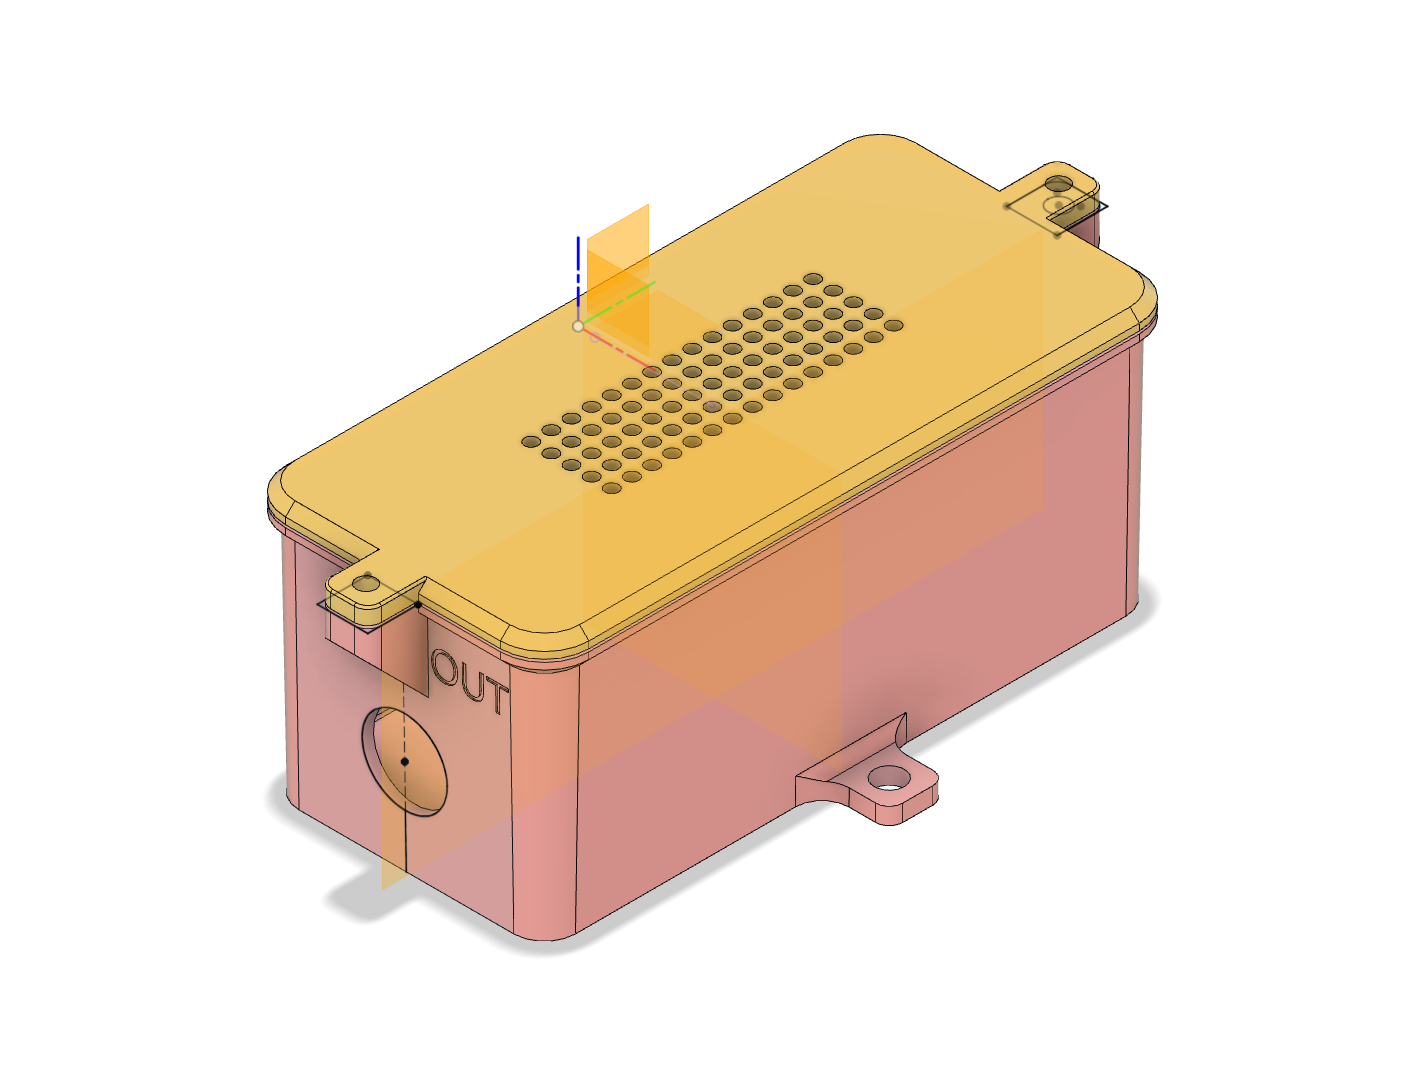
<p>This is an enclosure for a LM2596 (or similar) buck converter which I use to step down voltage for DC applications.</p><p>It prints without supports and needs a bit of hardware:</p><ul><li>4 x M2.5 6mm screws (for fixing both the module and the cap)</li><li>4 x M2.5 threaded inserts</li><li>2 x PG7 cable glands (<a href="https://www.amazon.com/gp/product/B06Y5HGYK2">example reference</a>)</li><li>1 x LM2596 module (<a href="https://www.amazon.com/gp/product/B002UBZL9W/">exact reference</a>)</li><li>1 x 3mm diameter rubber seal or similar (<a href="https://www.amazon.com/gp/product/B07ZNG9VB3">example reference</a>)</li><li>Optional 2-pin connectors (<a href="https://www.amazon.com/gp/product/B01LCV97AY">exact reference</a>)</li><li>2 x wood screws (to attach the enclosure to a stud or similar)</li></ul><p>I use PETG instead of PLA when printing electronics enclosure but PLA may be adequate tooe depending on your environment.</p><p><strong>Assembly:</strong></p><ol><li>Using the tip of a soldering iron, place the 4 threaded inserts in their holes</li><li>Add the rubber seal (a drop of cyanoacrylate glue can help keep the seal in its gutter)</li><li>Screw in the PG7 cable glands on each side</li><li>If you are using 2-pin connectors, insert them through the glands and solder the leads directly to the LM2596 module</li><li>Put the LM2596 module in place with the M2.5 screws</li><li>Place the cap on and close it with the remaining M2.5 screws</li></ol><p><strong>Weather proofing:</strong></p><p>The enclosure can be made completely weather proof. As I did not use this enclosure outdoor yet, I decided to add perforations in the cap for minimum air ventilation.</p><p>The LM2596 module should not heat up too much at the intensity of current I am using it at. This can vary from application to application.</p><p>I will probably update this model with a fully weather proof future version which may include extra support to maintain a closed seal in the middle of the long sides.</p>
With this file you will be able to print Buck Converter (LM2596) Enclosure with your 3D printer. Click on the button and save the file on your computer to work, edit or customize your design. You can also find more 3D designs for printers on Buck Converter (LM2596) Enclosure.