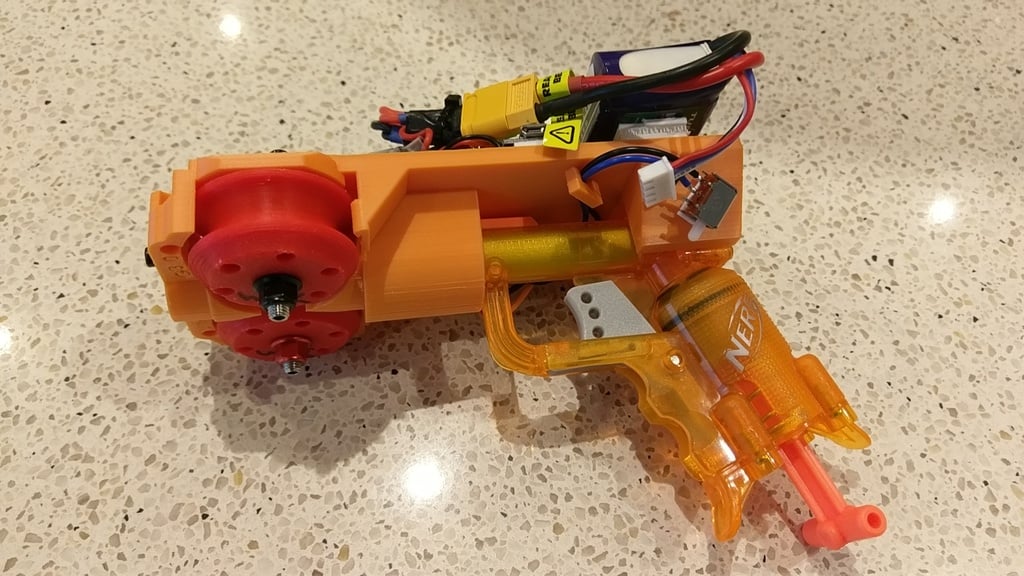
Brushless Jolt
thingiverse
This is a brushless jolt cage built on the Ultrasonic brushless geometry model.\r\n\r\nTo create this, simply print out the cage and follow the Ultrastryfe instructions carefully. The two cage recesses are designed for:\r\n- One x pot for speed control installation\r\n- One x sub miniature switch for safety interlock setup.You can wire this in series with the rev trigger if preferred. https://www.jaycar.com.au/spdt-sub-miniature-toggle-switch-solder-tag/p/ST0300\r\n\r\nA jolt can be inserted into the cage. To do this, load the dart through the barrel (remember to use the safety feature and keep your fingers out of the way) and pull the plunger back on the jolt. Rev up the wheels and pull the jolt trigger. It's suggested that you hot glue the jolt in place for stability.\r\n\r\nWith this setup, you can potentially reach speeds of 200fps... And it's incredibly accurate - as far as jolts go.\r\n\r\nThere is a dual stage cage available for those who are feeling adventurous. However, I have not tested this configuration yet... All my other motors have been upgraded to a triple cage Dominator setup.\r\n\r\nFor detailed instructions, please refer to the Ultrastryfe page: https://www.thingiverse.com/thing:3029346\r\n\r\nYou can also watch the following videos for more information:\r\nhttps://youtu.be/R0Qmftcj8q8\r\nhttps://youtu.be/p0b8k1Ev3J4\r\n\r\nLicense: Non-commercial use is allowed. If you're interested in using this design commercially, please contact me to discuss alternative arrangements as multiple parties will need to be involved in any commercialization efforts.
With this file you will be able to print Brushless Jolt with your 3D printer. Click on the button and save the file on your computer to work, edit or customize your design. You can also find more 3D designs for printers on Brushless Jolt.
