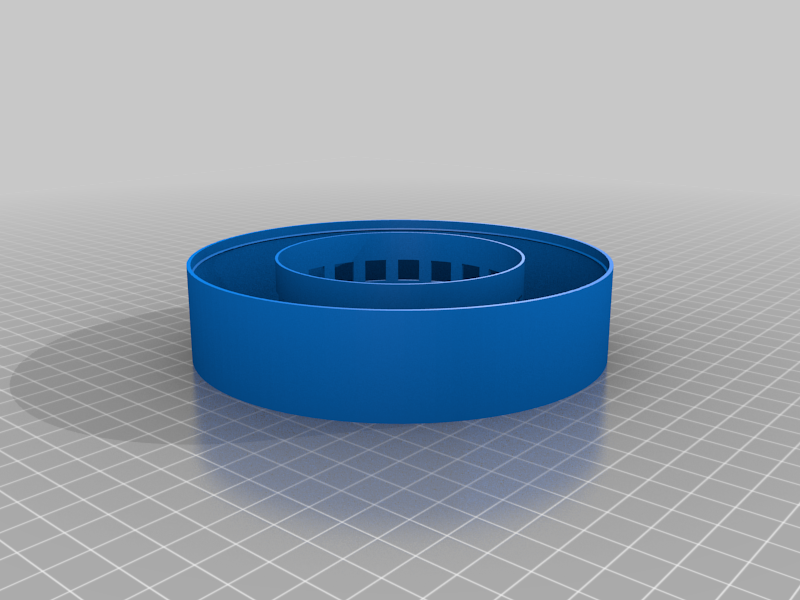
Brine Shrimp Hatchery (passive)
thingiverse
Print all three parts. add a 0.1mm/100micron mesh to the bottom of the cup. A nylon stocking or coffee filter can work in a pinch. Add 350 ml of salt water to the dish. It should be filled to the line on the outer rim. Then sprinkle 0.35 grams of eggs on the surface of the outer edge. Don't sink the eggs; let them float. place lid on top and the cup in the middle. Place a light over the cup to attract the hatched brine shrimp and wait 18-36 hours. when ready the shrimp are attracted to the light and can be picked out with the cup. The measurements of water salt and eggs are written in the bottom of the dish so you can't forget them and a 1/6 tsp spoon is formed into the handle of the cup to help measure approximately 0.35 grams of eggs. This hatchery was designed to fit in the middle between the really small one also available on thingiverse: https://www.thingiverse.com/thing:3456731 and the larger commercially available one. It has also been optimized to print with only perimeters and 100% infill which should help make it water tight and save print time and material (vs wider walls). I use 0.45 layer widths and 104% extrusion multiplier to really squish out more material to make it water tight. You may also want to spray coat the inside with sealant to ensure your print is truly water tight.
With this file you will be able to print Brine Shrimp Hatchery (passive) with your 3D printer. Click on the button and save the file on your computer to work, edit or customize your design. You can also find more 3D designs for printers on Brine Shrimp Hatchery (passive).
