Brilliant Rottis
sketchfab
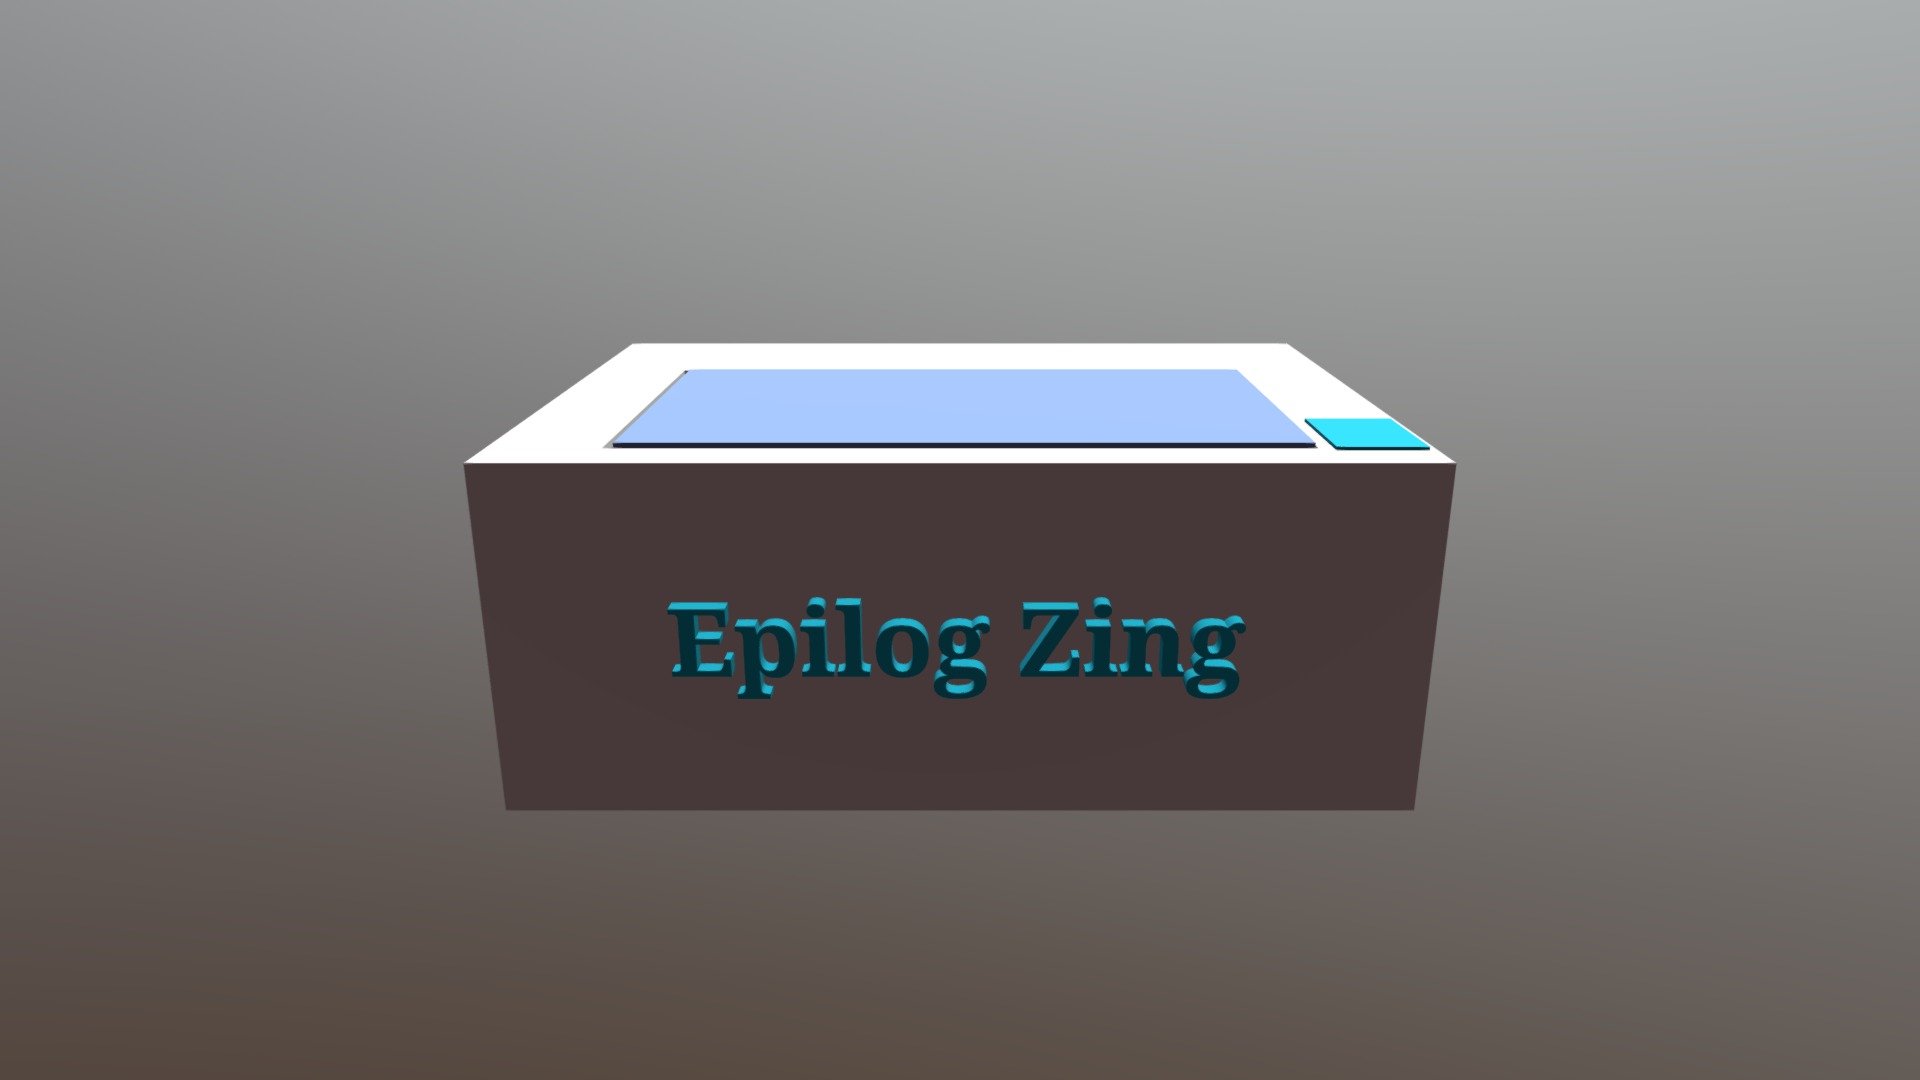
Here's a mock-up of an Epilog Zing Laser Cutter in Tinkercad: To create a digital model of an Epilog Zing Laser Cutter, start by launching Tinkercad. Once the software is open, click on "Create New" to begin a new project. Select the "Box" primitive from the left-hand menu and use the mouse or trackpad to drag out a rectangular shape that will serve as the base of the laser cutter's body. Make sure to include enough clearance for the moving parts within the box. Next, add a cylindrical shape to represent the rotating axis of the laser head. Use the "Cylinder" primitive from the left-hand menu and adjust its dimensions to match the actual size of the Epilog Zing Laser Cutter's axis. Now, it's time to add the laser cutter's bed. Select the "Box" primitive again and create a rectangular shape that will serve as the platform for the laser cutting process. Make sure it is large enough to accommodate various sizes of materials and has sufficient clearance between the cutting surface and the laser head. Add a small cylindrical shape to represent the Z-axis motor, which drives the vertical movement of the laser head during cutting operations. Use the "Cylinder" primitive from the left-hand menu and adjust its dimensions accordingly. To complete the model, add some details such as the control panel, power cord, and any other relevant features that make up the Epilog Zing Laser Cutter's design. Once you have finished adding all the necessary components, use Tinkercad's built-in tools to combine them into a single solid object. You can then export your model in various file formats such as STL or OBJ for 3D printing or other uses.
With this file you will be able to print Brilliant Rottis with your 3D printer. Click on the button and save the file on your computer to work, edit or customize your design. You can also find more 3D designs for printers on Brilliant Rottis.
