Bridge Tutorial 1
sketchfab
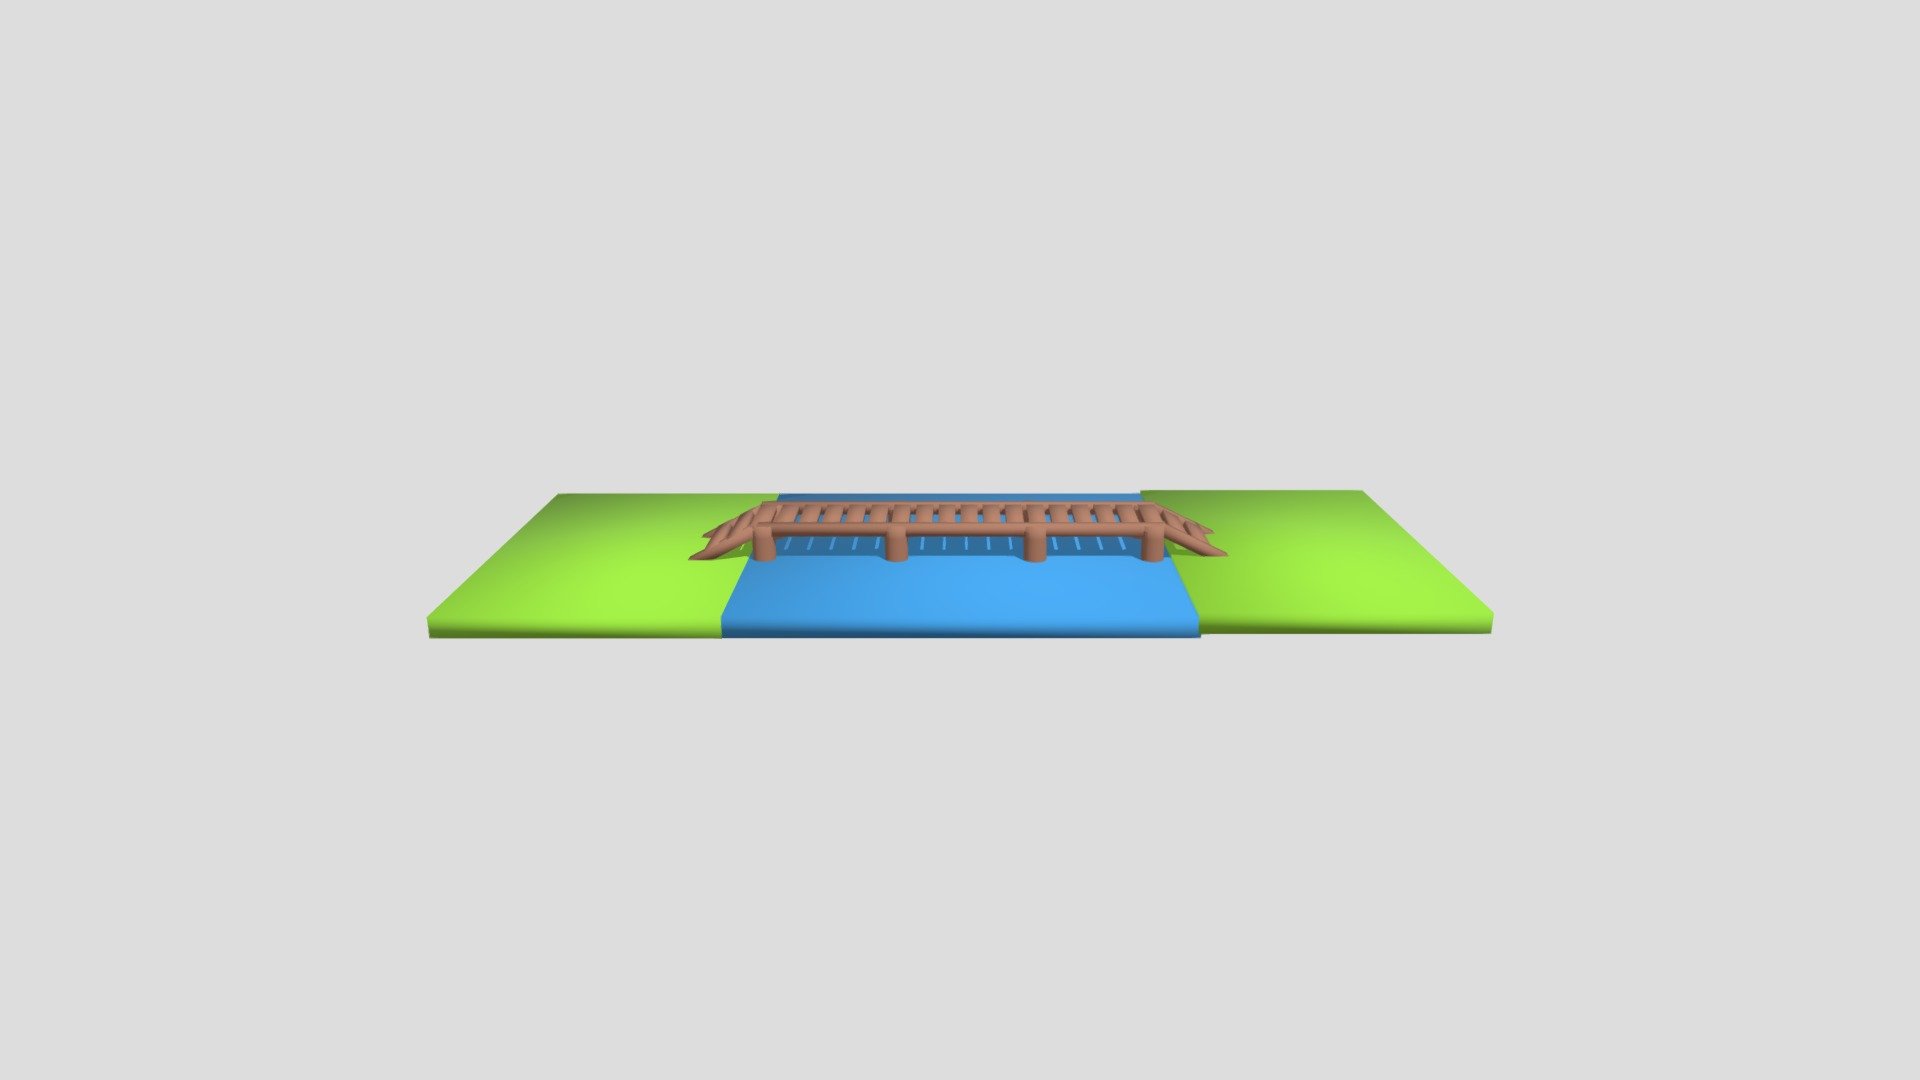
Building a Simple Bridge Tutorial Made Easy Are you ready to construct a basic bridge that will stand up to the test of time? In this step-by-step guide, we'll take you through the process of building a simple bridge that's both functional and aesthetically pleasing. **Gathering Materials** To get started, gather the following materials: * 2 wooden planks (1" x 4") * 1 wooden beam (2" x 6") * 1 bag of nails * 1 hammer * Safety glasses **Step 1: Lay Out the Bridge** Begin by laying out the bridge on a flat surface. Place the two wooden planks parallel to each other, about 12 inches apart. This will form the base of your bridge. **Step 2: Attach the Beams** Next, attach the wooden beam to the top of the planks using nails. Make sure the beam is evenly spaced and securely attached. **Step 3: Add Support** Add support to the bridge by attaching additional beams under the main beam. This will help distribute the weight evenly and prevent the bridge from collapsing. **Step 4: Finish Touches** Finally, add any finishing touches such as paint or varnish to protect the wood and give your bridge a professional look. With these simple steps, you'll have a basic bridge that's both functional and beautiful. So why wait? Get building today!
With this file you will be able to print Bridge Tutorial 1 with your 3D printer. Click on the button and save the file on your computer to work, edit or customize your design. You can also find more 3D designs for printers on Bridge Tutorial 1.