Bridge Tute 1
sketchfab
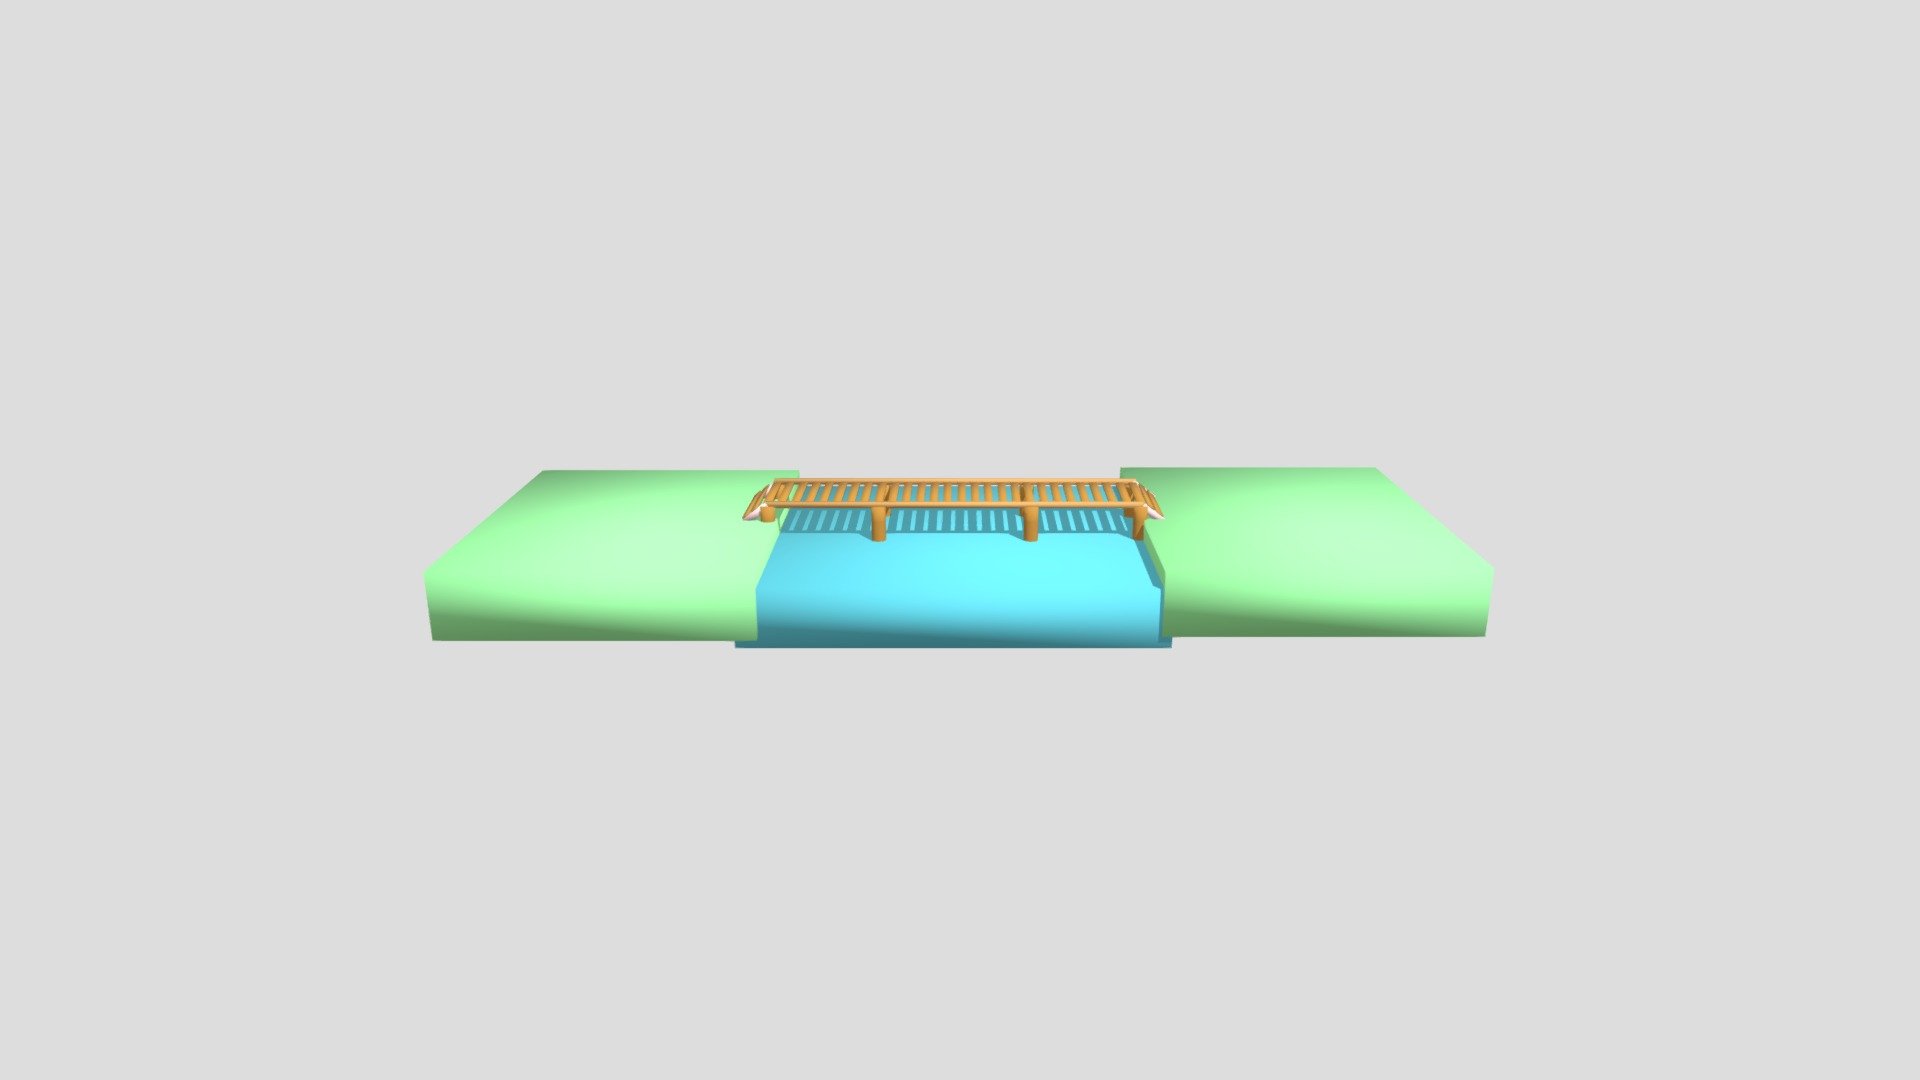
Constructing a Bridge: A Hands-on Introduction In this tutorial, you'll embark on an exciting journey to design and build a simple bridge using everyday materials. Your goal is to create a sturdy structure that can support the weight of objects without collapsing. Materials Needed: * Popsticks or craft sticks * Glue * Scissors * Weights (such as pennies or washers) * Ruler * Pencil Step 1: Planning and Design Begin by planning your bridge. Think about its size, shape, and the materials you'll use to construct it. Consider how many popsticks you'll need and where you'll place them. Step 2: Building the Bridge's Base Using glue, attach a few popsticks together to form the base of your bridge. Make sure they're evenly spaced and secure. Step 3: Adding Support Beams Glue additional popsticks across the base to create support beams. These will help distribute the weight of the weights you'll place on the bridge later. Step 4: Testing Your Bridge Place a few weights on one end of your bridge and observe how it holds up. If it starts to sag or collapse, make adjustments as needed by adding more support beams or repositioning the popsticks. Step 5: Final Touches Once you're satisfied with your bridge's stability, add any final touches, such as decorative sticks or a small sign. Congratulations! You've successfully built a simple bridge using everyday materials.
With this file you will be able to print Bridge Tute 1 with your 3D printer. Click on the button and save the file on your computer to work, edit or customize your design. You can also find more 3D designs for printers on Bridge Tute 1.