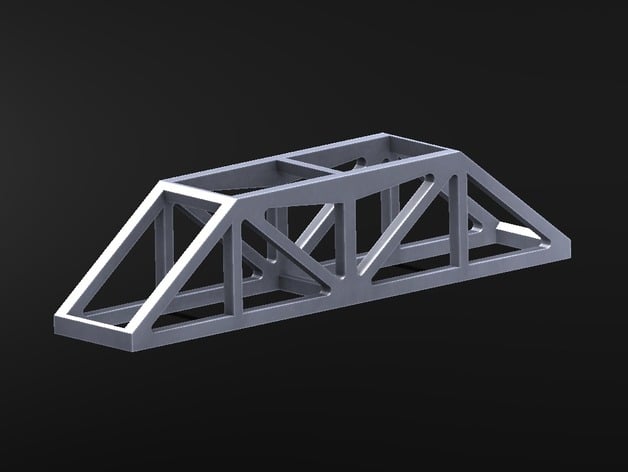
Bridge- Light and Strong Warren Truss
thingiverse
Dimensions: 6 inches long, 1.2 inches wide, 1.35 inches tall Designed for a school project to create a bridge that maximizes load-bearing capacity while keeping weight to a minimum. The goal was to design a bridge with the best ratio of load-bearing capacity to mass. The winning ratio is determined by dividing the maximum load by the mass of the bridge. Watch the video of the bridge test at https://www.youtube.com/watch?v=XfMG-PKo3fk **Standards** NGSS **Overview and Background** Requirements - A computer or laptop -CADD software - 3D printer Lesson Plan and Activity Step by Step Research different bridge designs Choose a design, find examples, or create your own Model the bridge in CADD software using the examples Export the file to be compatible with the 3D printer Set print settings like resolution, fill density, supports, and wall thickness Print! Let the model cool off after printing (do not test the bridge right away) Clean off any excess plastic from the model Weigh the bridge Test the maximum load of the bridge Record all data and calculate the winning ratio The winning ratio is Max Load/Mass of Bridge Materials Needed Materials Ensure students have a mouse when working with CADD software. Use solid 3D printer filament (nothing stretchy or moldable).
With this file you will be able to print Bridge- Light and Strong Warren Truss with your 3D printer. Click on the button and save the file on your computer to work, edit or customize your design. You can also find more 3D designs for printers on Bridge- Light and Strong Warren Truss.
