Bridge Calibration Tower
prusaprinters
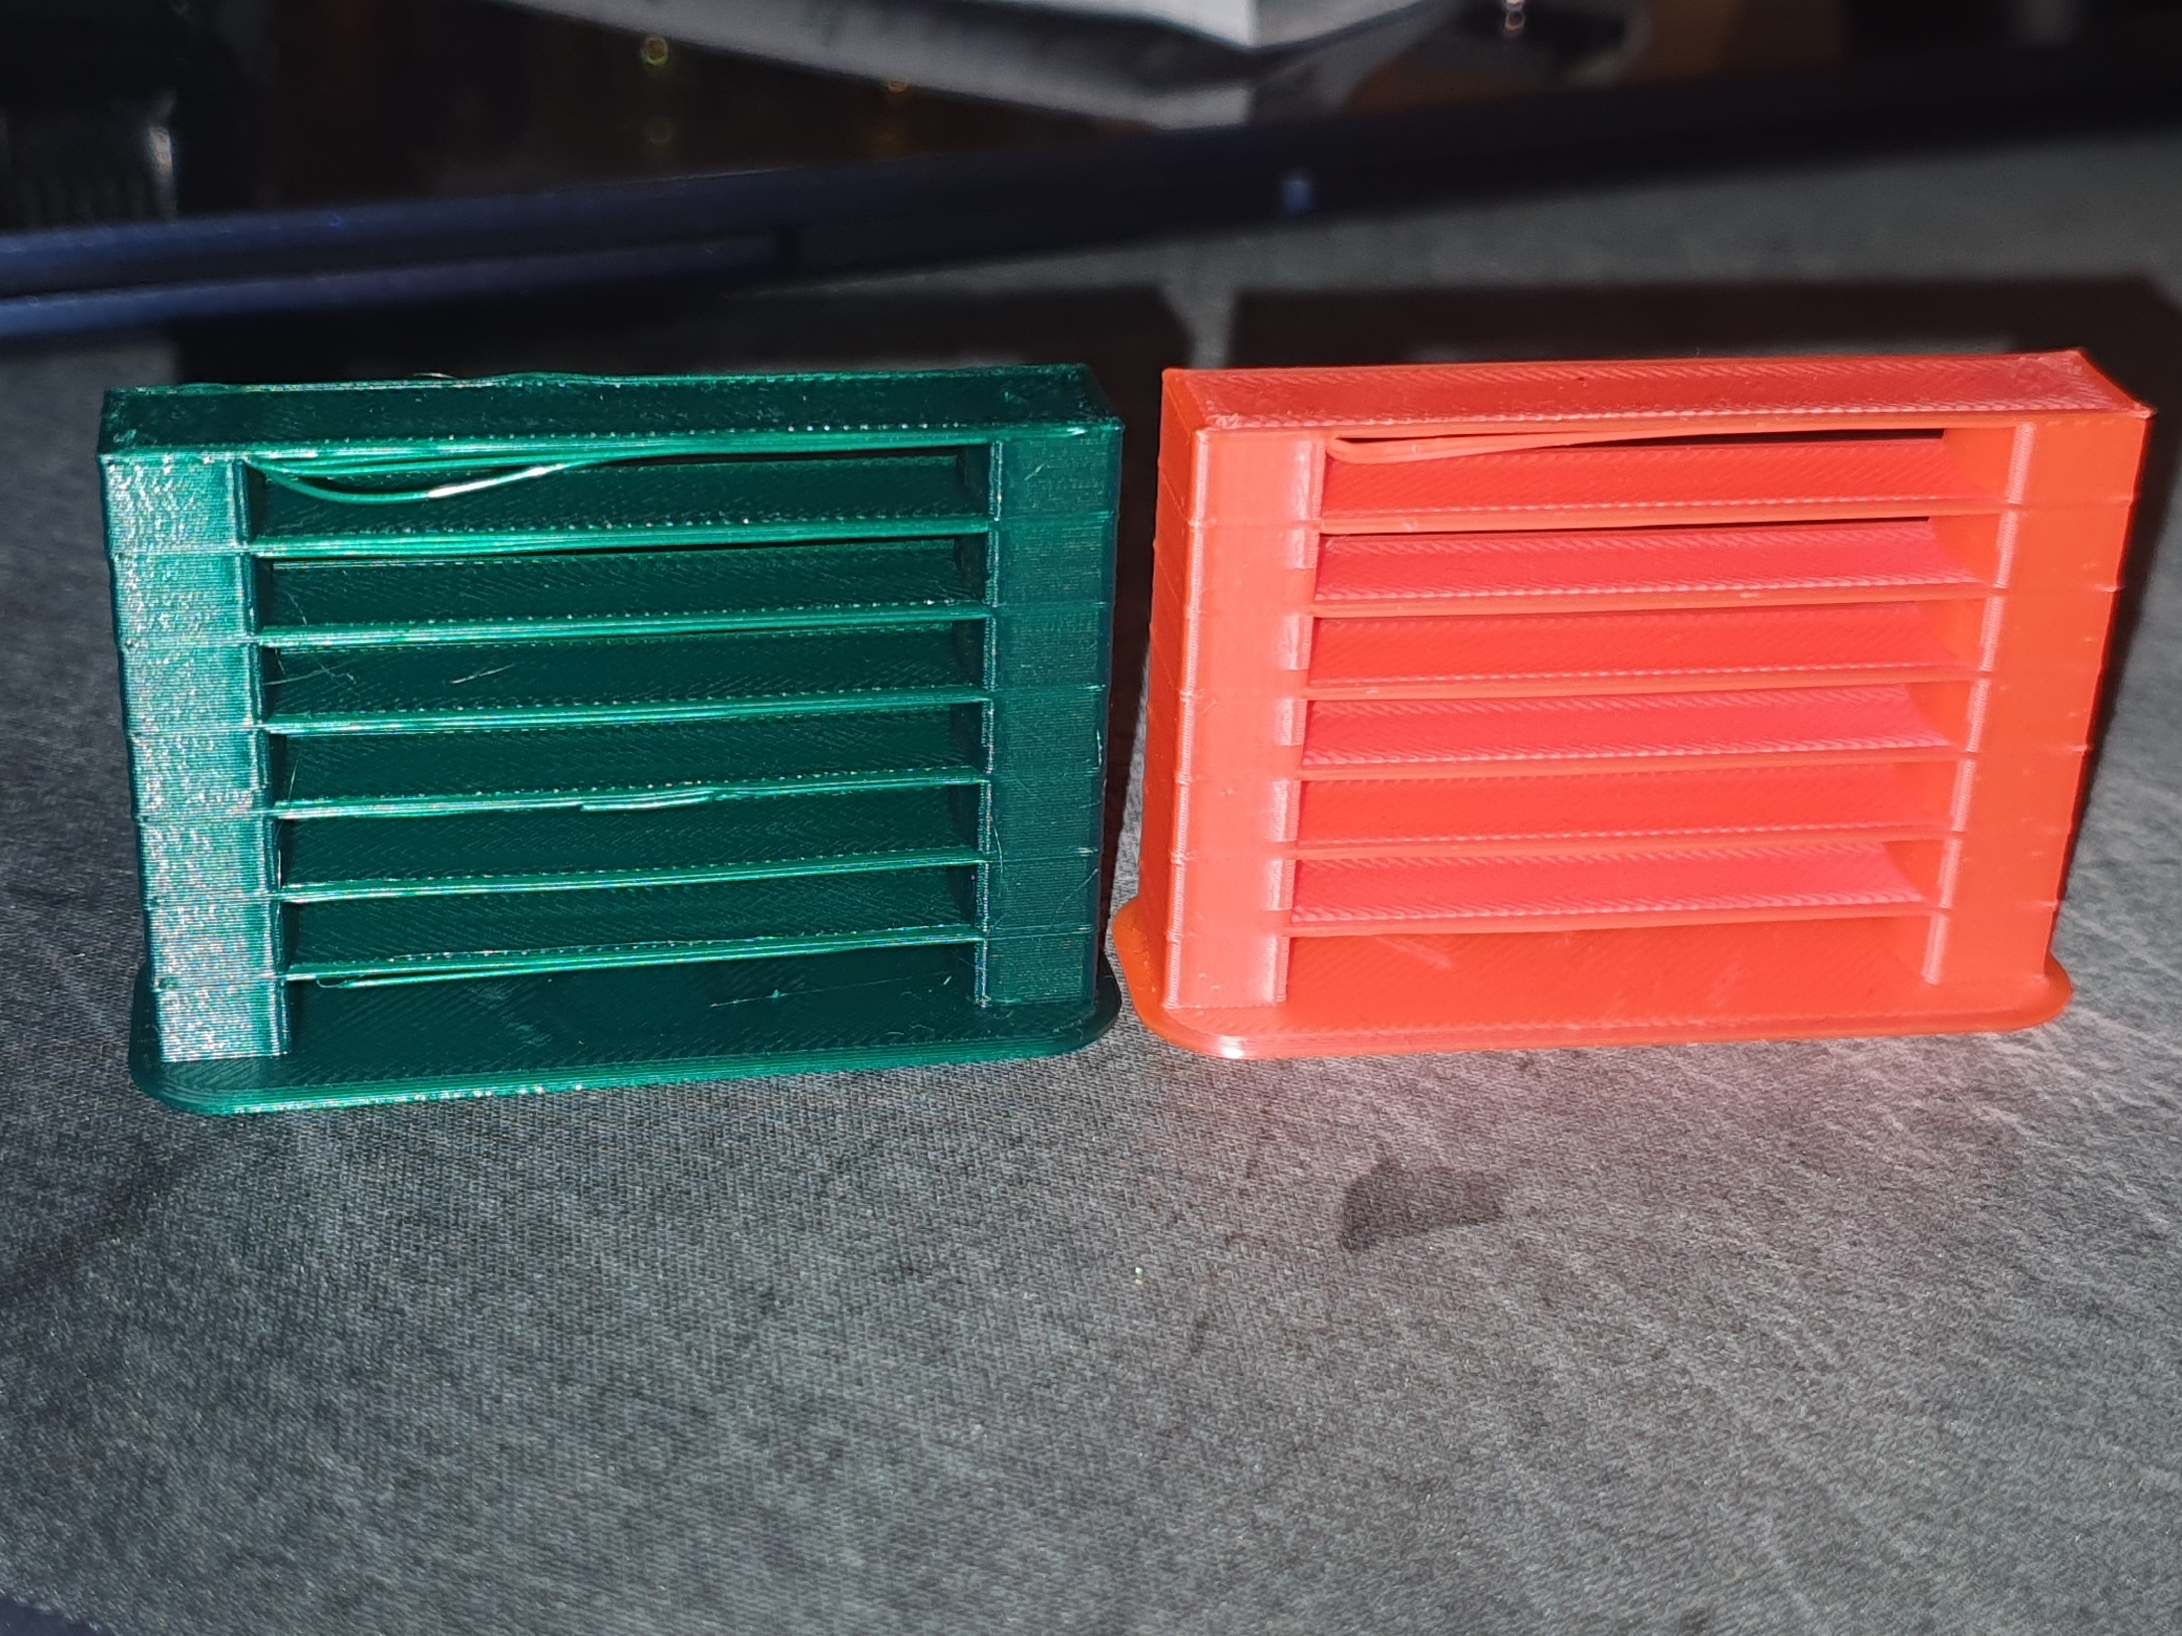
<p>I made this to easier calibrate my bridging parameters.</p><p>Prerequisites: Filament and print settings must otherwise be calibrated and in good condition.</p><p> </p><p>Fanspeed is not taken into account here as it's filament specific. So you'll have to find a value you're good with before you test different speeds/flow settings.</p><p> </p><p>How i did it:</p><p>Print one with just different speeds and the standard 0.95 flow to see if speed made much of a difference. One looked slightly better, so I used that speed for the next test.</p><p>Next i printed one with lower and lower flow. It might be a good idea to have the smallest flow on the bottom and the highest one on the top, since it's gonna pull quite hard as it cools.</p><figure class="image"><img src="https://media.prusaprinters.org/media/prints/61433/rich_content/d9b3d443-9fc9-4415-bf23-5fb68b07b9ae/image.png#%7B%22uuid%22%3A%221b75bd79-0cdf-4fba-8daa-678d0553d518%22%2C%22w%22%3A1677%2C%22h%22%3A1187%7D"></figure><p>PS: Text and test is still work in progress. Comment if you have any suggestions.</p><p> </p>
With this file you will be able to print Bridge Calibration Tower with your 3D printer. Click on the button and save the file on your computer to work, edit or customize your design. You can also find more 3D designs for printers on Bridge Calibration Tower.