Box Wine Glass Marker
thingiverse
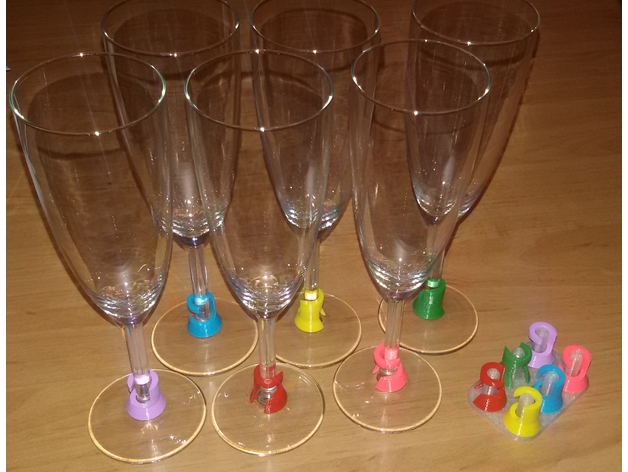
Here is a unique design for a wine glass marker made entirely out of 3D printed plastic. To start, you'll need to download and install the Cura slicing software on your computer. This will allow you to slice your model into individual layers that can be printed by your 3D printer. Once you have Cura installed, navigate to the Thingiverse website and search for "wine glass marker". Select the design from Thingiverse creator [Thingiverse Creator Name] and click "download" to save the file to your computer. After downloading the file, open it up in Cura and select "settings". From here, you can adjust various settings such as layer height and infill density. When you're satisfied with your settings, click "slice" to generate a printable G-code file. This will be used by your 3D printer to print out the wine glass marker. Next, you'll need to prepare your 3D printer for printing. Make sure it's properly calibrated and that the build plate is clean and level. If necessary, you can also adjust the temperature settings on your printer to ensure that the plastic melts correctly. With everything ready to go, click "print" in Cura to start the printing process. Depending on the size of your print job, this could take anywhere from a few minutes to several hours. Once the printing process is complete, carefully remove the wine glass marker from the build plate and set it aside to cool.
With this file you will be able to print Box Wine Glass Marker with your 3D printer. Click on the button and save the file on your computer to work, edit or customize your design. You can also find more 3D designs for printers on Box Wine Glass Marker.