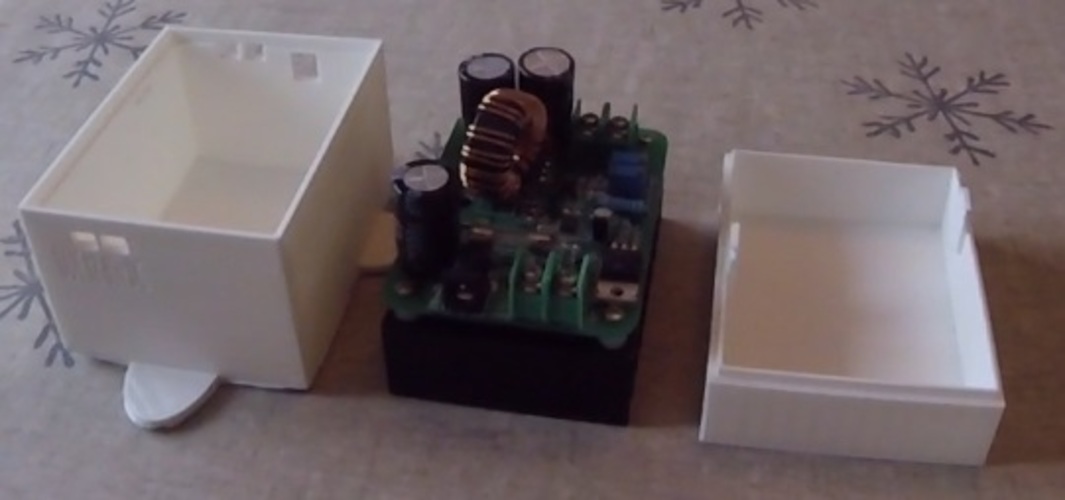
Box for Step Up-module
pinshape
I built this enclosure for my Step Up-module so that I can mount it securely on a wall, which is why the small feet are attached to the sides. Make sure to drill an appropriate hole in them or cut them off if you want the box to sit on a table instead. The box has a slightly larger interior than the specifications for the module due to the heatsink and PCB being slightly out of alignment. In my final .stl file, I relocated one of the tabs because it was about to collide with a MOSFET on the board. As you can see from the picture, the bottom of my case is warped. This happened when I tried using painter's tape as a print surface and it didn't stick well enough. The top part turned out perfectly since I used glue on the print surface. If needed, you can create a fan hole in the sides and install a small fan. I printed this enclosure on a Wanhao Duplicator i3. I chose 30% infill because I wanted it to be sturdier when mounted on the wall. You may also want to print the small tabs with 100% infill if your slicer permits, as they can break easily otherwise - some superglue can fix this issue permanently. The Step Up module was purchased from https://www.dkvolt.dk/product/...; I'm not sure where else it can be found.
With this file you will be able to print Box for Step Up-module with your 3D printer. Click on the button and save the file on your computer to work, edit or customize your design. You can also find more 3D designs for printers on Box for Step Up-module.
