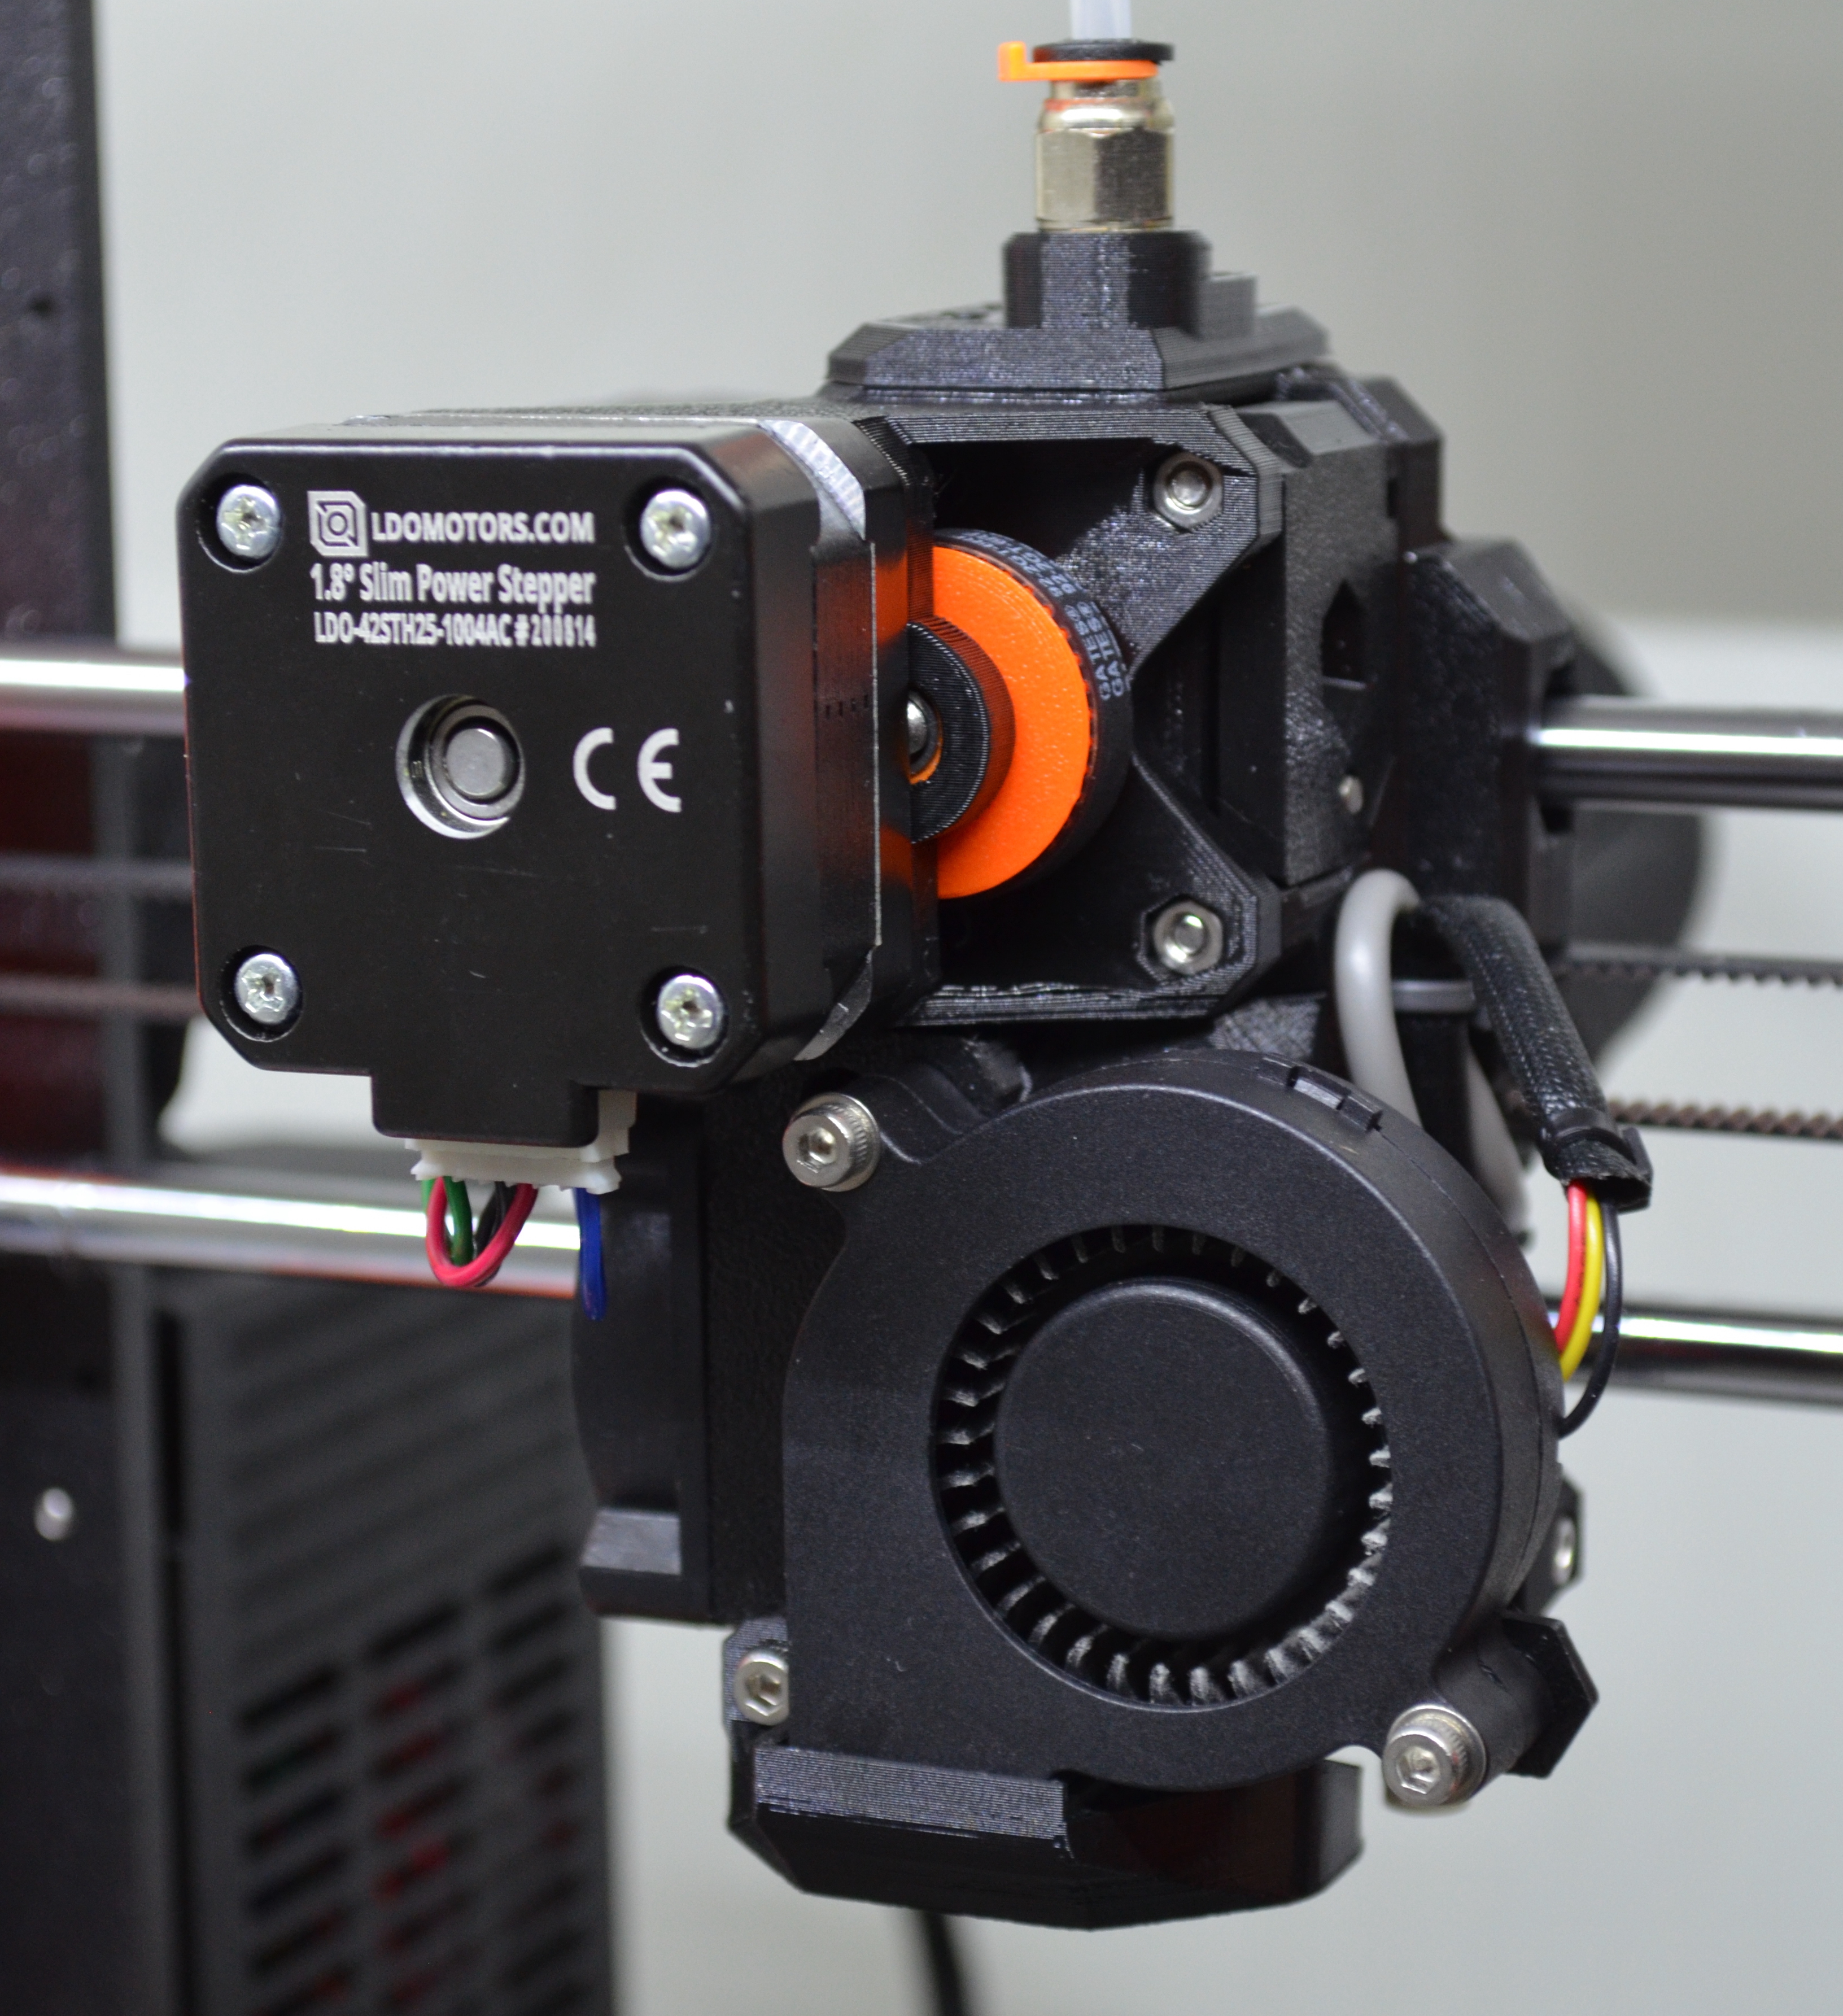
BowTie Pulleybox / Gearbox
prusaprinters
<p>Improve the extrusion accuracy of your direct-drive printhead while making it significantly lighter too.</p><p>This is a spin on my "BowTie"-gearbox, but made to use a belt drive this time. It features a <i>very</i> <i>slightly</i> bigger gear ratio - but it's main advantage is that the printed spur-gear from that design requires a very accurate/calibrated 3D-printer while this doesn't.</p><h3>Features</h3><ul><li>NEMA17 gearbox</li><li>3:1 gear-ratio <i>(38/12T, so a reduction of 3.16 to be more exact)</i></li><li>Easy to print</li><li>Very lightweight*</li><li>The exposed pulley doubles as a visualizer and thumb screw for manually (un)loading filament</li></ul><p>(*) All plastic and metal parts weigh a combined 34g. Combined with a pancake motor (~120-150g), it allows for significant weight saving over the stock motor (280g). With it's compactness and thus minimal use of filament, it is pretty much as lightweight as a NEMA17 gearbox can go.</p><h3>Printing Instructions</h3><p>PETG. 4 perimeters, 20% infill, 5 top/bottom-layers, PrusaSlicer: “detect bridging perimeters" enabled for the body. </p><h3>Necessary hardware (BOM)</h3><figure class="table"><table><thead><tr><th>Description</th><th style="text-align:center;width:100px;">Amount</th></tr></thead><tbody><tr><td><a href="https://s.click.aliexpress.com/e/_ATpxJ5">M3x6mm (DIN7984)</a></td><td style="text-align:center;width:100px;">5x</td></tr><tr><td><a href="https://s.click.aliexpress.com/e/_AA9O07">M3 hex nut (DIN934)</a></td><td style="text-align:center;width:100px;">4x</td></tr><tr><td><a href="https://s.click.aliexpress.com/e/_A5eyIj">Square nut (DIN562)</a></td><td style="text-align:center;width:100px;">1x</td></tr><tr><td><a href="https://s.click.aliexpress.com/e/_A8UL3d">MR105 bearing</a> (10mm OD, 5mm ID, 4mm length)</td><td style="text-align:center;width:100px;">2x</td></tr><tr><td><a href="https://www.aliexpress.com/item/33021883302.html">M5 Nylon washer</a> (<strong>8mm OD</strong>, 5mm ID, 1mm length)</td><td style="text-align:center;width:100px;">1x</td></tr><tr><td><a href="https://s.click.aliexpress.com/e/_9ws1QV">45x5mm D-shaft</a></td><td style="text-align:center;width:100px;">1x </td></tr><tr><td><a href="https://s.click.aliexpress.com/e/_AO3eQZ">Gates 92-2GT-6RF belt</a></td><td style="text-align:center;width:100px;">1x</td></tr><tr><td><a href=" https://s.click.aliexpress.com/e/_ApjwKx">12-tooth, 5mm bore 2GT pulley</a></td><td style="text-align:center;width:100px;">1x</td></tr><tr><td>NEMA17 pancake motor, max shaft-length 20mm, measured from the base (Recommended motor: LDO-42STH25-1004AC or <a href=" https://s.click.aliexpress.com/e/_AKN4RN">OSM/OMC 17HS10-0704S</a>)</td><td style="text-align:center;width:100px;">1x</td></tr></tbody></table></figure><h3>Assembly</h3><ul><li>Pre-assembly:<ul><li><i>Check to see if the D-shaft fits the printed pulley. If it is very tight (some tightness is desired), you can carefully run a 5mm drill bit through it.</i></li><li><i>Refer to the images for orientation of the different parts.</i></li></ul></li><li>Insert the hex nuts into the body, using the “screw pulling” technique (With use of a 12mm screw & preferrably a big washer too)</li><li>Press the bearings into the body.</li><li>Insert the square nut - with a screw installed - into the printed pulley.<ul><li>“untighten” the screw through the hole in the pulley, until it gets a little bit tight, this will make it stay put.</li></ul></li><li>Put the belt around the printed pulley.</li><li>Put the printed pulley in the body between the bearings.</li><li>Insert the D-shaft through the front, about halfway into the pulley.<ul><li>Make sure the cutout of the shaft matches the location of the square nut in the pulley. Otherwise the shaft will not fit.</li></ul></li><li>Put the nylon washer between the bearing and printed pulley.</li><li>Fully push the shaft up to the end - take it back very slightly so it won't touch the motor.</li><li>Tighten the screw of the printed pulley through the hole in the pulley.</li><li>Insert the 12T pulley into the belt.<ul><li>This is a bit tight, take care doing so, it'll fit with some playing around!</li></ul></li><li>Put the motor on (insert it into the 12T pulley), without tightening the screws yet.<ul><li>Make sure the orientation of the wires/connector is as desired.</li></ul></li><li>Put the motor-screws through the holes in the body, screw them in about halfway.</li><li>Press, and keep pressing the indent in the body with your thumb, to put tension on the belt. Tighten the motor-screws while the belt is under tension.</li><li>Finally, position the pulley on the motor, so that the belt runs in the middle of both pulleys. Then, tighten it down.</li></ul><h3>Firmware changes</h3><p>For this mod on the MK3(S), make a custom <code>.gcode</code>-file with the lines below (put it on the SD & run on the printer) or run these over an USB-connection</p><ul><li><code>M350 E16</code> - Set microstepping to 1/16</li><li><code>M92 E445</code> - Change the E-steps to 445</li><li><code>M500</code> - Save to eeprom</li></ul><p>If needed, to revert back to stock MK3(S)</p><ul><li><code>M350 E32</code> - rollback to 1/32 microstepping</li><li><code>M92 E280</code> - rollback default esteps</li><li><code>M500</code> - Save to eeprom</li></ul><p>PS: Depending on the used motor/cable, the E-direction may need to be changed too. With the Prusa, this can only happen in firmware, so I recommend to change the direction through wiring.</p>
With this file you will be able to print BowTie Pulleybox / Gearbox with your 3D printer. Click on the button and save the file on your computer to work, edit or customize your design. You can also find more 3D designs for printers on BowTie Pulleybox / Gearbox.
