 Thingiverse
Redcat Racing Gen8 4 Wheel Steering mod
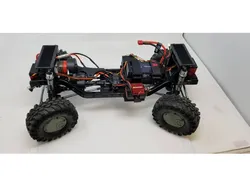
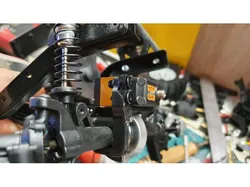
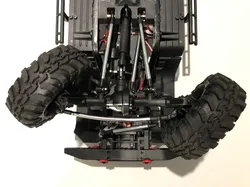
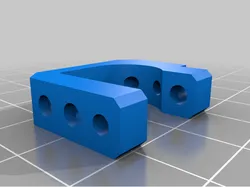
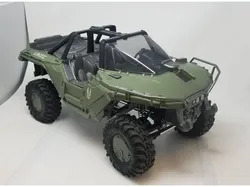
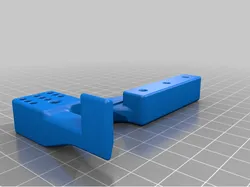
For various reasons, not the least of which is the creation of R/C scale Halo Warthogs, one may wish to add steering control to the rear of a Redcat Racing Gen8. Here I'll attempt to illustrate two different methods of achieving this feat. Neither of these methods will work with the stock rear bumper on the stock body, at least, not as I've designed the printed shock mount. The issue there is that the servo horn and drag link potentially interfere with the stock bumper location.For both methods, you will need a front axle to use in the rear of your Gen8 (hint: a rear axle can be converted to a front axle with the appropriate parts, you do not need a new center section or spool), an additional Panhard bar, another steering link and an additional servo. You will also need the means to control the rear steering servo, whether it be through a receiver with additional channels (my preferred method) or a y-splitter on your steering channel and reversing the output of your servo (there are many explanations of doing this on the web, so I won't go into it here).To make my Warthog, I used method two, because it gives quite a bit more clearance on the rear shock towers when completed.
Direct link to the original creator's page
More from Phatjax

Similar Models
 Thingiverse
 Thingiverse
 Thingiverse
 Thingiverse
 Thingiverse
 Thingiverse
 Thingiverse
 Thingiverse
Model Specifications
Frequently Asked Questions
How do I download Redcat Racing Gen8 4 Wheel Steering mod?
Click the "View on Thingiverse" button above to visit the original model page on Thingiverse. You can download the STL file directly from the creator's page for free.
What 3D printer can I use for this model?
This model is compatible with most FDM 3D printers (Creality Ender 3, Prusa MK3S+, Bambu Lab, etc.) and resin printers (Elegoo, Anycubic). Check the original page for recommended print settings and materials.
Is this 3D model free to download?
Yes, this model is available as a free download on Thingiverse. Some creators accept tips or donations.
Can I modify this file?
Check the license (see original page) on the original Thingiverse page. Most STL files can be modified using free software like Blender, TinkerCAD, or Meshmixer.