Bowden extruder caliper mount
prusaprinters
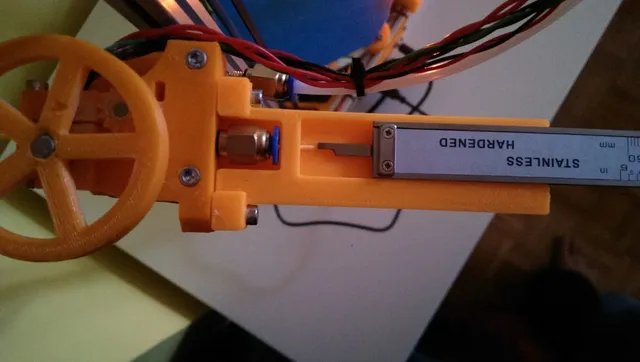
Most instructions to set your DEFAULT_AXIS_STEPS_PER_UNIT on the extruder say to mark the filament with a pen. I wanted something more accurate! The included STL is fit for the Think3DPrint3D extruder, but I've included a customisable OpenSCAD so everyone can have a play. Instructions Screw this on to your bowden extruder and you can really nail down your DEFAULT_AXIS_STEPS_PER_UNIT. The included STL is the correct size for the Think3DPrint3D extruder, but I've included a customizable OpenSCAD file, so everyone can use it. To use; place the calipers in the slot, with the screw plate resting in the lower slot to stop them from moving backward. I recommend that you hold everything firmly in place while you do this. During testing, I had a shoe box under my calipers to keep everything steady. Extend the caliper to the filament hole. Extrude 1mm at a time until the filament is pushing the calipers. Zero the caliper. Extrude 10-20mm and watch as your calipers are pushed closed :-) Note the reading (which will be negative) and adjust your DEFAULT_AXIS_STEPS_PER_UNIT accordingly. You may want to push the filament into the groove before taking your final measurement as it can bend upwards sometimes. Category: 3D Printing Tests
With this file you will be able to print Bowden extruder caliper mount with your 3D printer. Click on the button and save the file on your computer to work, edit or customize your design. You can also find more 3D designs for printers on Bowden extruder caliper mount.