Bouclier Deathstroke
sketchfab
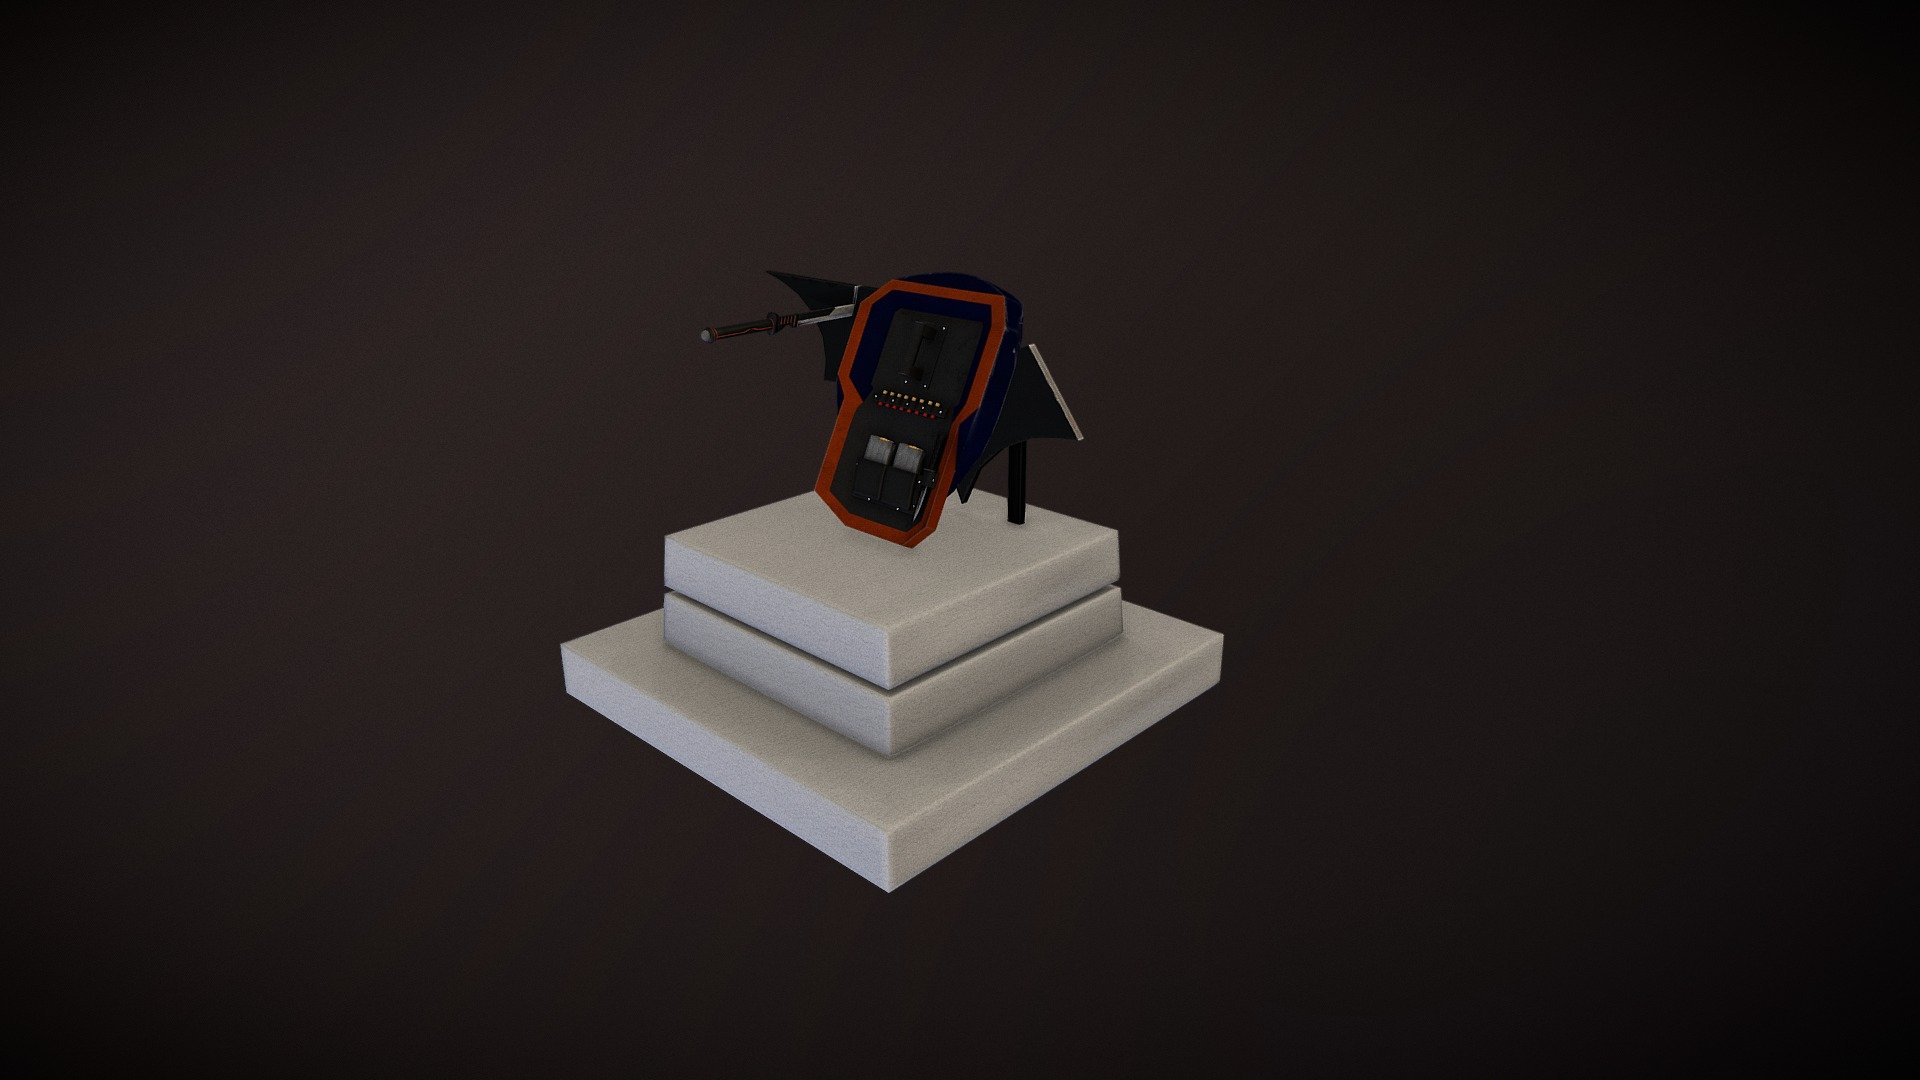
Designing a shield and its base is an essential part of a school project involving 3ds Max and 3D Coat. The first step is to create the shield's shape, using a combination of extrusions and sweeps in 3ds Max. This involves defining the shield's dimensions, thickness, and material properties. Once the basic shape is created, it can be refined by adding details such as texture patterns or engravings. The next step is to design the base of the shield, which typically consists of a platform that supports the shield itself. The base should be sturdy enough to hold the weight of the shield without compromising its stability. In 3D Coat, the base can be created using sculpting tools, adding volume and detail as needed. To complete the project, the shield and its base need to be assembled and textured in a way that reflects their intended use. This may involve adding props such as handles or straps, depending on the design requirements. The final step is to render the completed model in 3ds Max, using lighting effects and materials to bring the design to life. Throughout the process, it's essential to maintain consistency in terms of texture and color, ensuring that the shield and its base look cohesive and well-designed. By following these steps, students can create a visually appealing and functional shield for their school project.
With this file you will be able to print Bouclier Deathstroke with your 3D printer. Click on the button and save the file on your computer to work, edit or customize your design. You can also find more 3D designs for printers on Bouclier Deathstroke.