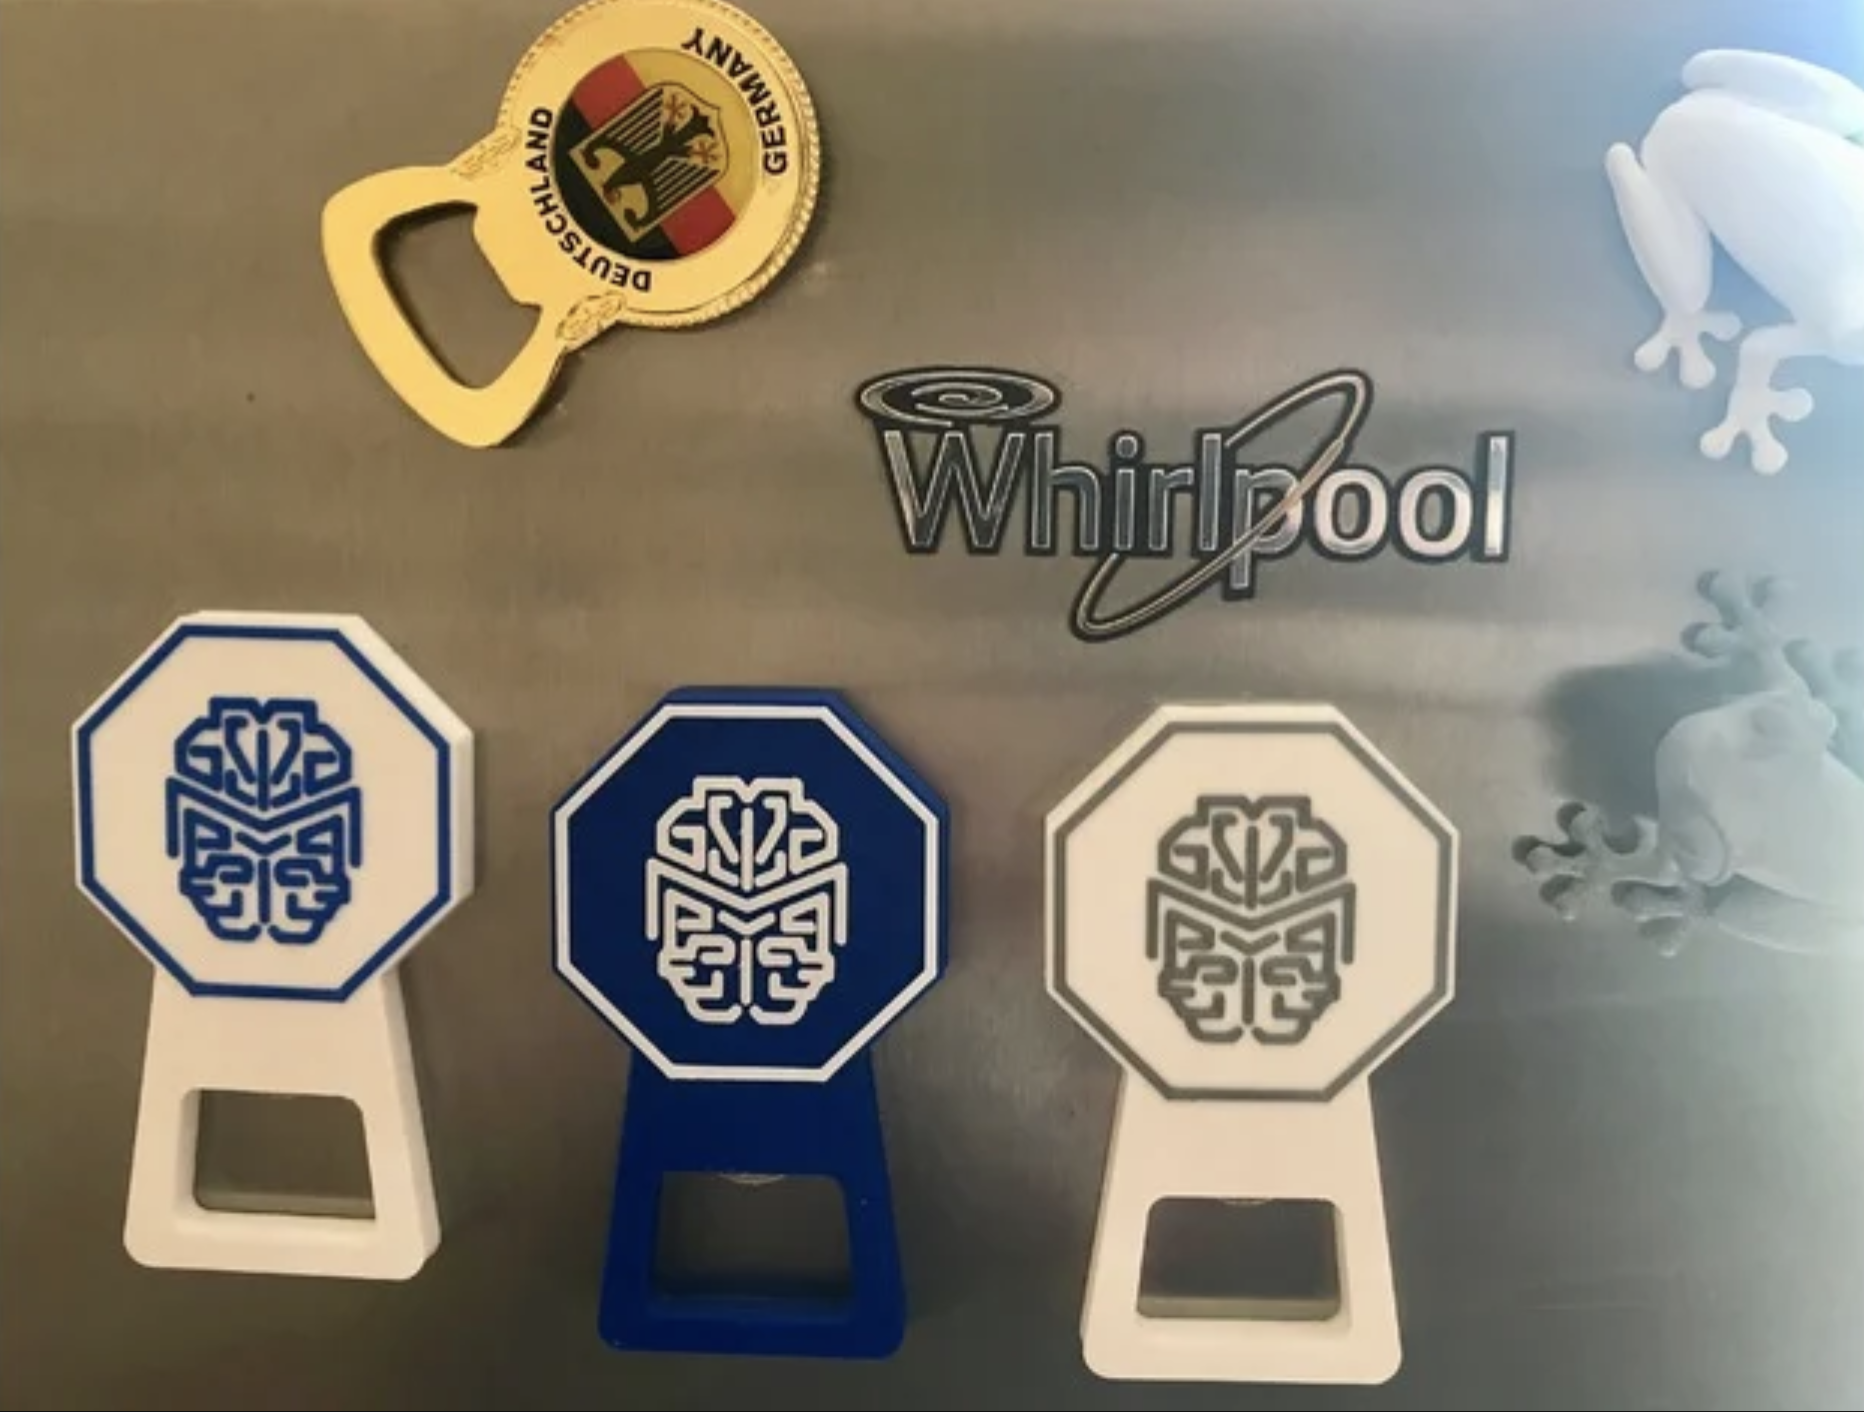

Bottle opener w/ embedded dime & magnets
prusaprinters
<p>This bottle opener is a riff off of the coin-operated bottle opener included with the driver package for the Prusa i3 Mk3 3D printer from Prusa Research. However, I have changed a few things:</p> <p>1.) The dime is embedded in the print. I did this for fun and to try out the process.<br/> 2.) There are also two 8x3 rare-earth magnets embedded in the print, so that it can stick to a fridge and be readily accessible.<br/> 3.) There is now plenty of real-estate on the handle to add a photo or your own logo, etc. In my case, I did a 0.4mm extrude off the plane of the top of the handle - and used Prusa ColorPrint to do an actual color change so that this print ends up being two-colors.</p> <p>I've included the design files without a logo in case anyone wants to put their own logo or artwork on top of the bottle opener. This is relatively straightforward if you follow online tutorials for converting vector / illustrator files like .SVG files into 3D files (I use Fusion 360, so a sample tutorial for that software is here: <a href="https://www.youtube.com/watch?v=g92n2a6vWGI">https://www.youtube.com/watch?v=g92n2a6vWGI</a>). I'm not a design expert so this tutorial was relatively straightforward to follow.</p> <p>This object prints without supports, which is important: if your slicer adds internal supports to the cavities in question, you will be unable to embed the objects.</p> <p>NOTE: There's only one layer height to stop the print at to embed the objects, to make things easier. You will want to manually stop it or otherwise stop the print using an altered Gcode (see print instructions below) just before the layer height at which the internal cavities get sealed up. Then, carefully (without knocking the print off the bed) embed the objects loosely or with a gentle pressing action -- depending on your printer's tolerances. Then, un-pause the printer and keep printing! Your printer should seal the dime and magnets up like Fortunato. In pace requiescat!</p> <p>This is my original design, transferred from Thingiverse: <a href="https://www.thingiverse.com/thing:2884617">https://www.thingiverse.com/thing:2884617</a></p> <p>For you MMU2/S users like myself, I've included another file where I've split the opener into an upper and lower part which when imported together is recognized as a multi-part print by PrusaSlicer. I haven't quite determined how best to alter the G-codes to allow for easy embedding of the dime/magnet, but this will allow us to treat the top and bottom halves as separate at least for the time being. Ideally, I'd like my MMU2 to unload the first filament, raise up and spit the print bed out front for easy embedding away from the hot end, and then re-load that same filament — and then do a normal colorchange for the top part. Maybe using the MMU in single mode would be good here (does the printer ask what filament to use at each colorchange?) -- but I haven't tested that.</p> <h3>Print instructions</h3><p>No supports! This is critical. I used 0.15mm variable layer height in PrusaSlicer with 10% infill. PLA works great for this print.</p> <p>I used Prusa ColorPrint to set the color change M600 code at the correct layers for the embedded objects (the layer height before the cavities get printed over. This is not ideal (since there is some waste of material), but I have tried other methods (manually editing the g-code to include a lift/M0) and they do not ensure that the hot end is primed with filament (and I always end up having a bad layer after the M0).</p>

With this file you will be able to print Bottle opener w/ embedded dime & magnets with your 3D printer. Click on the button and save the file on your computer to work, edit or customize your design. You can also find more 3D designs for printers on Bottle opener w/ embedded dime & magnets.
