
Bottle opener & cap shooter
prusaprinters
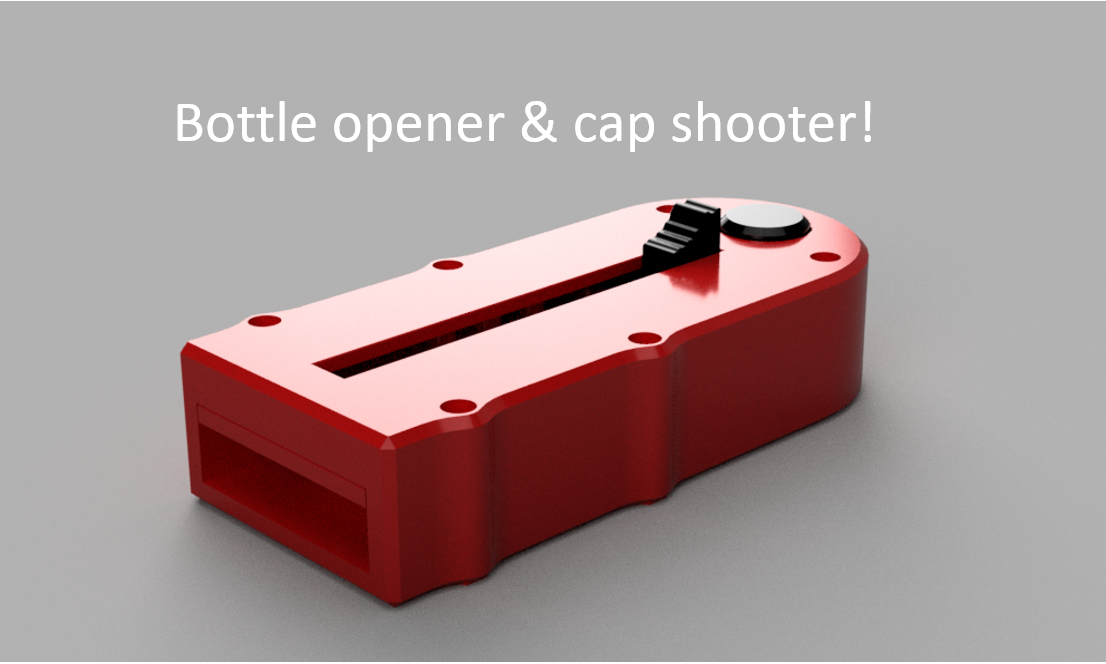
<p><strong>Small bottle opener and cap shooter. Pull back the slider, open the beer and press the trigger to shoot :)</strong></p><p> </p><p><strong>See it in action:</strong> <a href="https://streamable.com/c4uv7q">https://streamable.com/c4uv7q</a></p><p> </p><ul><li>Update 1.1: Increased the overall height a little so that the M2x20mm don't need to be shortened but instead are flush with the bottom.</li></ul><p><br><strong>Required hardware:</strong></p><ul><li>2pcs. Rubber band (Diameter ~40mm)</li><li>2pcs. ⌀10x2mm magnet</li><li>1pcs. Ball pen spring (Shortened to ~10mm)</li><li>6pcs. M2x20 Cylinder-head screw</li><li>1pcs. M2x8 Cylinder-head screw</li><li>7pcs. M2 Nut</li><li>1x 50-Cent coin</li></ul><p> </p><p><strong>Printing info:</strong></p><ul><li>Pause the print of bottom.stl at 4.2mm height to drop in a 50cent coin. The coin will later open the bottle.</li><li>Print the cylinder.stl in vase mode. They are later used like a bushing on the two front pins to allow the rubber band to move while extending.</li></ul><p> </p><p><strong>Additional assembly Info:</strong></p><ul><li>To assemble the slider.stl and mid.stl parts rotate the slider and then insert it into the middle plate through the cylindrical cutout in the front. You can then rotate it by 90° into it's regular position and screw the hook.stl onto the slider with the M2x8mm screw.</li><li>The magnets must be glued into the middle plate and will later hold the bottle cap </li><li>I recommend securing the M2x8mm screw used to mount the slider.stl and the hook.stl with a little bit of glue so that it can't become lose in operation.</li></ul>

With this file you will be able to print Bottle opener & cap shooter with your 3D printer. Click on the button and save the file on your computer to work, edit or customize your design. You can also find more 3D designs for printers on Bottle opener & cap shooter.
