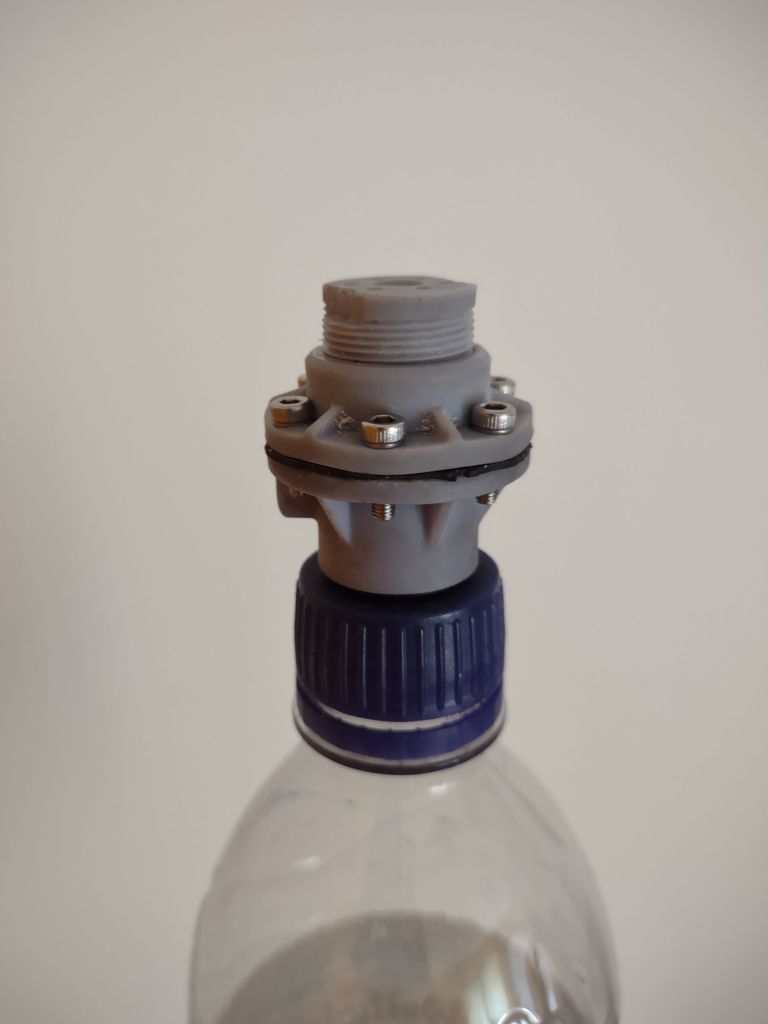
Bottle Cap Pressure Regulator
prusaprinters
<p>This is the design for a pressure regulator that sits on top of a normal plastic bottle. Because some parts are quite small and others require smooth sliding or sealing surfaces, this design is only suited for resin printers.</p> <p>On the output side, a 6mm OD plastic hose is used.<br/> To fill the bottle, eriher a compressorcan be attached to the 1/4 inch thread, or a bike valve can be screwed in.<br/> When using 1/4 inch adapter with rubber seal, a check valve can be added with a spring and a BB.</p> <p>Output pressure can be set by the nozzle/seat area combination, spring constant and pre-tension of the spring.</p> <p>The dummy plug is not needed. It can however be used to replace the bottle for testing, or when a compressor is used.</p> <h3> Print Settings</h3> <p><strong>Printer:</strong></p> <p>Elegoo Mars</p> <p class="detail-setting rafts"><strong>Rafts: </strong> <div><p>Doesn't Matter</p></div>**Supports:** Yes Post-Printing ============= **Additional parts that are needed:** <div><ul><li>Rubber membrane (cut from an old bike tube),<br/> cut and puncture holes for screws Small spring (from a pen) Large spring (more difficult to find, e.g. oil filter bypass valve) M3 bolts Bottle cap Optionally BB and second small spring for check valve or a bike valve instead 1.5mm thick steel rod O-ring 17mm ID <p class="detail-caption"><strong>All Parts</strong></p> <p class="detail-title"><strong>Assembly</strong></p> <div><ol><li>Insert the steel rod carefully into the needle. It will break easily. The rod should protrude around 3-4mm. The needle will have to be sanded to slide smoothly inside the lower housing part.</li> Push the valve seat into the main housing part. I added teflon tape for a better seal. Cut a hole into the bottle cap and stick the bottom part through. Add an o-ring. Add a small spring around the needle and drop it on the valve seat in the main housing. screw both parts together. Cut out the membrane and add screw holes. Bolt the upper housing to the main housing, clamping the membrane between both parts. Put a larger spring around the plunger, put the plunger on the membrane and scre the top cap on. <p class="detail-caption"><strong>Section view of the whole regulator</strong></p> <p class="detail-image"><img src="https://cdn.thingiverse.com/assets/f0/76/c8/ff/f4/trace.jpg"/></p> <p class="detail-caption"><strong>Discharge of a 1L bottle filled with 4bar down to ambient pressure. Timescale is 10s/div, discharge begins at around 10s. The pressure is held approximately constant at around 2 bar for 30s.</strong></p></ol></div></li></ul></div></p> Category: Engineering
With this file you will be able to print Bottle Cap Pressure Regulator with your 3D printer. Click on the button and save the file on your computer to work, edit or customize your design. You can also find more 3D designs for printers on Bottle Cap Pressure Regulator.
