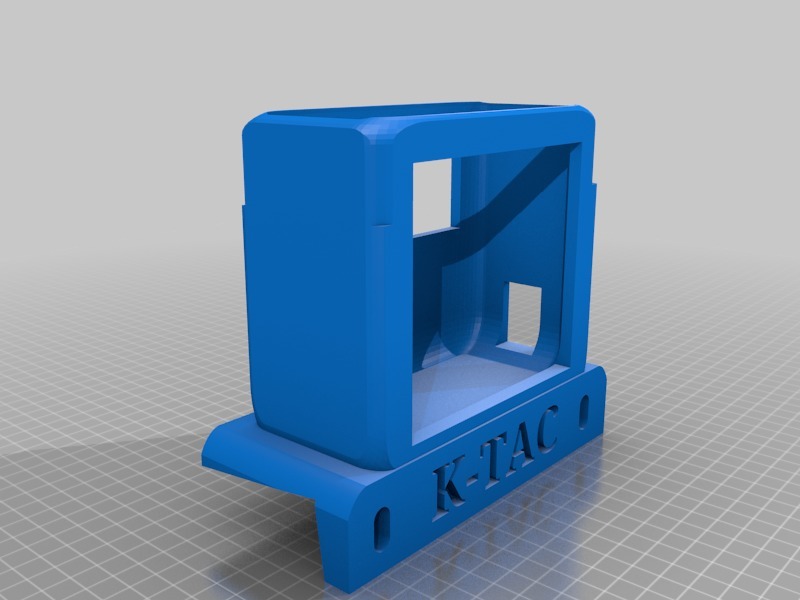
Bose Speaker
thingiverse
Mounting a Bose Bluetooth Speaker on Your Golf Cart's Dashboard. To get started, gather the necessary components and tools for this project. You'll need a dash trim kit specifically designed for your golf cart model, some high-strength adhesive, and a small Phillips screwdriver. It's also recommended to have a drill press or a hand drill with a small drill bit on hand. First, detach the existing trim pieces from the dashboard using the provided screws. Be careful not to damage any surrounding components while doing so. Once you've removed the old trim, take a moment to inspect the area for any stubborn debris or residue that may interfere with your new Bose Bluetooth speaker's installation. Next, apply a thin layer of high-strength adhesive to the back of the dash trim kit and carefully press it into place on the dashboard. Make sure it's aligned properly and evenly spaced before securing it with screws. Now, take your small Phillips screwdriver and gently pry open the Bose Bluetooth speaker's enclosure. Locate the mounting points on the speaker itself and match them up with the corresponding holes in the dash trim kit. Use a drill press or hand drill to make pilot holes for the screws that come with the speaker. Carefully place the speaker into its designated spot, ensuring it's securely fastened using the provided screws. Double-check that everything is level and evenly spaced before finishing up. Finally, plug in your Bose Bluetooth speaker and enjoy seamless wireless connectivity throughout your golf cart rides!
With this file you will be able to print Bose Speaker with your 3D printer. Click on the button and save the file on your computer to work, edit or customize your design. You can also find more 3D designs for printers on Bose Speaker.
