Bosch eBike charging station
prusaprinters
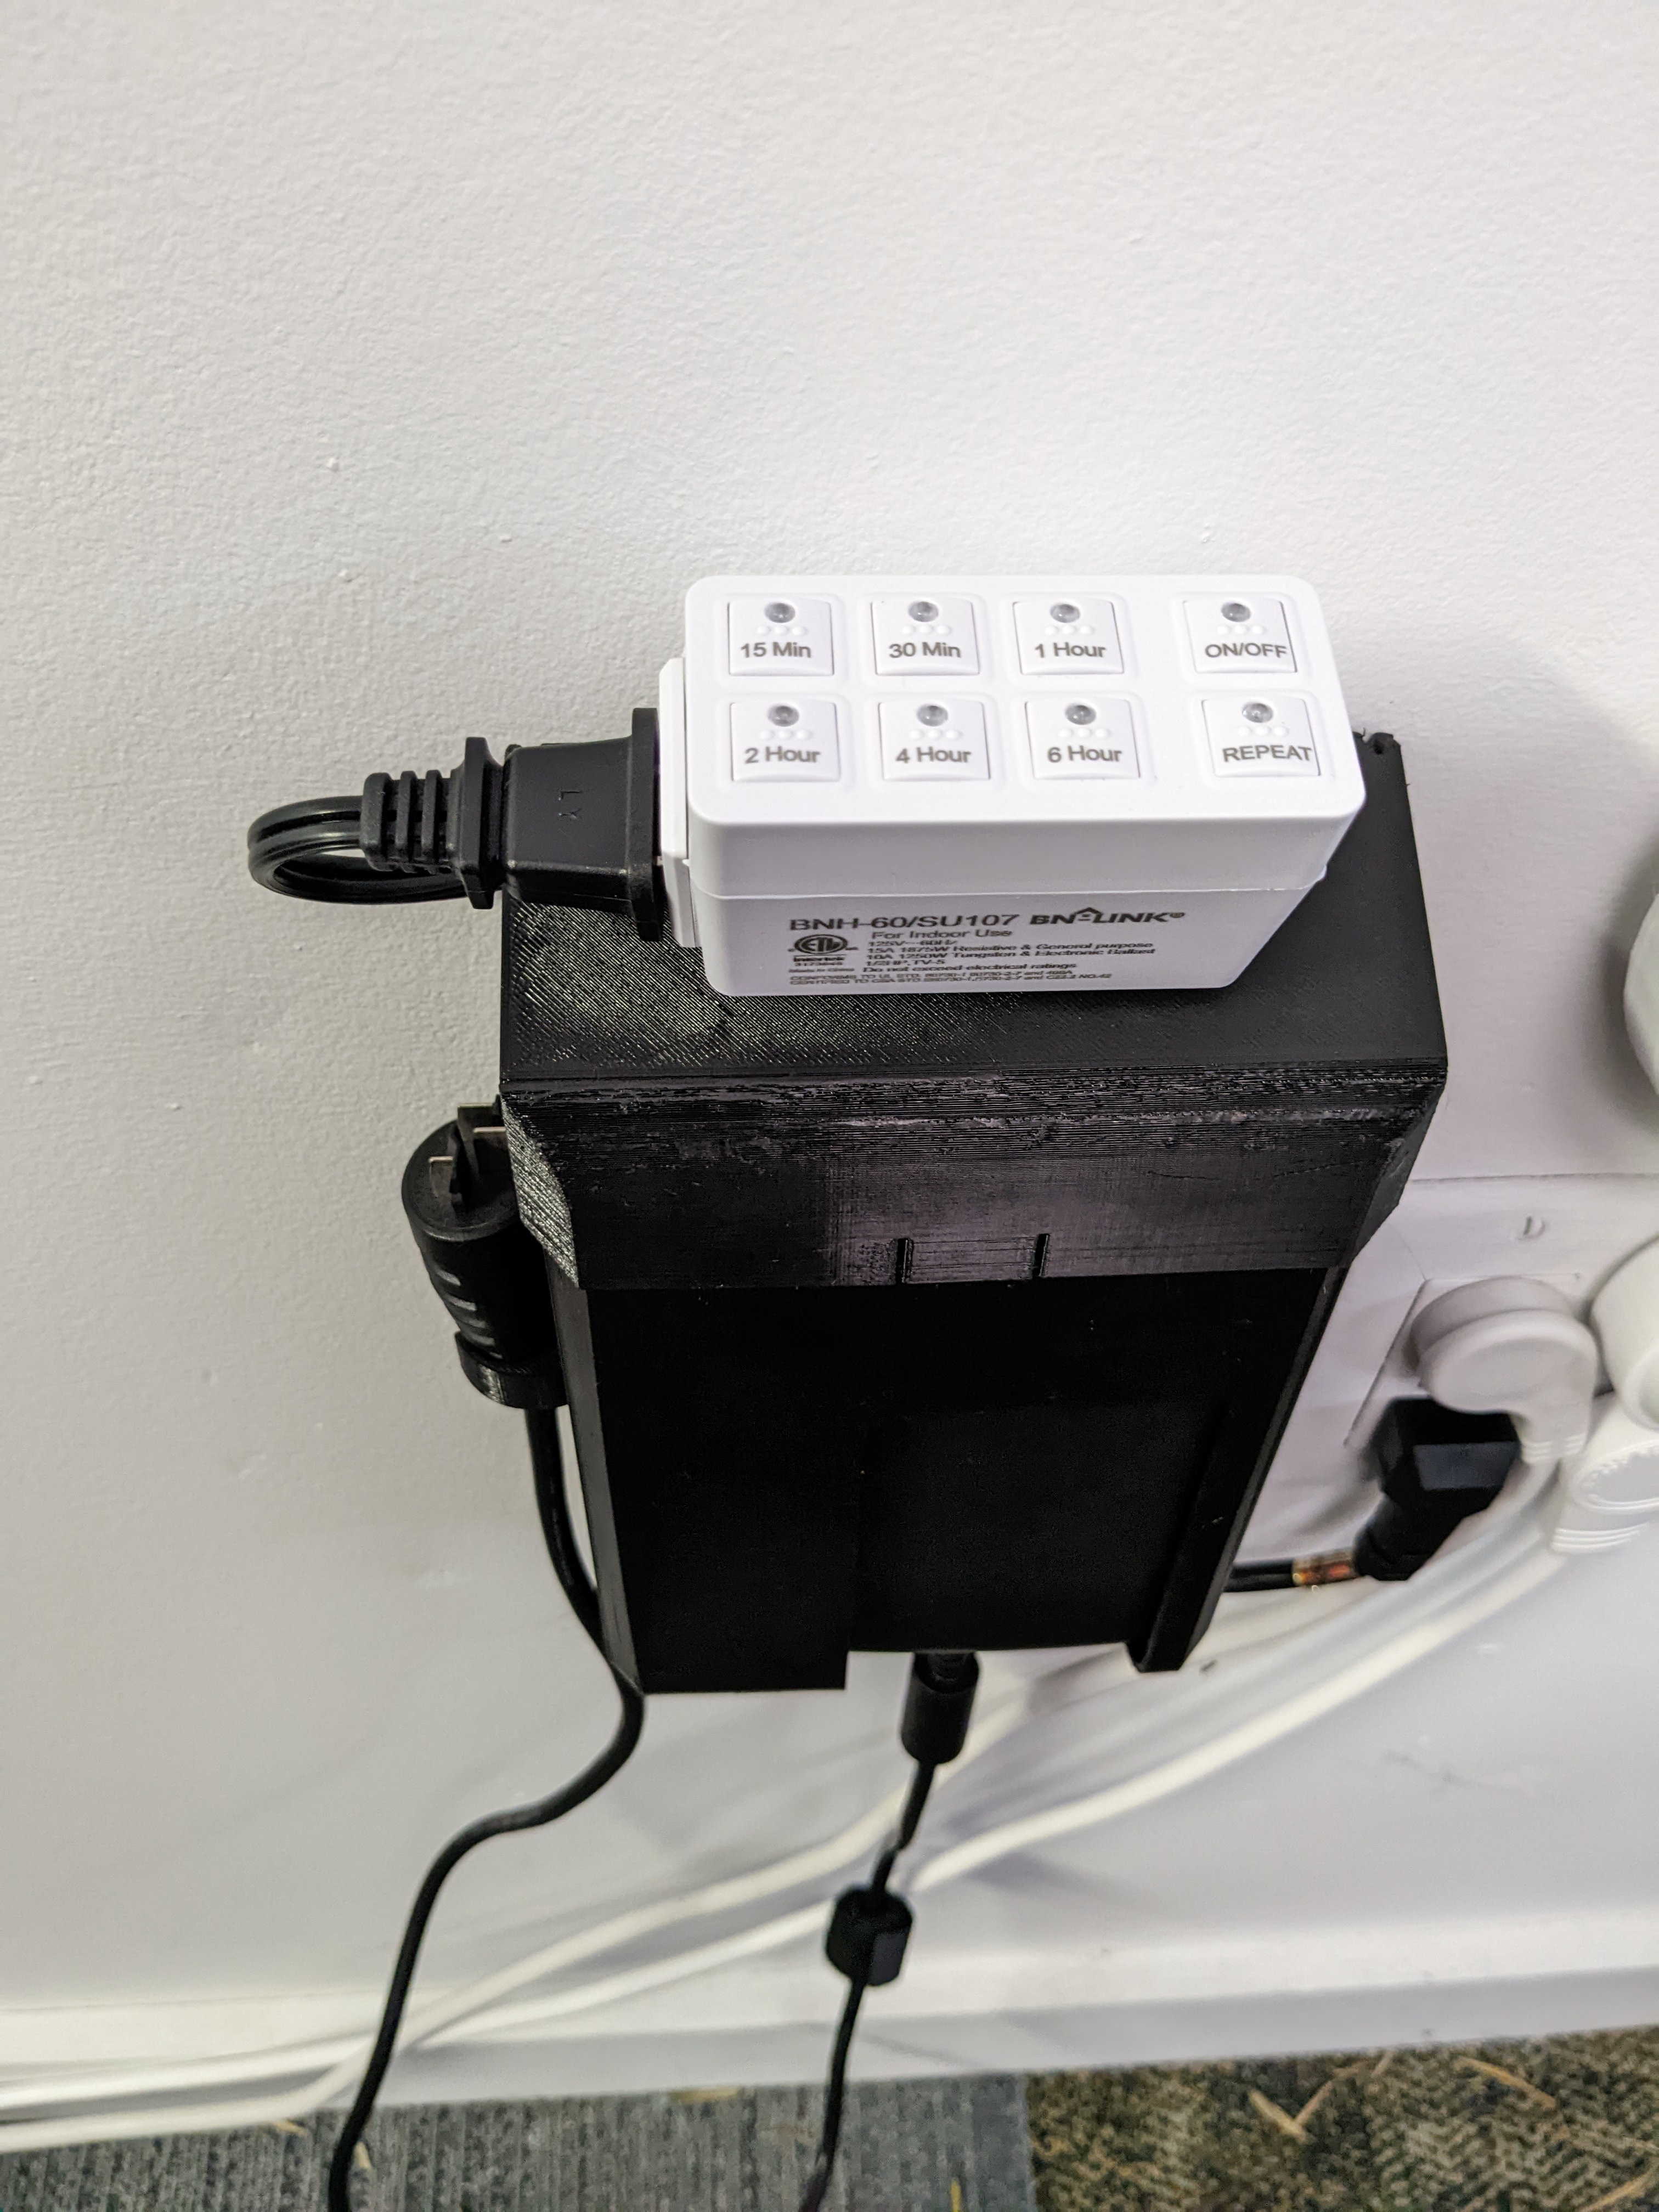
<p>I've designed this charging station so I could wall mount it, improving accessibility, and added a timer to avoid keeping my bike plugged-in more than it needs to (and reduce the battery longevity).</p><p>It is designed for the type B plugs (US, Canada, MX).</p><p>Credit where credit is due, while this is not a remix, I got inspired by the <a href="https://www.printables.com/model/53056-ebike-charging-station">eBike charging station from Svw</a>.</p><p><i>Updates since initial publication:</i></p><figure class="table"><table><tbody><tr><td>Date</td><td>Description</td></tr><tr><td>6/13/2022</td><td>n/a</td></tr></tbody></table></figure><h3>Materials</h3><p>3D printed parts:</p><ul><li>Main compartment</li><li>Lid</li><li>Plug holder</li><li>Plug holder lock</li></ul><p>Aside from the 3D printed parts, you will also need:</p><ul><li>A grounded plug with power cable (<a href="https://www.amazon.com/dp/B0011FLOLC?psc=1&ref=ppx_yo2ov_dt_b_product_details">I chose this 6ft long one</a>)</li><li>A 3pin 15A panel mount socket receptacle (<a href="https://www.amazon.com/dp/B092VQNKN7?ref=ppx_yo2ov_dt_b_product_details&th=1">like this</a>)<ul><li>The design is tight, a different model of socket may not fit.</li></ul></li><li>A plug-in countdown timer (<a href="https://www.amazon.com/dp/B01D3QEK4E?psc=1&ref=ppx_yo2ov_dt_b_product_details">like this one</a>)</li><li>3x wire connectors (<a href="https://www.amazon.com/LEVER-NUTS-Compact-Splicing-Connector-Assortment/dp/B08W3QXN9B/ref=sr_1_3?crid=3D02SLW8JL3ME&keywords=wago+connector&qid=1655156833&s=hi&sprefix=wago+connecto%2Ctools%2C150&sr=1-3">like these</a>)</li><li>2x wall screws & wall anchors</li></ul><h3>Assembly</h3><h4>Pre-assembly</h4><ol><li>Push the plug holder through the slot on the left side of the main compartment</li><li>On the inside of the main compartment, slide the plug holder lock to lock the plug holder in place (good naming eh?)</li><li>Assemble the panel mount socket and the lid by simply pushing it through from the top</li><li>Do NOT assemble the lid & the main compartment yet. You will need to mount the main compartment to the wall and put the charger in first.</li></ol><h4>Mounting</h4><ol><li>Choose a location for the charging station.</li><li>Mark the holes for mounting. You have 2 options:<ul><li>Use the two horizontal mounting holes.<br>Spacing between holes is 75mm.</li><li>Use the two vertical mounting holes (e.g for mounting on a stud).<br>Spacing between holes is 120mm.</li></ul></li><li>Pre-drill / use wall anchors as necessary</li><li>Screw in the 2 mounting screws, leaving a gap between the head of the screw and the wall</li><li>Hook the main compartment in place, then tighten the screws</li></ol><h4>Wiring</h4><ol><li>Place the Bosch charger in the main compartment</li><li>Click the lid in place, keep it open</li><li>Wire the AC power cord to the socket. DO NOT plug the AC cord in yet.</li><li>Clean up the cables. The charger's AC plug should come out through the groove on the left side, with enough length to plug it into the countdown timer.</li><li>Close the lid</li><li>Plug in the countdown timer, the charger's AC plug, and the charging station.</li></ol><h4>Voilà!</h4>
With this file you will be able to print Bosch eBike charging station with your 3D printer. Click on the button and save the file on your computer to work, edit or customize your design. You can also find more 3D designs for printers on Bosch eBike charging station.
