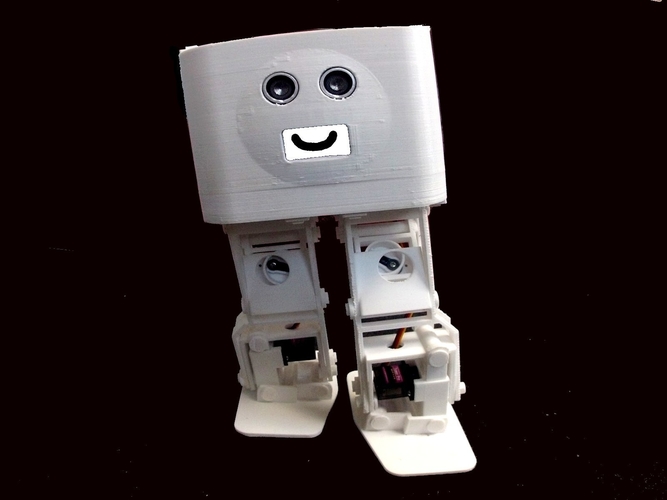
BORIS the Biped for Beginners and Beyond
pinshape
These are the essential plastic components required to construct BORIS, a cutting-edge biped robot. Visit https://www.instructables.com/... for more detailed information on this project. All the components listed below have been rigorously test printed on the Creality Ender 3. Material: PETG is utilized throughout. Layer Height: The optimal layer height for printing these parts is 0.3mm. Infill: A moderate infill of 15% ensures a perfect balance between weight and structural integrity. Nozzle diameter: The ideal nozzle diameter for this project is 0.4mm. The BORIS parts list includes the following components: 1x BODY BOTTOM 1x BODY MIDDLE 1x BODY FRONT 1x BODY REAR 2x BODY RECTANGLES 4x BODY SQUARE PINS 1x ELECTRONICS FRAME 1x ELECTRONICS PIN 1x OLED FRAME 2x FEET 2x ANKLES 2x LEG 1 2x LEG 2 2x PISTON CASES 2x PISTON CASES (Mirror) 4x PISTON HOLDERS 4x PISTONS 2x HIPS 8x CIRCULAR PIN L1 2x CIRCULAR PIN L2 2x CIRCULAR PIN L3 10x CIRCULAR PIN L4 16x SQUARE CLIP 22x CIRCULAR CLIP Each component can be printed either individually or as a group. For Group printing, simply print one of every single GROUP.stl file except for the Group LEG 1.stl and the GROUP CIRCULAR PIN.stl files, from which you must choose one of them to complete the entire set of parts. Follow these steps for printing all STL files: Start by printing the LEG 1.stl files individually as they require a brim of around 5mm and one layer height around the part to avoid warping. If necessary, print the LEG 1 WITH BRIM.stl file instead. Once you have printed the individual LEG 1.stl files, proceed to test print the INDIVIDUAL CIRCULAR PIN .5mm L1, INDIVIDUAL CIRCULAR PIN .75mm L1, and INDIVIDUAL CIRCULAR PIN 1mm L1. Test these pins in the holes of the LEG 1.stl file you previously printed and select the one that fits the tightest without being too tight to not be able to push through the hole. If possible, use the .5mm pin as it will result in a faster walking speed for the robot. Finally, proceed to print the rest of the GROUP.STL files. After approximately two days of printing, you should have all the plastic components required to build BORIS.
With this file you will be able to print BORIS the Biped for Beginners and Beyond with your 3D printer. Click on the button and save the file on your computer to work, edit or customize your design. You can also find more 3D designs for printers on BORIS the Biped for Beginners and Beyond.
