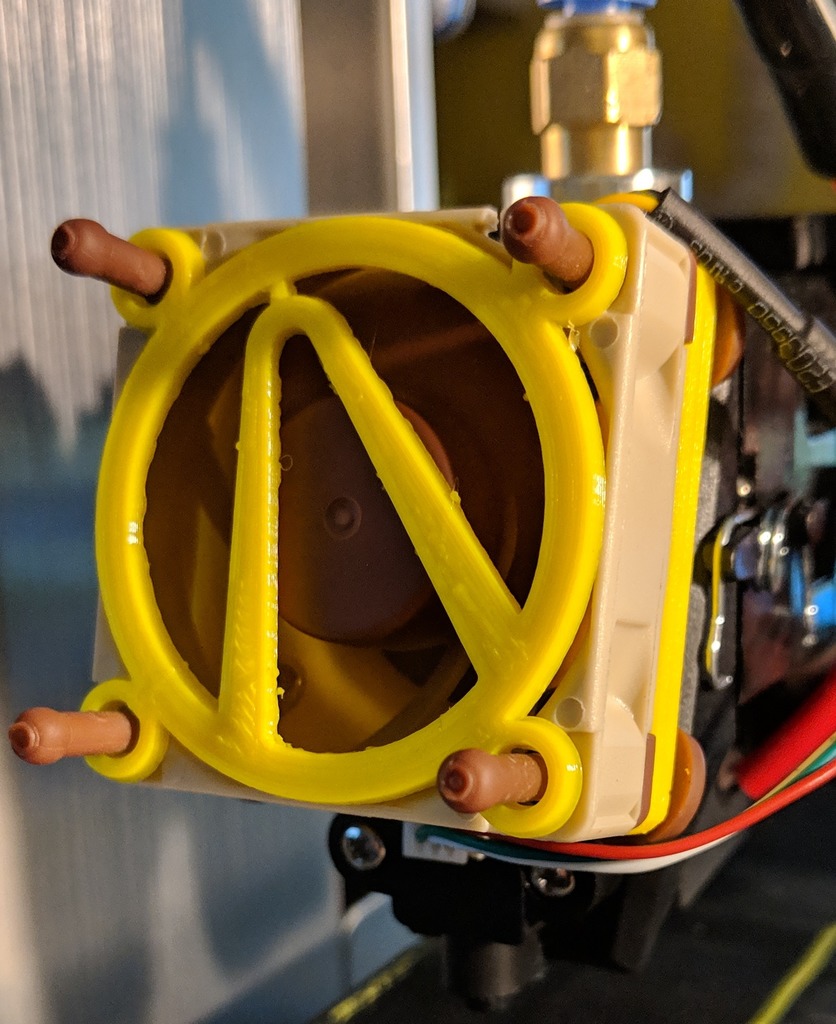
Borderlands 40mm fan guard
thingiverse
Remixing a Borderlands logo into a 40mm fan guard is a creative project that involves reimagining the iconic symbol to fit a new purpose. The result is a unique and functional design that combines style with functionality. To start, gather all necessary materials for building the fan guard. This typically includes metal sheets or aluminum, a drill press, and a wire cutter. Begin by carefully tracing the Borderlands logo onto a metal sheet using a marker or engraving tool. Cut out the design carefully to avoid damaging it. Next, bend the metal into shape, forming a protective shield around the fan blades. Use a hammer and anvil to smooth out any wrinkles or bends in the metal. Make sure to leave enough space between the guard and the fan for proper airflow. Once the metal is shaped, attach it to the fan using screws or rivets. Ensure that the logo remains intact and centered on the guard. You can add additional decorations such as paint or engravings to enhance the design. After assembling the fan guard, install it onto the fan and test its performance. The Borderlands logo fan guard adds a touch of personality to any computer build while also providing protection for the delicate fan blades.
With this file you will be able to print Borderlands 40mm fan guard with your 3D printer. Click on the button and save the file on your computer to work, edit or customize your design. You can also find more 3D designs for printers on Borderlands 40mm fan guard.