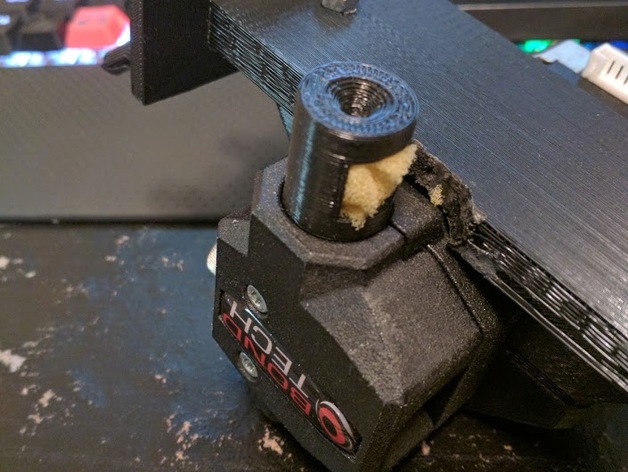
Bondtech Oiler
thingiverse
Figured if I was going to go overboard and get a bondtech, might as well go way beyond the norm and add an oiler to it. Just take off the face of your bondtech and fit it into place, then cut a piece of sponge and put it in the hole. Oil it up and you're ready to roll! Been using it for a few months with no issues whatsoever. Print Settings Printer Brand: Robo 3D Printer: R1 ABS + PLA Model Rafts: Doesn't matter what I choose, it's not going to affect anything. Supports: Yes, they are definitely necessary. Resolution: 0.1 is the standard setting for me. Infill: 100% infill is the way to go, especially when printing small objects like this one. Notes: I used 100% infill because it really doesn't make a difference on something this tiny. Would recommend printing it so that the hole through the center of it doesn't try to have infill or sag. The sponge hole will have support, but it's easy enough to remove once it's done.
With this file you will be able to print Bondtech Oiler with your 3D printer. Click on the button and save the file on your computer to work, edit or customize your design. You can also find more 3D designs for printers on Bondtech Oiler.
