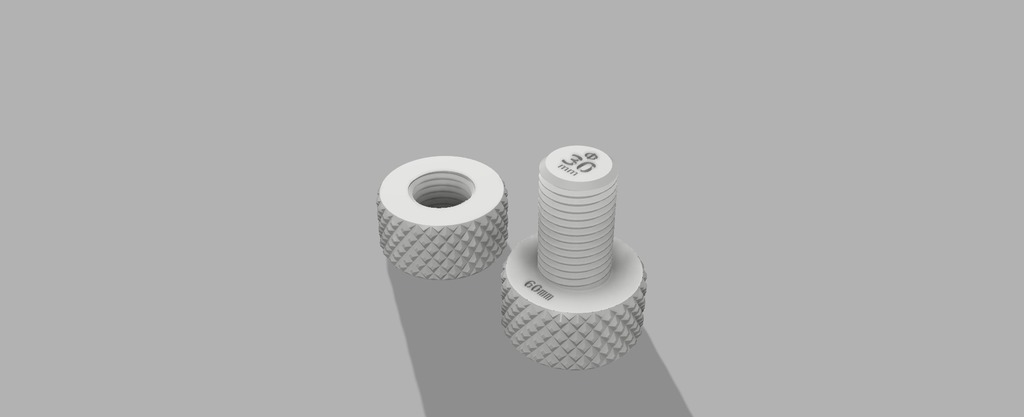
BOLT AND NUT
thingiverse
Making a Simple Bolt and Nut with Fusion 360 To create a basic bolt and nut, follow these steps. The project involves designing a simple bolt and nut assembly. A bolt is typically knurled for grip. In this case, the bolt will be knurled on its entire length. The bolt must be knurled at 60 mm long. The nut should fit snugly onto the bolt head. Designing the Bolt To create the bolt, open Fusion 360 and start a new project. Create the bolt's basic shape by drawing a cylinder. In this example, the diameter of the bolt is set to 6mm. The length of the bolt will be 60 mm. Next, add a thread to the bolt. This is done in the "Threads" section of Fusion 360. Designing the Nut To create the nut, draw another cylinder and set its diameter to 6mm. Add threads to the nut as well. The nut's thread should match that of the bolt. Assemble the Bolt and Nut Now it's time to assemble the bolt and nut. Place the nut onto the bolt head, ensuring they are securely fastened together.
With this file you will be able to print BOLT AND NUT with your 3D printer. Click on the button and save the file on your computer to work, edit or customize your design. You can also find more 3D designs for printers on BOLT AND NUT.
