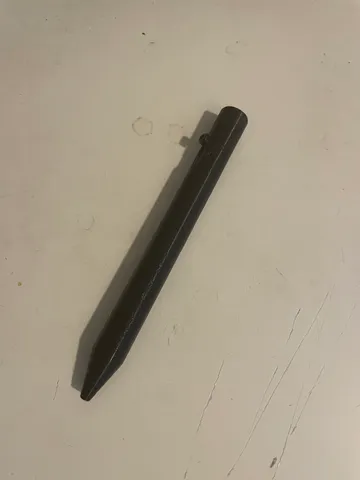
Bolt-action pen for Ballograf refills
prusaprinters
AboutThis is a simple bolt-action pen that I made. Uses Ballograf Original refills, and an M3 heat inserts for attaching the “handle” into the bolt for cycling the action. This is made to be printed also with a 0.6mm nozzle, so tolerances aren't extra tight and might need scaling !The example pen in the pictures is printed from wet filament, my apologies. Materials1x M3 Heat insert, no longer than 5,7mm. Ive used M3x4.6x5.7 heat inserts from AliExpressBallograf original refill or a clone of it.A penspring of your choice. Should be relatively strong. Making itPrint the Shell first (NO SUPPORTS) using 0.16 - 0.24 layer height. Print the bolt and the endcap, and scale OR file those parts for a tight but smooth fit. Use 0.16-0.24 layer height, and make them sturdy. Depending on your spring and cartridge you might need to shorten or lengthen the bolt. I've provided two different length bolts for your convenience, those worked for my two different basic pen springs fairly well.You can use any type of rigid material for printing. I've used eSUN PLA+.AssemblyCheck the inside of the shell for any debris or artefacts. Clean up with a drill bit if necessary.Insert the M3 Heat inserts into the bolt. Ensure that the heat insert does not stick out of the bolt face, so it doesn't catch on anything.Insert the spring and the ballpoint cartridge into the shellInsert the bolt into the shellScrew the M3 bolt into the bolt so it stays in the mechanismPress the endcap on.The pen might need some breaking in to get rid of any irregularities in the shell print, so keep that in mind !Enjoy your new bolt-action pen !
With this file you will be able to print Bolt-action pen for Ballograf refills with your 3D printer. Click on the button and save the file on your computer to work, edit or customize your design. You can also find more 3D designs for printers on Bolt-action pen for Ballograf refills.