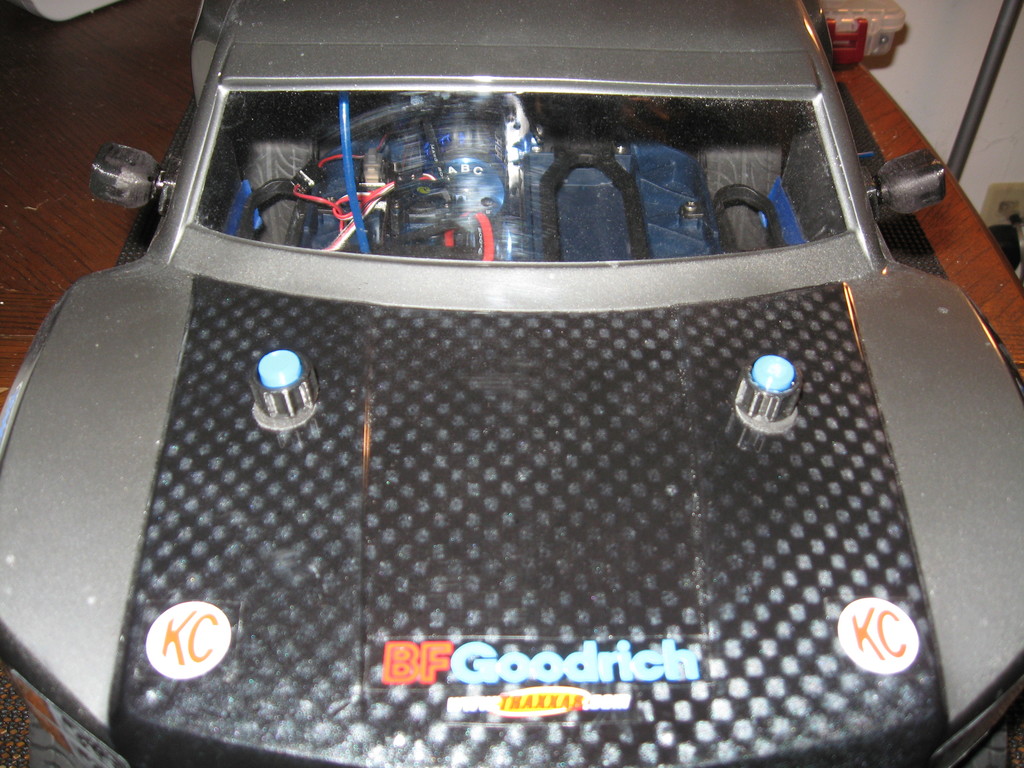
Body Post Screw Knob set Design 2
thingiverse
I crafted these knobs as a cosmetic overhaul to replace the originals, which I designed months ago due to their size and bulky appearance, but they remain reliable options. The goal of this new design is to create smaller, more unique knobs that are also easier to identify at the track. This way, an RC vehicle can be instantly recognized by its owner among others. If you'd like to download these files, you'll need four screws for the base – 3x30mm in size – and photos will guide you through installing the 3D printed body mounts. To assemble the knobs themselves, you'll require four stop nuts, each measuring 3mm. Depending on your 3D printer and printing method, a Dremel power tool with a special bit (as shown in the photos) and an exacto knife will be necessary for cleaning up the area where the stock nut will go. Additionally, a loupe used by jewelers and watchmakers to magnify your vision may come in handy. Four Traxxas Foam Body Washers part no. 4915 or similar products should also be obtained to provide friction on the RC vehicle's body, preventing damage from the knobs. Once you have these materials, the photos will give you a clear idea of how to assemble everything. Please excuse the blurry images – they should still convey the necessary information. After assembly, the photos will show you the finished product, allowing you to enjoy this upgrade for your RC vehicle.
With this file you will be able to print Body Post Screw Knob set Design 2 with your 3D printer. Click on the button and save the file on your computer to work, edit or customize your design. You can also find more 3D designs for printers on Body Post Screw Knob set Design 2.
