BLV mgn12 AM8 bracket/brace + jig
prusaprinters
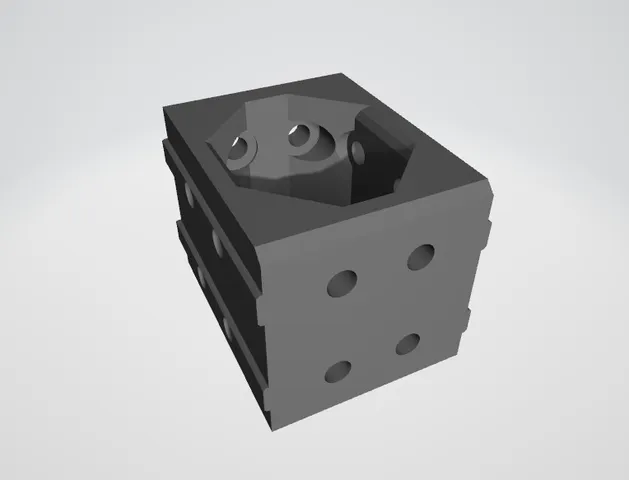
Update (5/23/2019): Henlo frens, I have installed this on my printer. It is very tedious but it works. Make sure you use button head screws with an allen key. My next design will elongate the overall profile, which should make it a bit easier to reach some of the screws. Stay tuned 8) Update: Added v2. Increased accessibility and cleaned up some holes. This will still be a tedious install. This is a corner bracket for the BLV mg12 mod. I made this to fit to the inside corners of my AM8, as the y axis endstop mount I wanted to use had nowhere to mount. This is exactly 39mm wide, so it doubles as a jig as well as a bracket. Not tested yet. Have fun! I have them installed in the back, and they work perfectly. I'm actually wanting to install them in the front corners as well, because I like the idea of coupling 3 extrusions together in a perfect 90 degrees rather than just two together at a time. Print Settings Printer: ARM8 (Anet A8, metal frame, linear rail) Rafts: No Supports: Yes Infill: yes Notes: Print it THICC I used 4 walls at 0.45mm extrusion width, 5 roofs/floors at 0.24mm layer height, 35% line infill. It was quite a sturdy chunk o plastic. That was my v1 and printed on my home printer in PETG. v2 I printed on the Markforged Mark Two in Onyx filament, no reinforcement. I used 4 walls (1.6mm) and 5 roofs/floors (1mm) at 28% triangle infill. That's what I have installed. Markforged printers are capable of excellent tolerance printing, so my design worked great for that. v1 was pretty tight on my ARM8. Maybe try lowering your extrusion multiplier a tad to print this design. Trust me, you want those screws to go in easily... How I Designed This Fusion 360 Category: 3D Printer Parts
With this file you will be able to print BLV mgn12 AM8 bracket/brace + jig with your 3D printer. Click on the button and save the file on your computer to work, edit or customize your design. You can also find more 3D designs for printers on BLV mgn12 AM8 bracket/brace + jig.