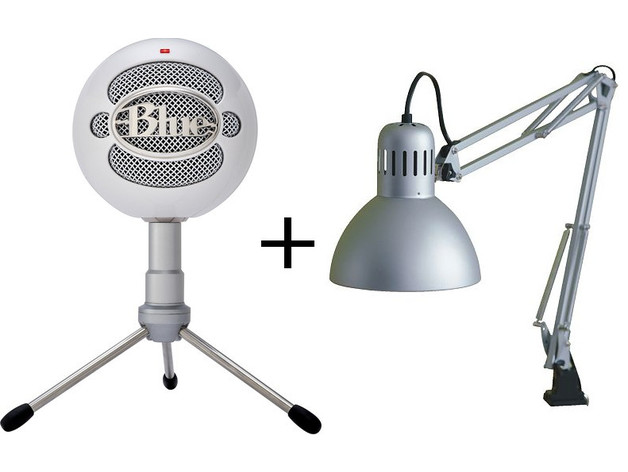
Blue Snowball to ikea lamp arm mount.
thingiverse
So I had one of those $10 IKEA lamps just lying around and I desperately needed a way to get my microphone off my cluttered desk. You won't need any extra hardware, as this hack was specifically designed to utilize all the original parts. To assemble, take off the lamp head by removing the thumb screw and pulling out the cable for the lamp. Be extremely careful when cutting the cord on the lamp, as I had to do it myself and didn't want you to go through the same hassle. You might need to loosen up the other two screws on the triangle plates to get the lamp mount out and the mic mount in place. Keep the thumb screw and bolt for future use. Slot in the printed part and tighten the screws, making sure not to overtighten them. You may also have to tighten up the rest of the screws on the arm to support the extra weight of the microphone. For the microphone, I used the original stand and removed the folding legs. Simply unscrew the screw at the very bottom of the stand and take out the legs, then reassemble everything. Next, slide the stand through the big hole in the printed part and screw the mic on – it should fit perfectly without any issues. Print Settings: Printer: Monoprice Dual Extrusion Rafts: Doesn't Matter Supports: Doesn't Matter Resolution: Any Infill: Any
With this file you will be able to print Blue Snowball to ikea lamp arm mount. with your 3D printer. Click on the button and save the file on your computer to work, edit or customize your design. You can also find more 3D designs for printers on Blue Snowball to ikea lamp arm mount..
