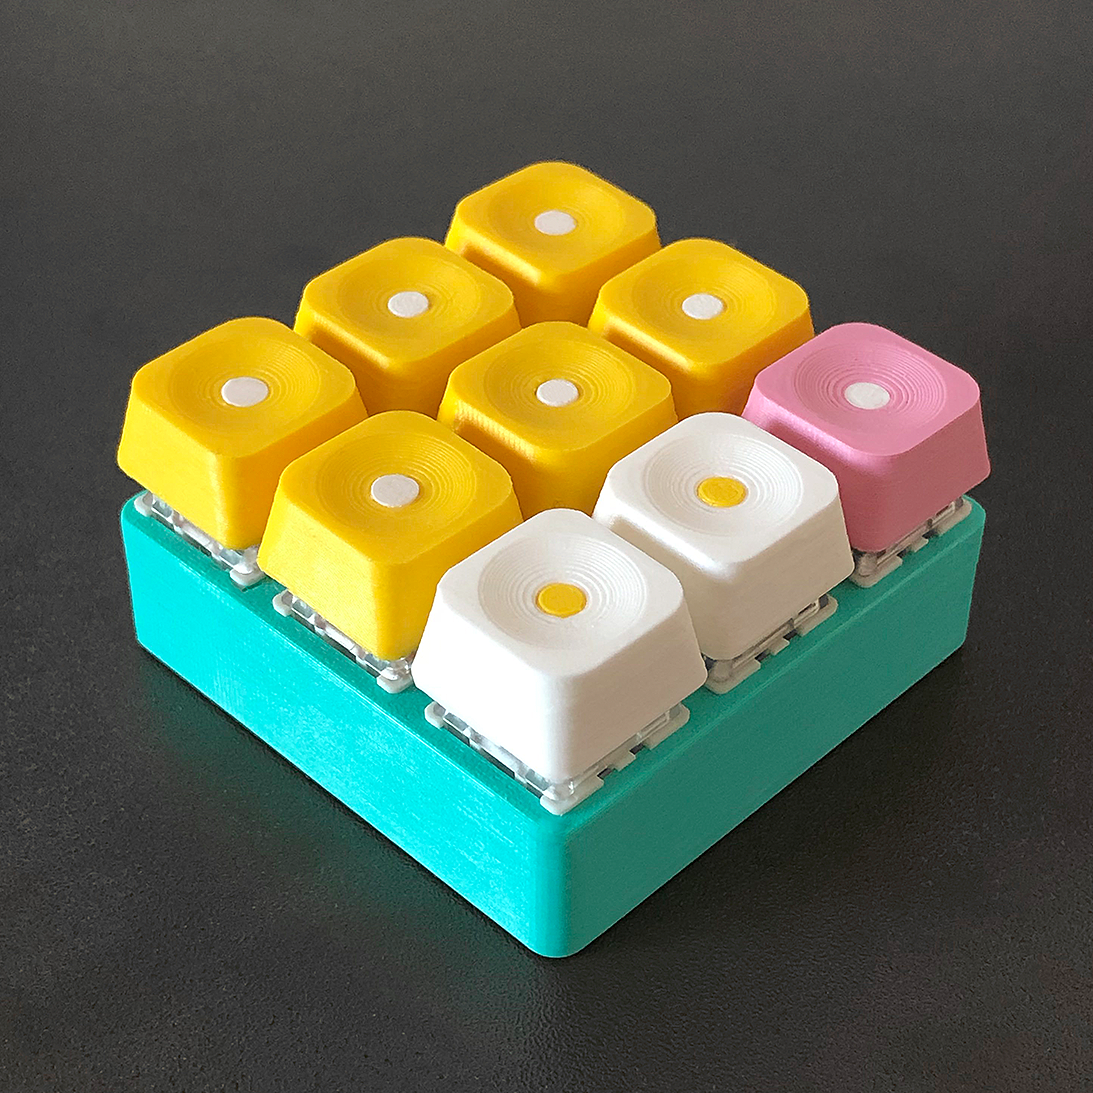
Bloko 9 - Pico
cults3d
A very compact programable keyboard. It uses the new $4 Raspberry Pico microcontroller and the standard Cherry MX / Gateron key switches. You need: a Pico, 9 key switches, some wires, a soldering iron and about 30 minutes to assemble it. Parts: Keycaps - there are 3 types of keycaps attached, a flat one, a carved one and a dotted one (carved also). Top - the part were the switches go in. You have 2 options: with or without switch blockers. The one with blockers allows you to pull out the keycaps without breaking the wires. PCB - depending on the wires you're using you'll find attached stl files for wires with diameters between 0.3mm and 1mm. Bottom - it's the bottom cover. Assembly order: - Build the PCB (check the last photos). Make a small hook at an end of the wire and try to create a small pin (1-2mm) using the cubes on the pcb. Following the line on the print, push the wire inside. - Attach the switches to to the Top part. Double check the orientation before pushing them in (pins should be in the lower part, led hole in the upper part). - Slowly slide in the PCB. The PCB has an arrow which should point to the usb. - Solder all the switches to the wires on the PCB. - Push the Pico in (usb side first). - Solder the Pico. - Close the box with the bottom cover. How to program it: Pins: GP28, GP2, GP5, GP27, GP11, GP7, GP19, GP17, GP14 Adafruit's HID library: https://github.com/adafruit/Adafruit_CircuitPython_HID Here is a tutorial by Novaspirit Tech: https://www.youtube.com/watch?v=aEWptdD32iA More info about Pico: https://www.raspberrypi.org/documentation/rp2040/getting-started/
With this file you will be able to print Bloko 9 - Pico with your 3D printer. Click on the button and save the file on your computer to work, edit or customize your design. You can also find more 3D designs for printers on Bloko 9 - Pico.
